4 essential tools for taking your office on the road
You know that feeling when you're on the road, need to get some work done and your hunched over whatever surface you can find?
The problem with this is that bad posture has a whole myriad of negative health effects; I've personally had issues with my neck, and still deal with pain in my wrists.
There's a simple way you can turn situations like these into a comfortable, ergonomic work station.
There was a huge chunk of time during the development of Event Calendar App that I was on the road. I travelled through Asia, Australia, America, Canada and all the time still managed to work comfortably.
It’s definitely not always glam being on the road. Here’s my desk today. pic.twitter.com/ffyeCMFUOq
— Alex Perry (@Pezza192) January 11, 2018
I'm a man of home comforts. I don't enjoy being hunched over tiny tables in coffee shops and I prefer an ergonomic setup with a proper mouse and keyboard.
So, how do you make this work while on the road? And I'm not just talking about when travelling the world here, I mean even if you've got a business trip away to a hotel for a few days.
Here's how I make what I call the portable office (pretty crazy, imaginative name right?).
There's four things that you're going to need:
1) A laptop
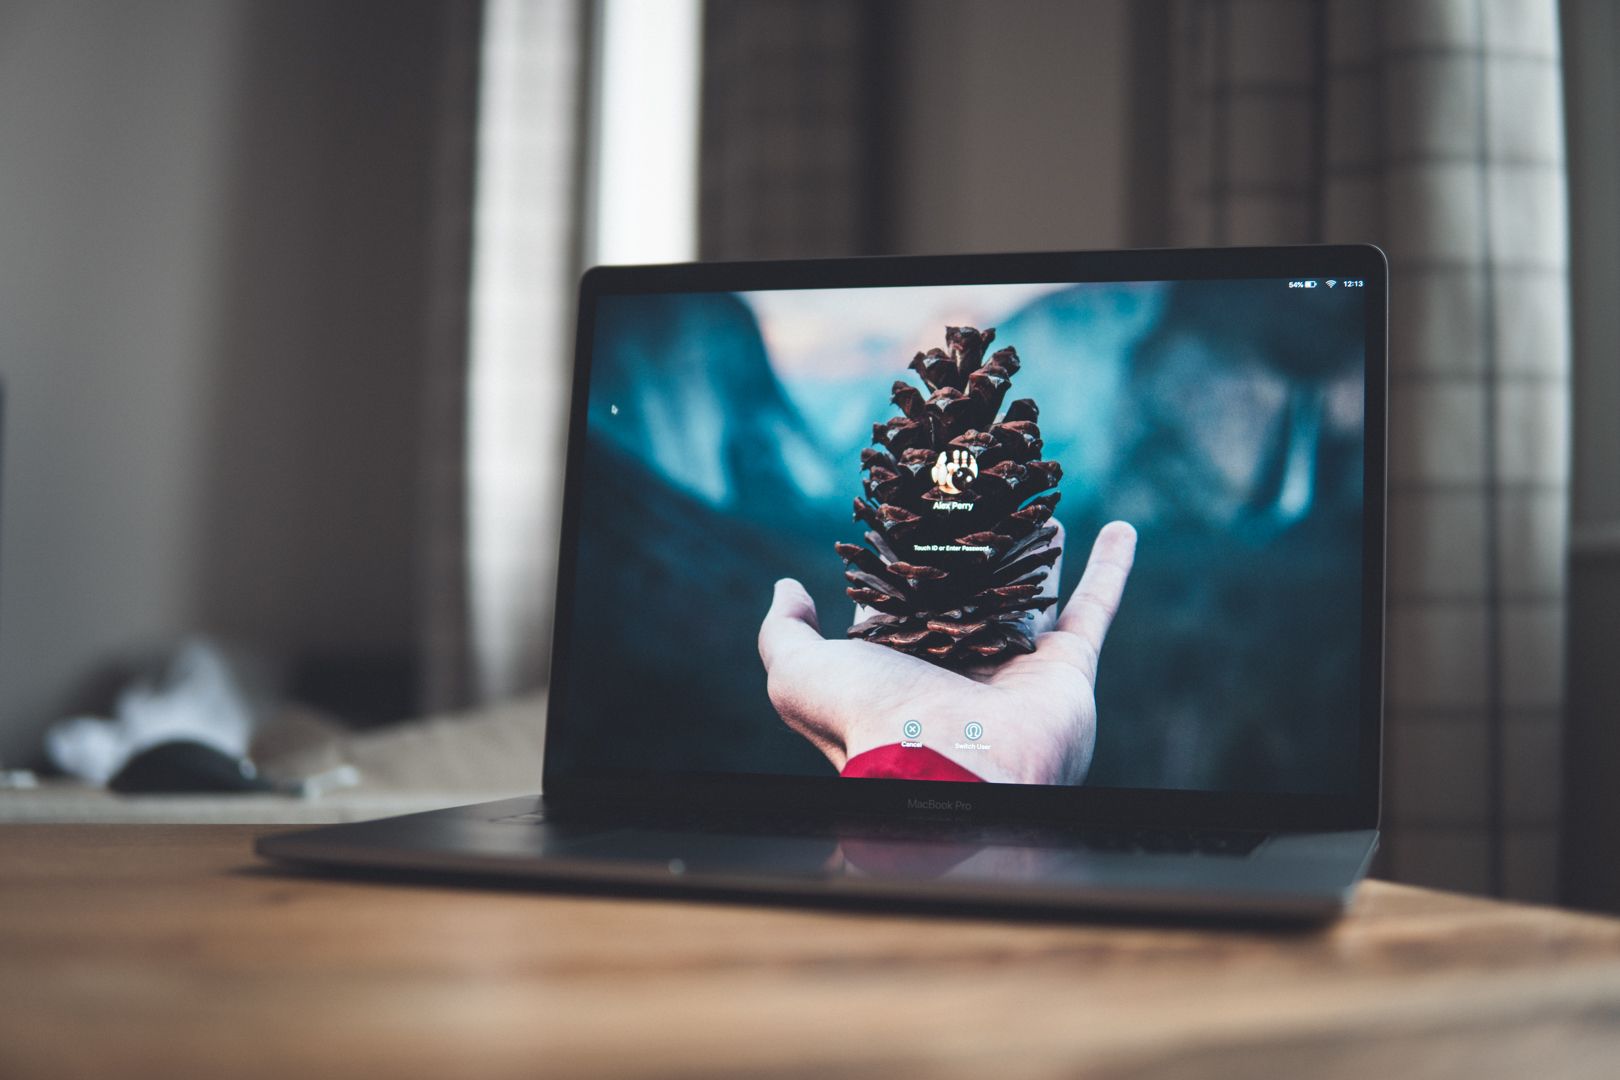
If you work and travel a lot, working from a singular machine makes life SO. MUCH. EASIER. Otherwise, you're stuck trying to make sure everything syncs correctly between machines, something which I can only imagine equals pain.
Unless you need a work horse for intense video editing, gaming or something similar, having a laptop as a primary machine works really well.
When you decide you want to work somewhere else, pick it up, and go.
2) A stand
The big problem with laptops is that you're usually sat at a table or on your knee, hunched over, head down tapping away.
A stand alleviates a lot of these problems. It lets you raise up the machine and have the screen in a similar position as an external monitor. Great for your posture.
However, most laptop stands are big hunks of metal, wood or plastic that aren't exactly easy to travel with.
Enter the roost stand.
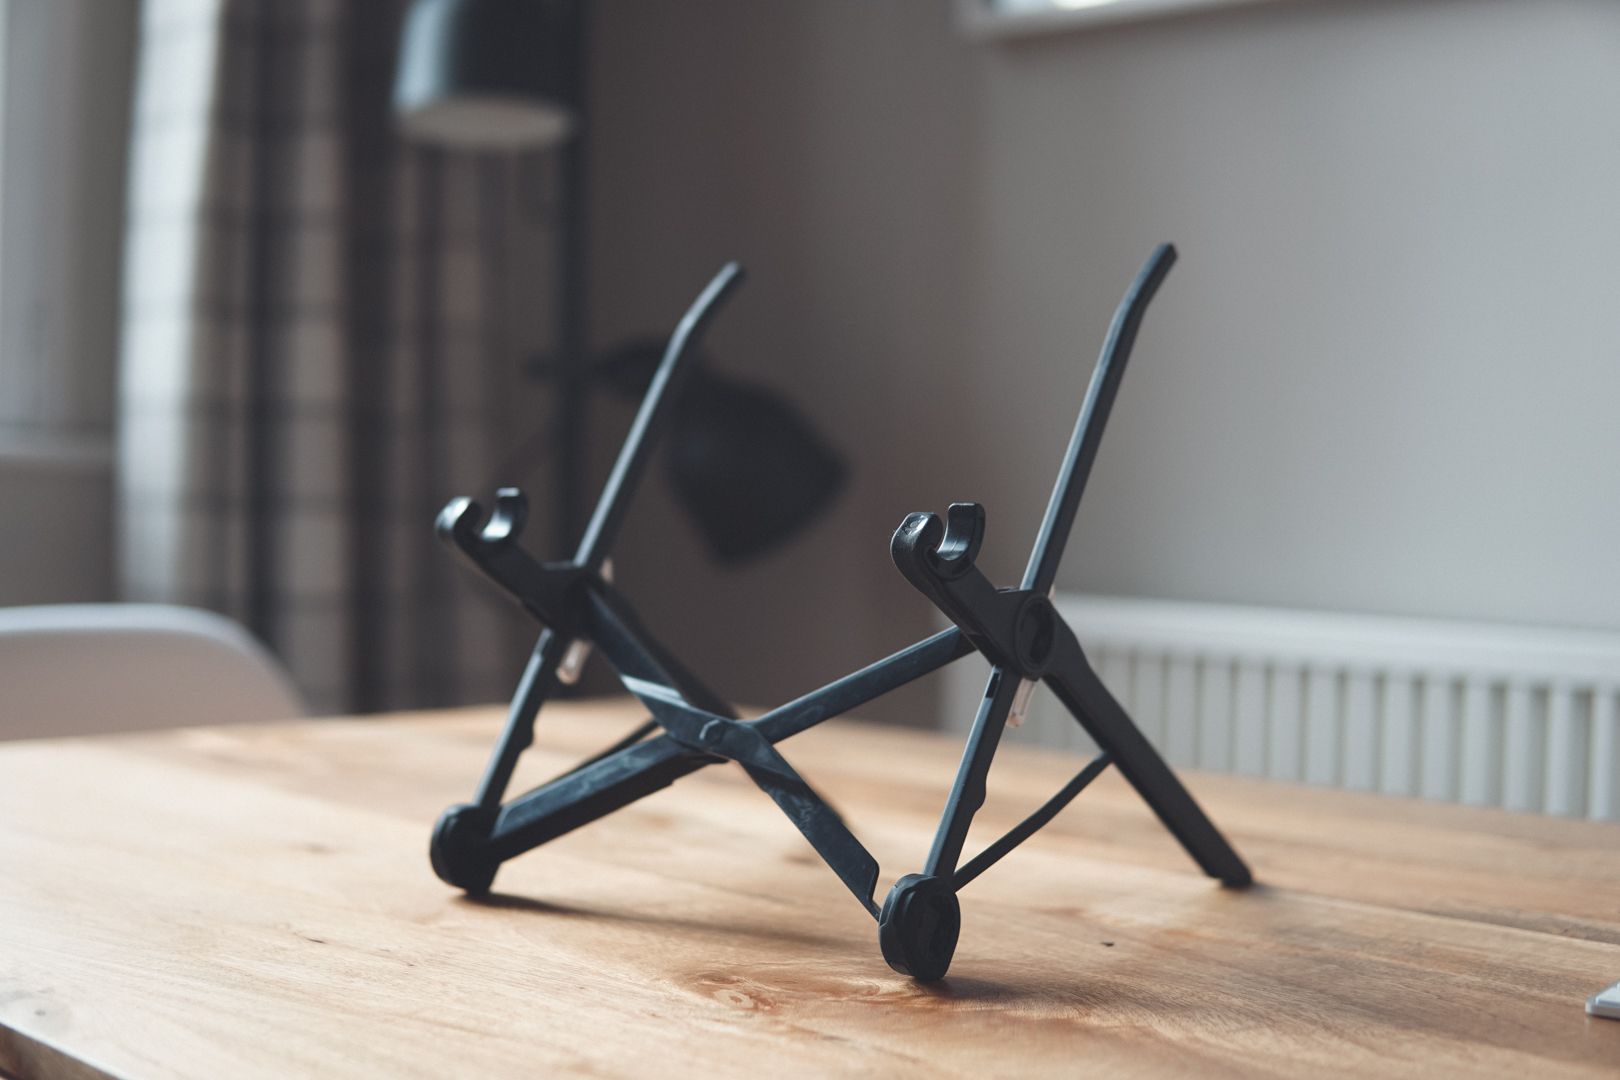
The roost stand is an absolutely freaking amazing piece of kit. A lot of people you meet working and travelling have one. It's folds up into a small rod shape that looks like this:
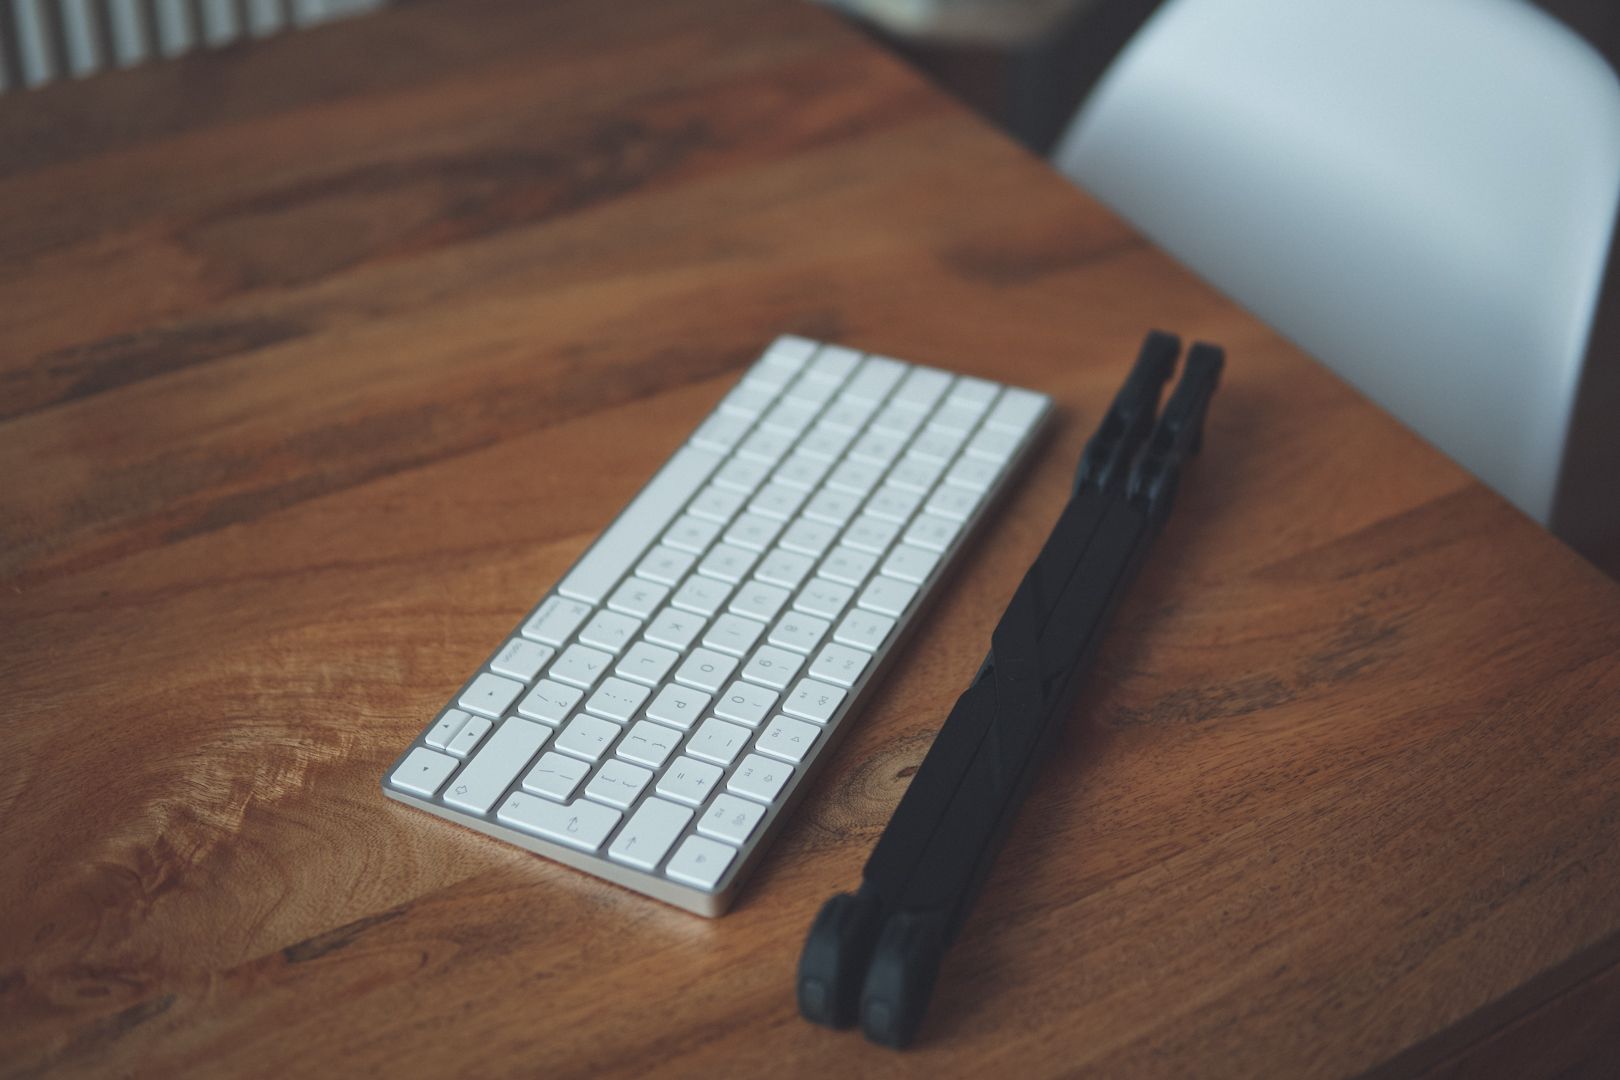
I highly recommend it.
3) External Keyboard.
As soon as you've got a stand, this means that you then need an external keyboard and mouse.

I'd highly recommend the Apple keyboard for this. It's expensive, but it's slick, feels great and has a really thin profile which is great for packing away. I've had mine for a few years now; it's been battered, thrown around and still works fine.
4) External Mouse
Again, ergonomics were at the top of my mind here. One of the main reasons I looked for this setup is because I get wrist pain from using the touch pad all the time. This made the mouse super important.
I tried a vertical mouse for while but I just couldn't get used to it; every time I clicked the mouse it would move slightly. Frustrating.
The Apple mouse is another option, but I find it awful. The gestures are nice but it didn't alleviate my wrist pain at all.
In the end I went with the Logitech MX Master. It's expensive, like the Apple mouse, but it's a beast. Tracks on all surfaces (important because you don't know what surface you're going to be working on), feels great in the hand, and helps with my wrist pain a lot.
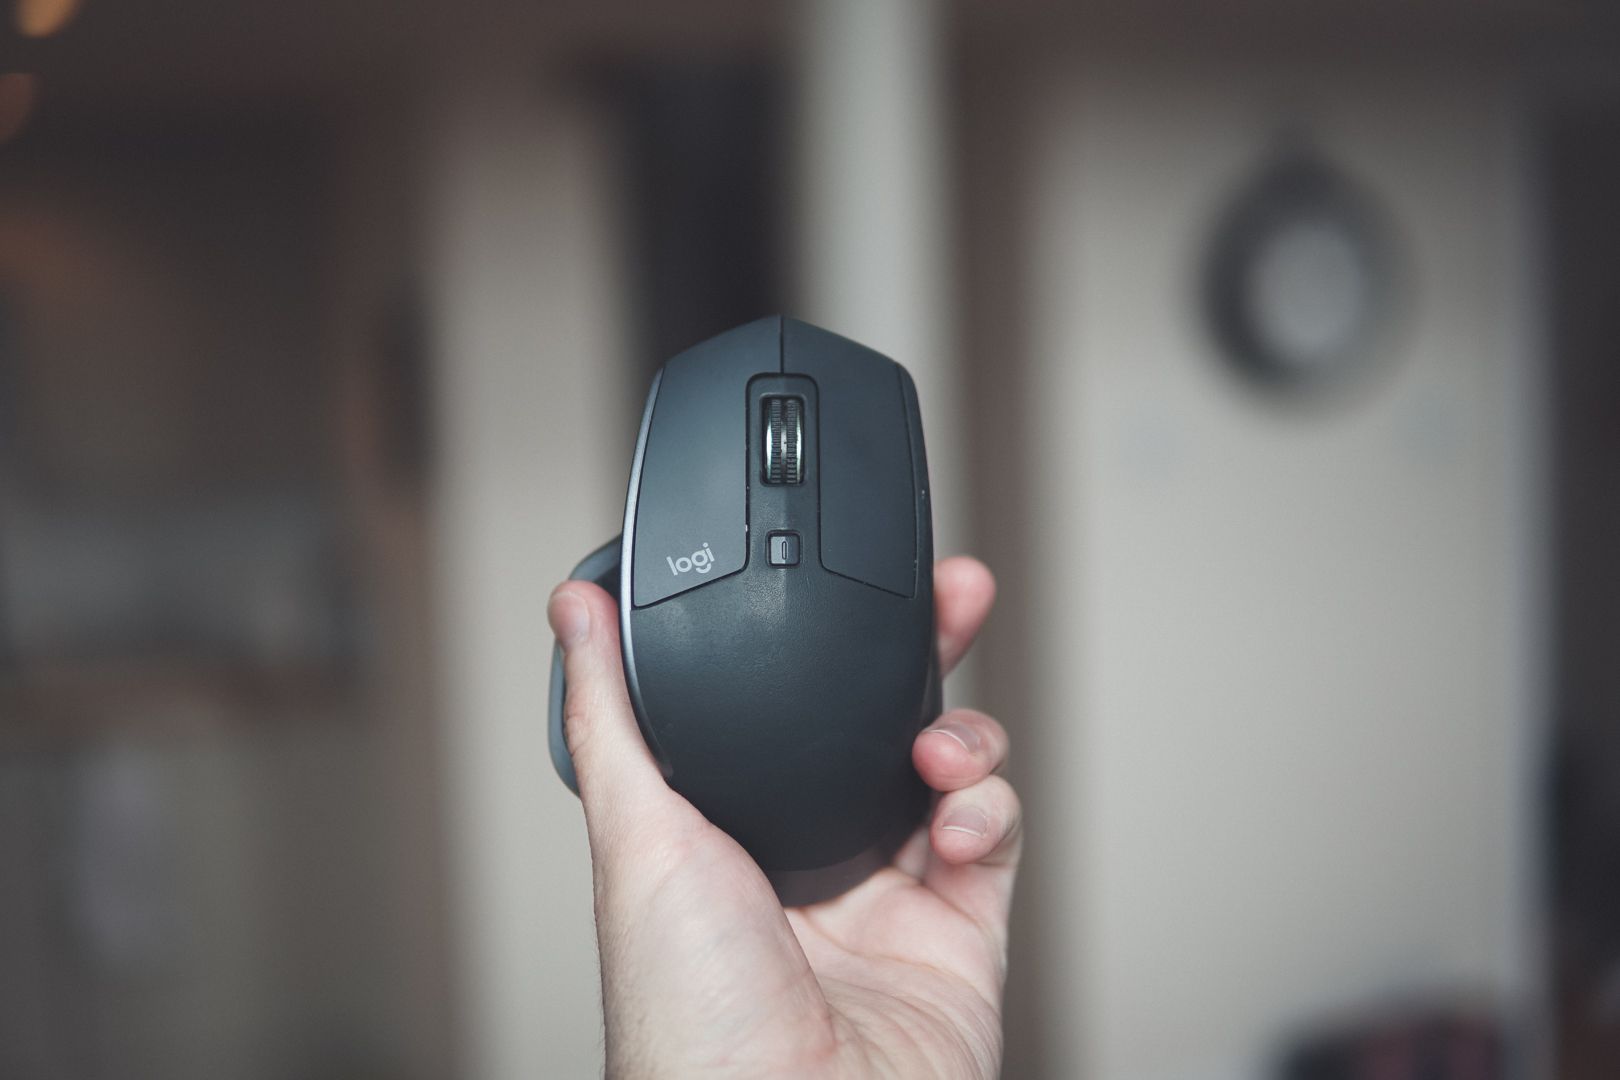
It's not necessarily as fancy as the Apple mouse but I think it still looks great.
The Result
What you're going to get is a setup that looks like this:
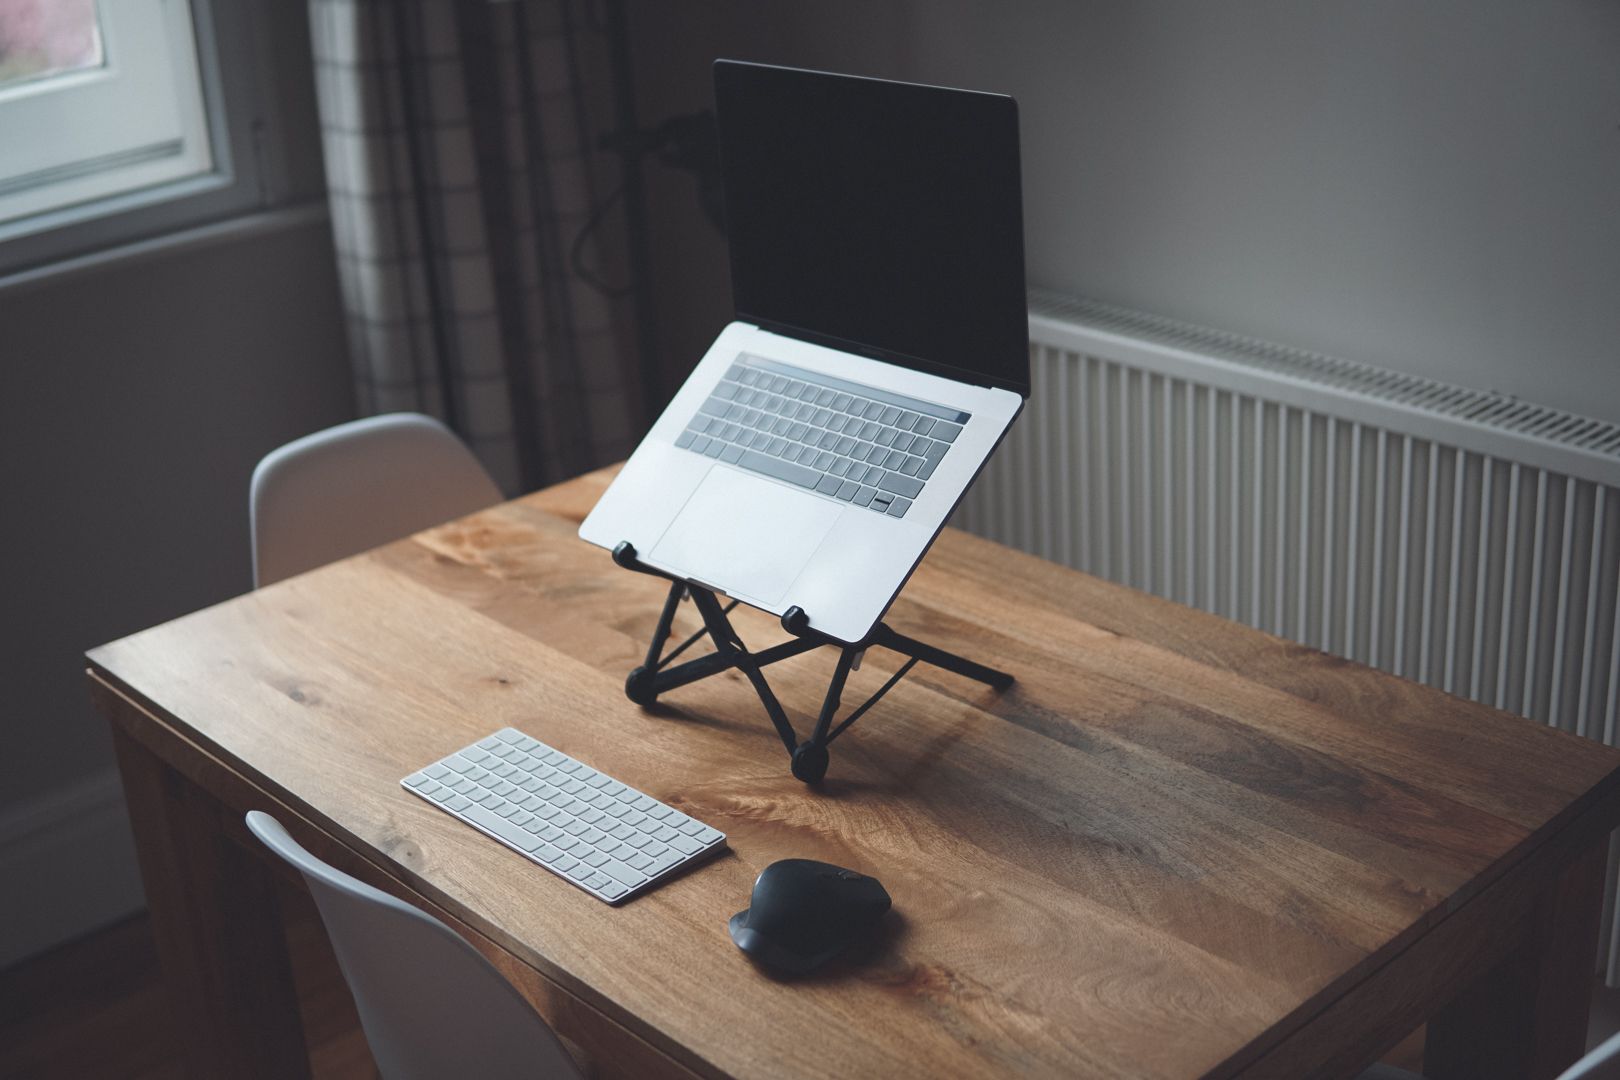
I set this up on my dining table, but you can imagine how this could work anywhere with a surface and a chair.
All in all, it compresses down to this:
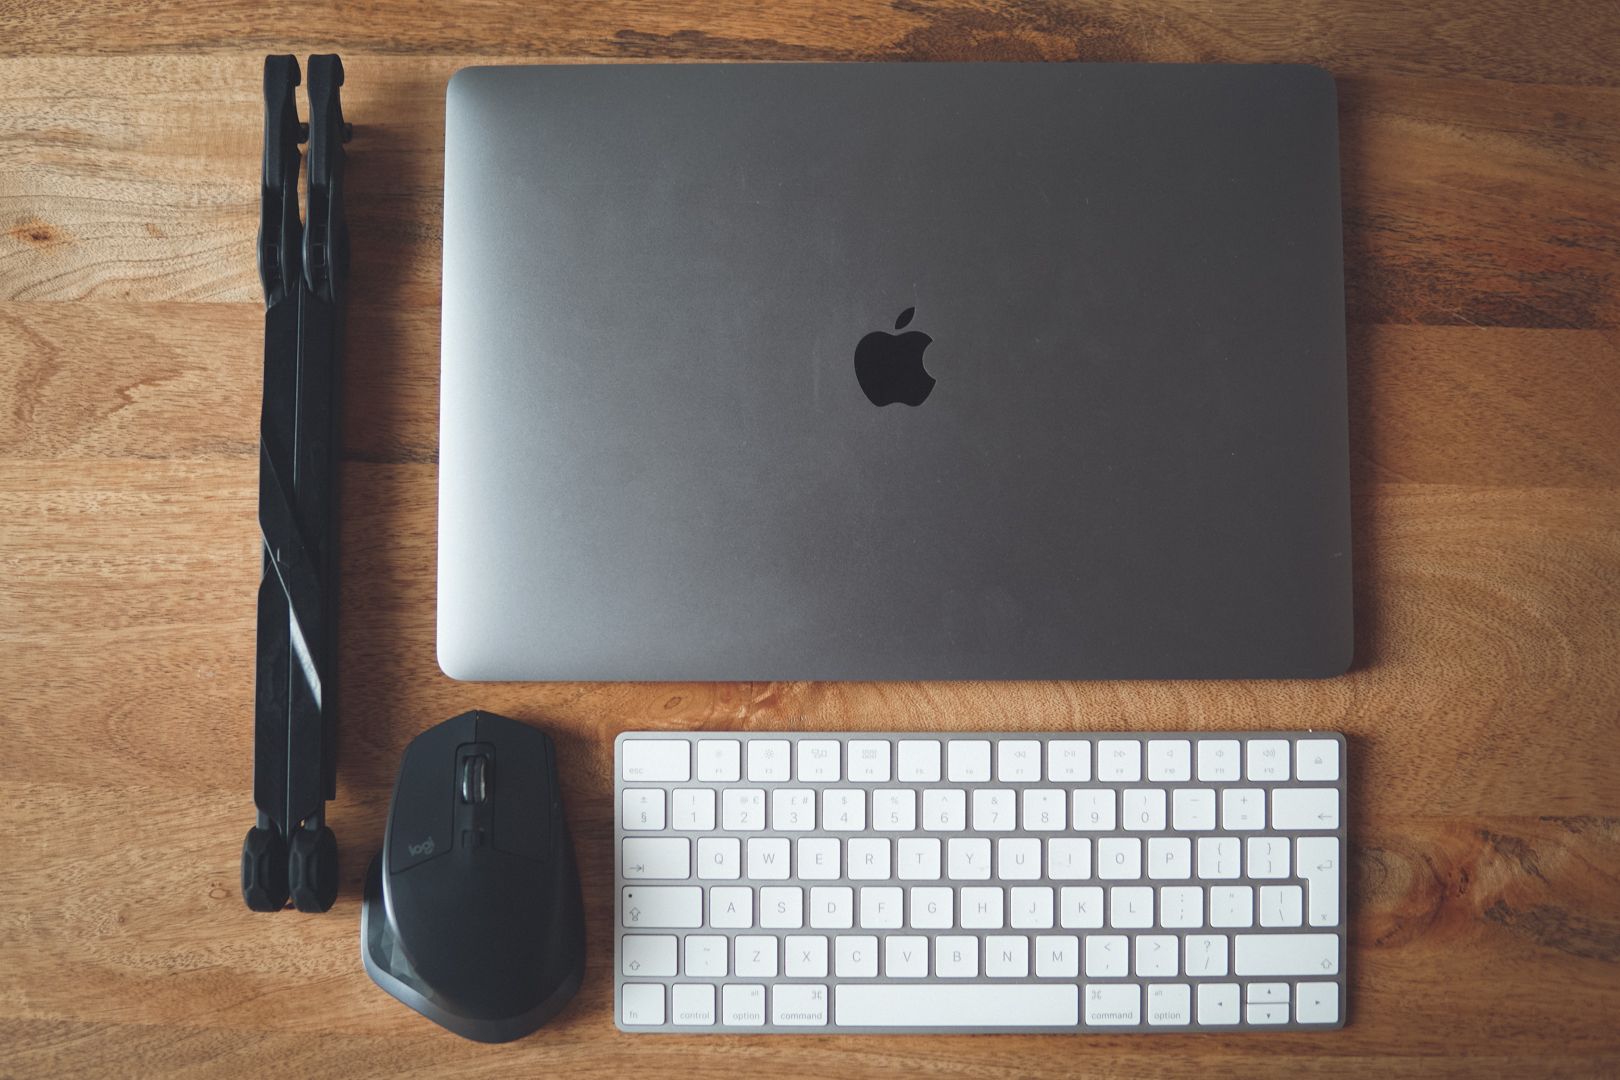
All of which fits easily into any good bag or suitcase. For me, the keyboard slips into the laptop pouch with the laptop, and then you've just got the mouse and keyboard which fits anywhere.
It's a simple, practical solution to a problem that could cause you pain for years.

