How to sell tickets on your Webflow website.
Webflow, as fantastic as it is, doesn't have any way for you to sell tickets in a way you would want. Webflow Ecommerce is geared around selling products whereas what you want is to sell events. You want a way to add lots of dates, to limit ticket sales, to collect RSVPs, to let customers add your events to their calendar etc etc.
In this post, we'll look at using Event Calendar App to sell tickets on Webflow.
Why Event Calendar App?
Similar to Webflow, Event Calendar App is a no-code platform that allows you to promote your events on your website, and sell tickets to them. Importantly, it was built from the ground up for selling events and making them look great on your website. Event Calendar App has a monthly fee, but no transaction fees on your ticket sales. Sell as much as you want and you'll never be charged more.
You can also use it for selling tickets to virtual events, and we'll get onto that later.
Importantly, Event Calendar App will never take your customers away from your website to make the purchase, it all happens on your Webflow site.
Let's get started.
Adding the events
Register for an account on Event Calendar App and create your first event. You'll get to a screen that looks like this:
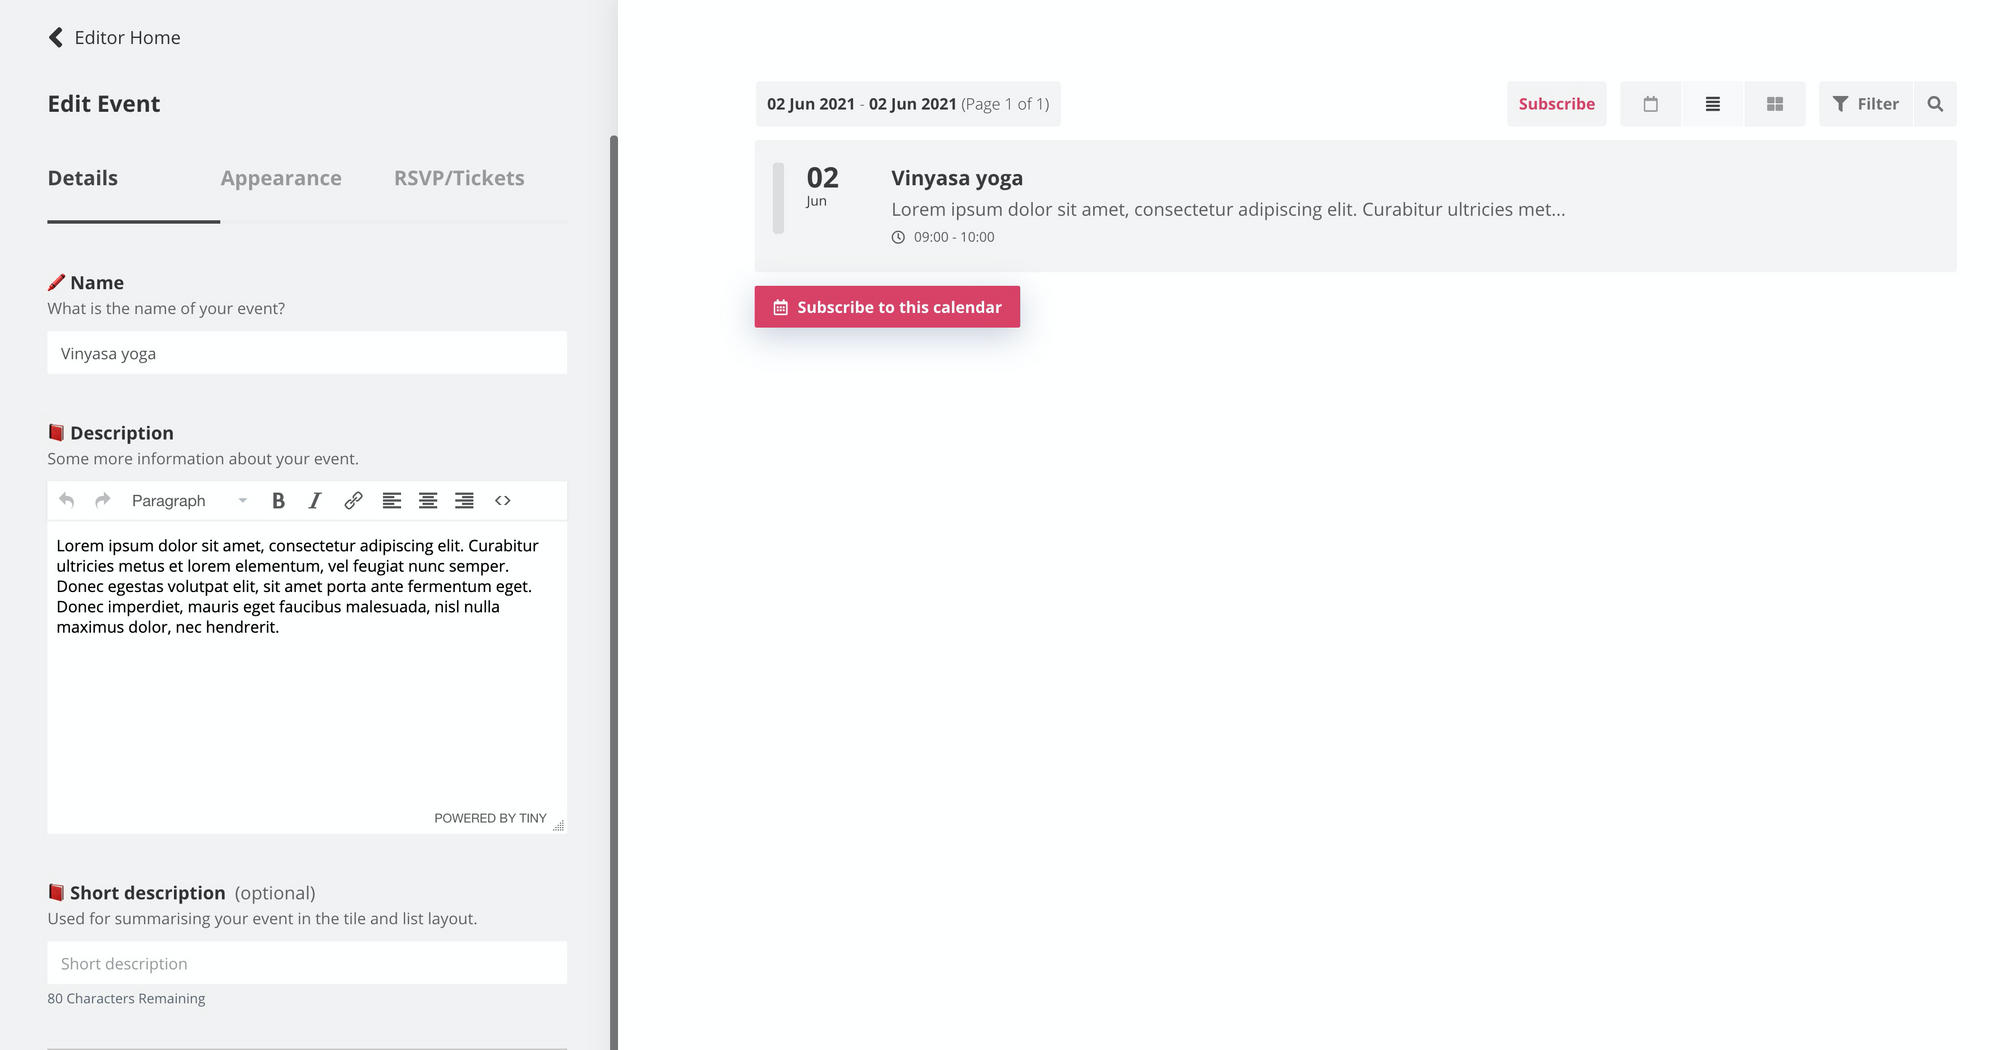
I'll add events for my pretend Yoga Studio as we go along. You can see I've added my first event 'Vinyasa Yoga'.
Everything you see on the right is exactly as it will appear on your website.
I'm going to continue on to add some more events, which my Yoga studio will be hosting.
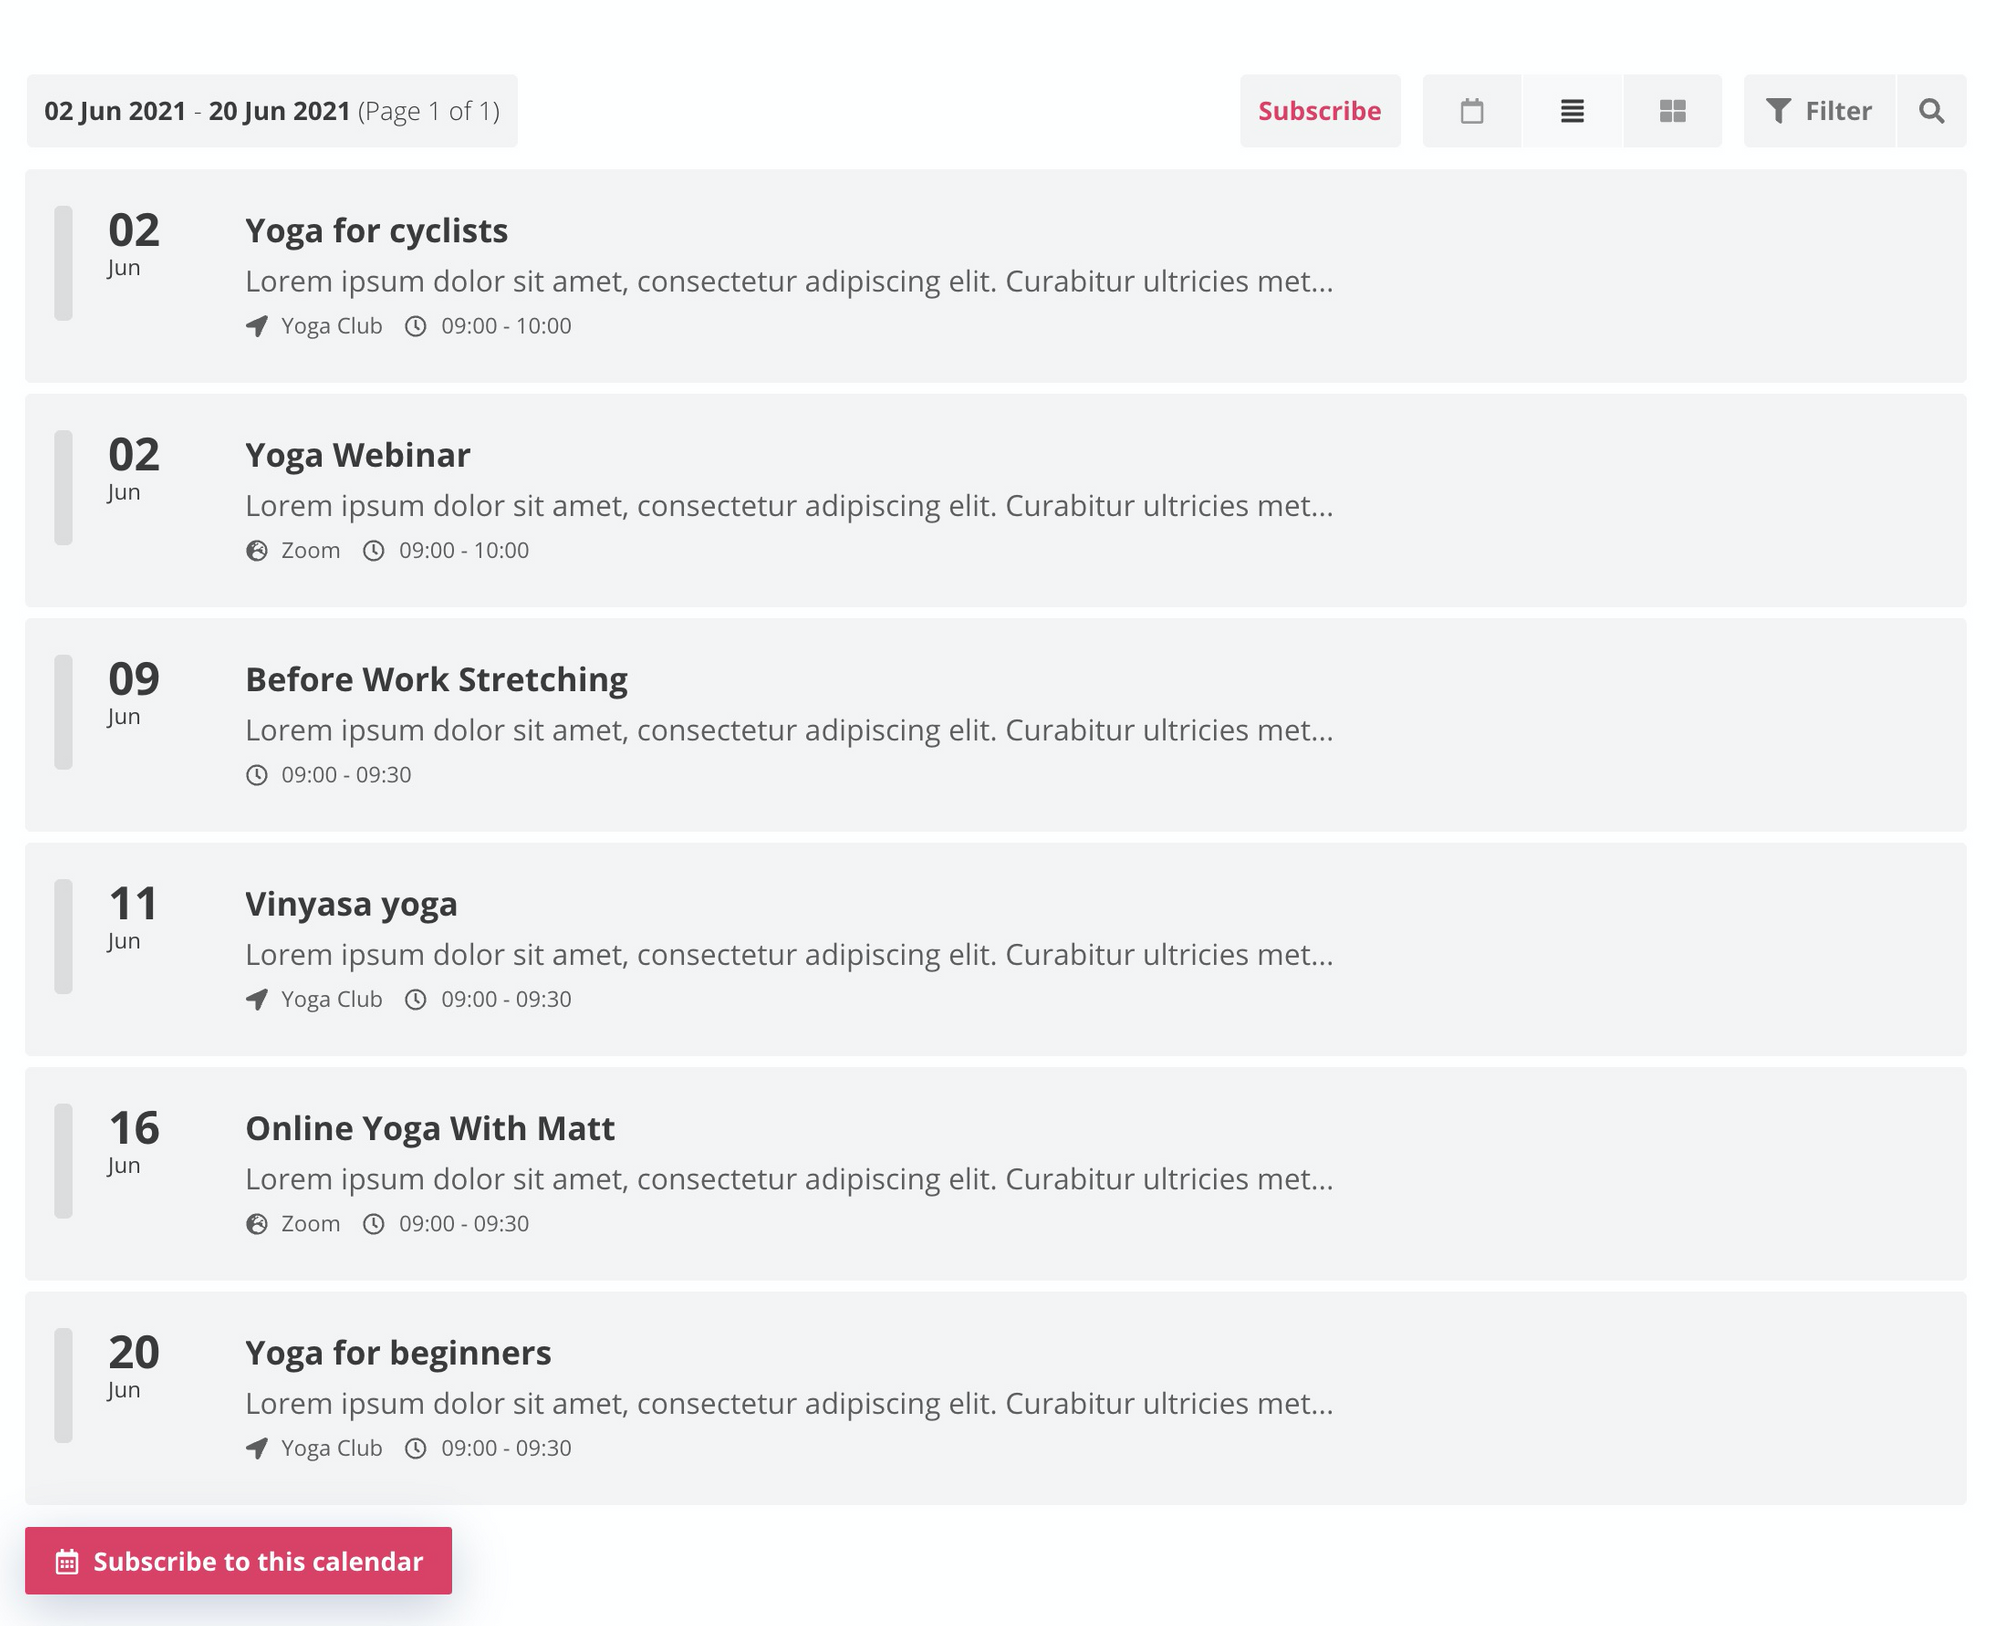
Ok nice. But we spent a lot of time making our Webflow website look great, so let's make our events look great. We want people to get excited about the events so let's add some images. If I don't have my own images already, I usually head over to https://unsplash.com to get some royalty free ones.
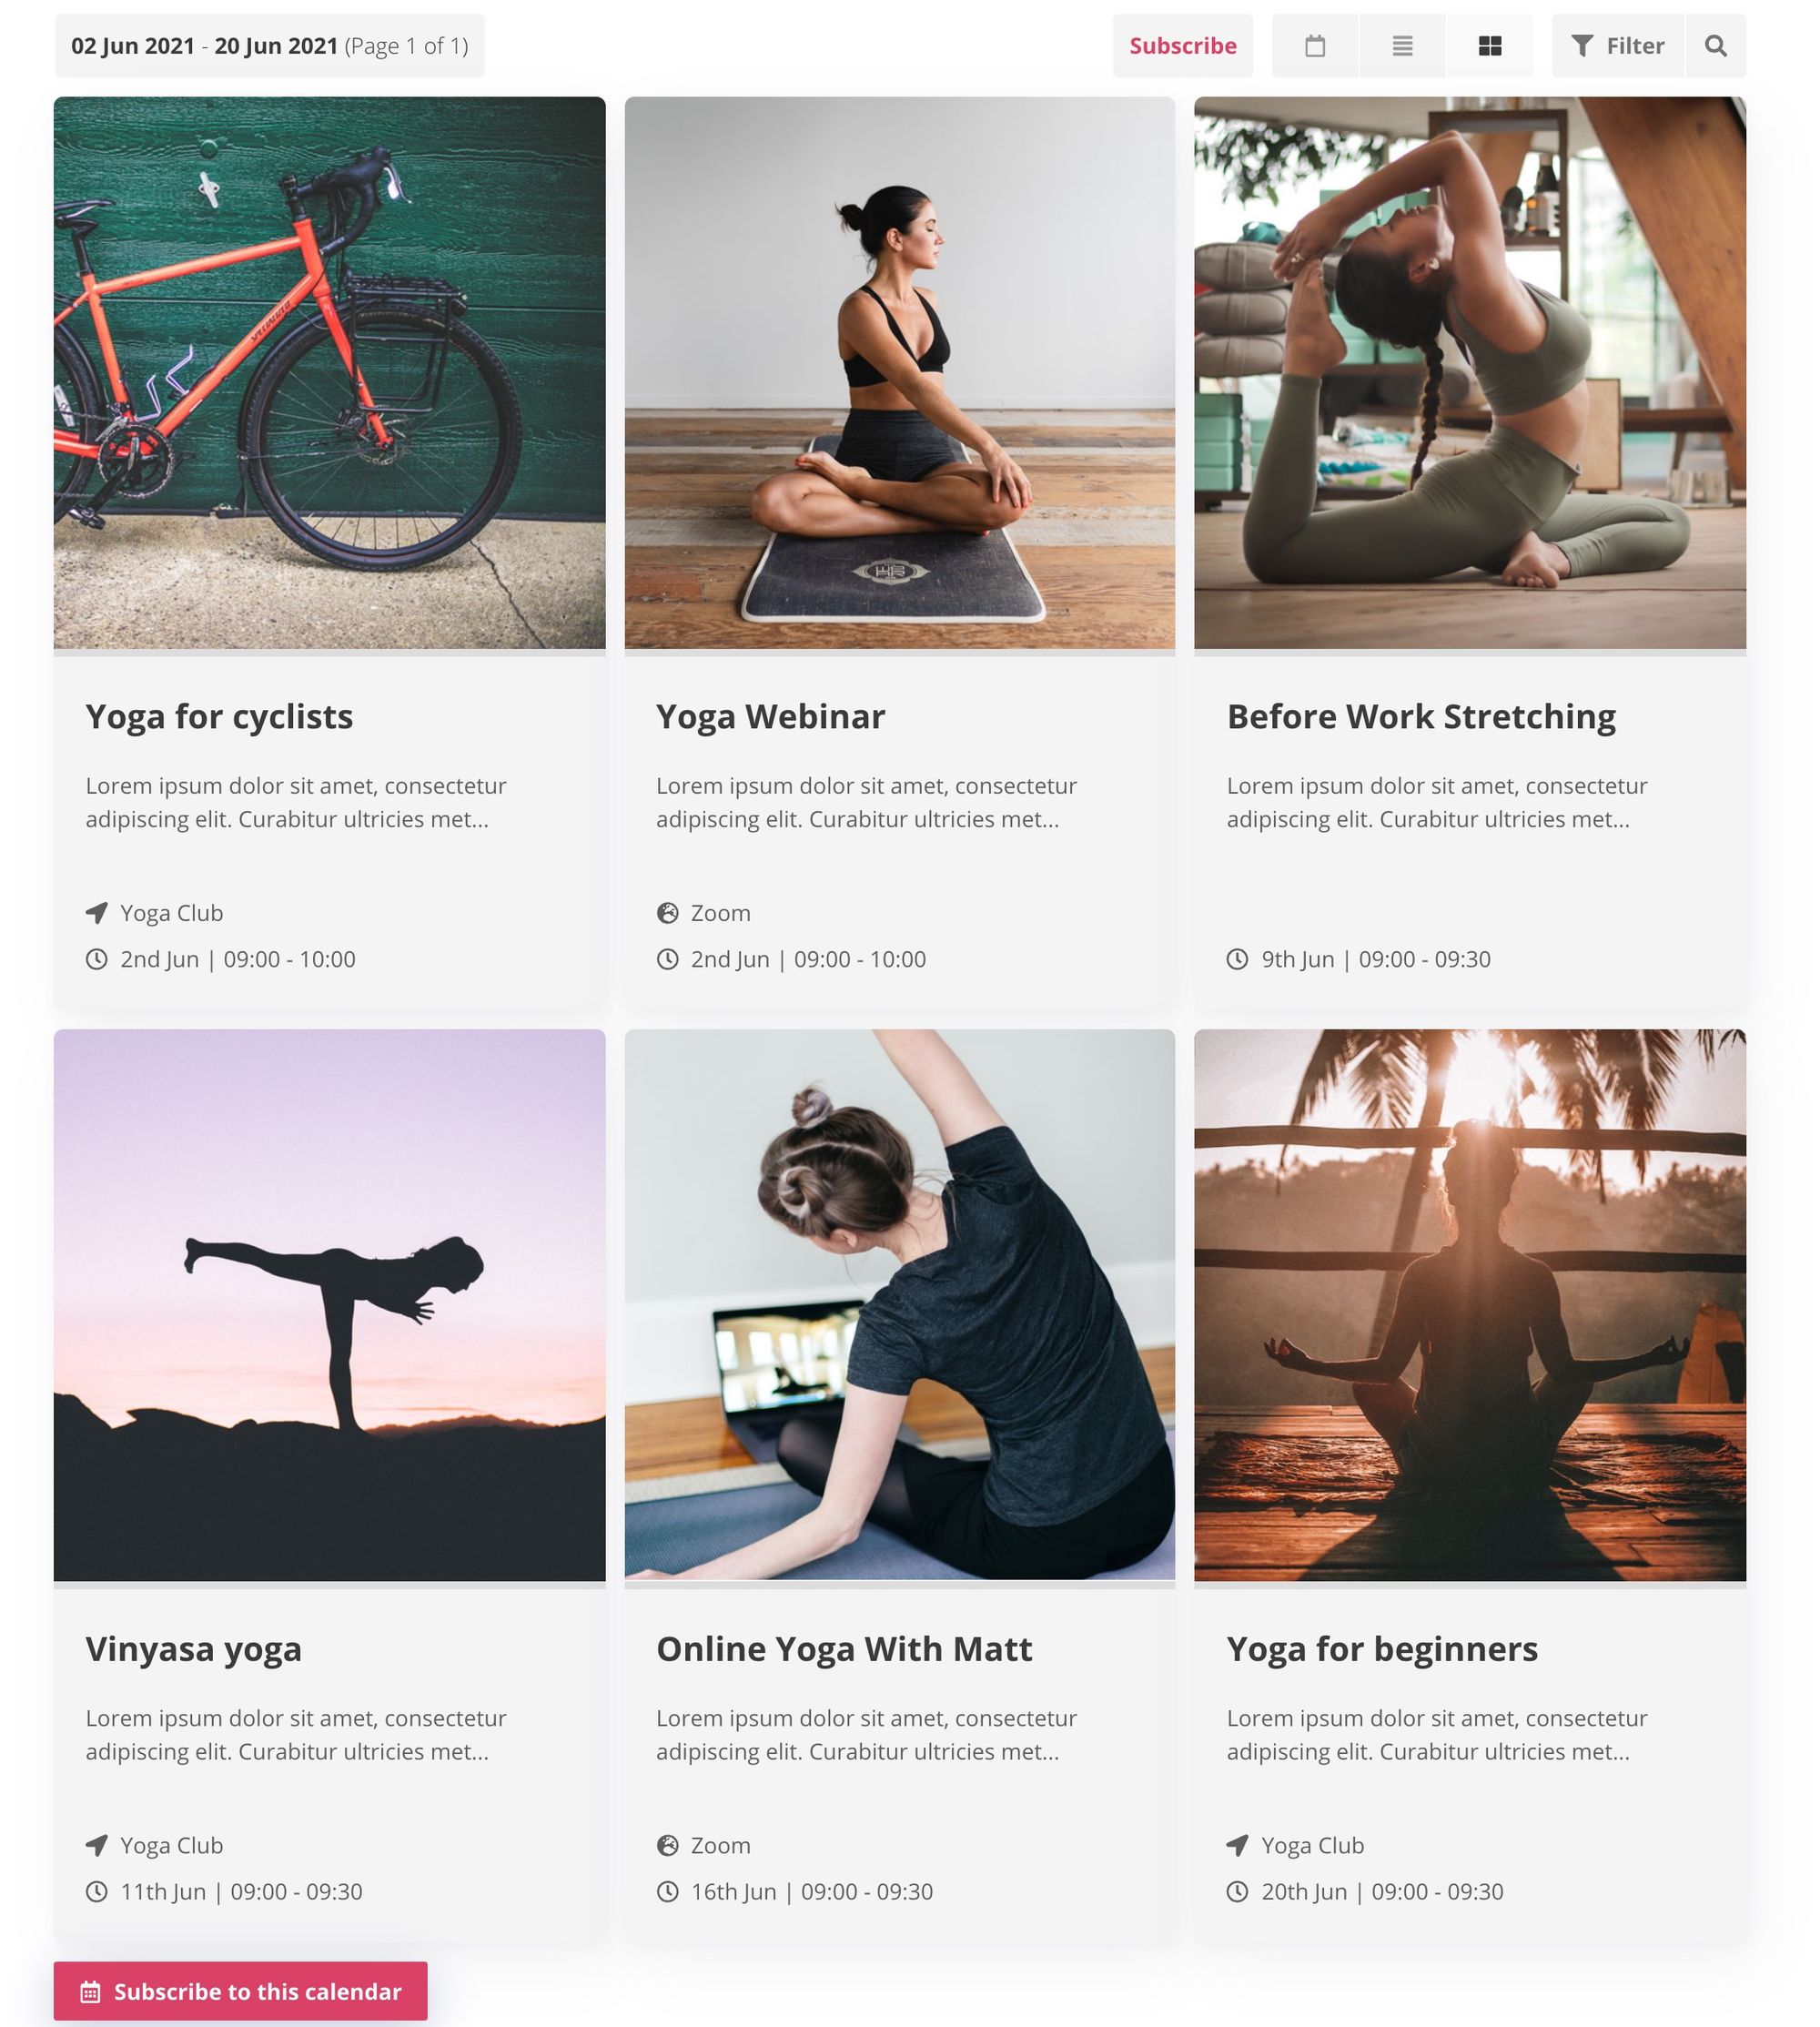
Here's how things look after I add some images. I also changed to the tile view as I think that looks great if you find the time to get good images:
Fantastic, we're now ready to add ticket sales.
Add ticket sales
Click on the event, and on the left you will see the options bar. Click the RSVP/Tickets tab:
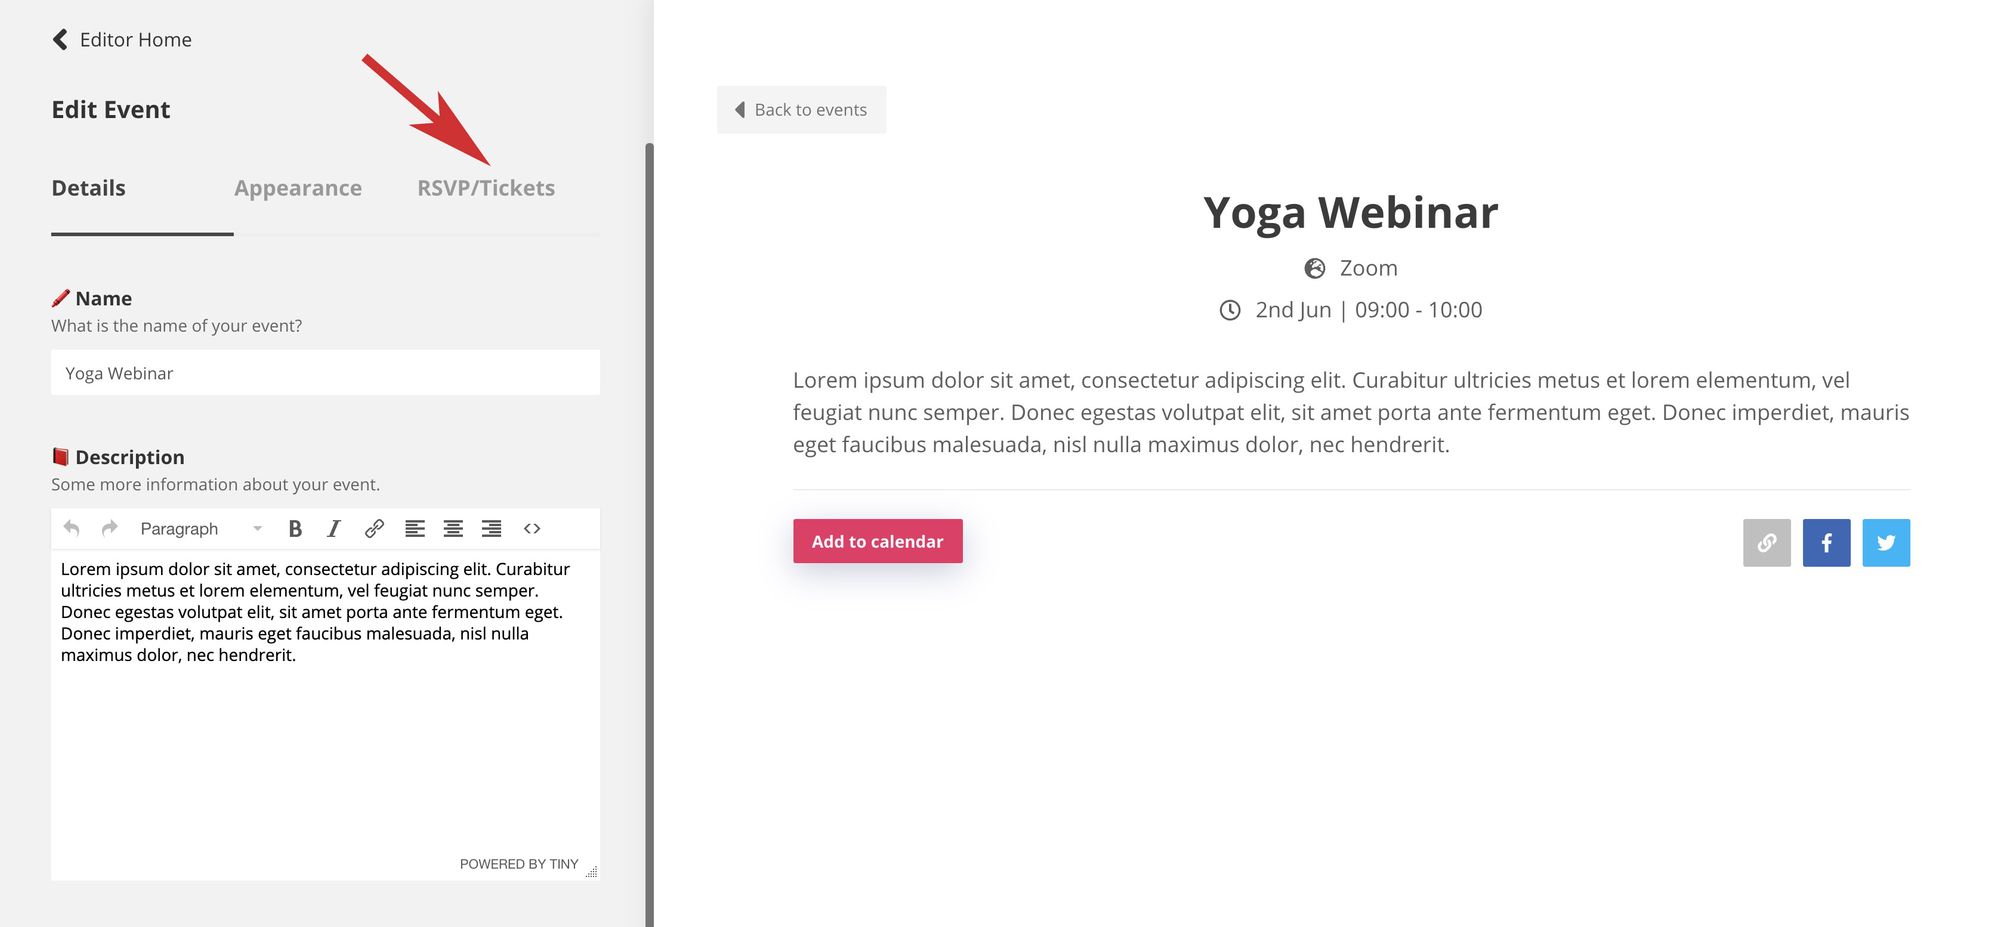
This will show you all of the options for accepting payment and collecting RSVPs
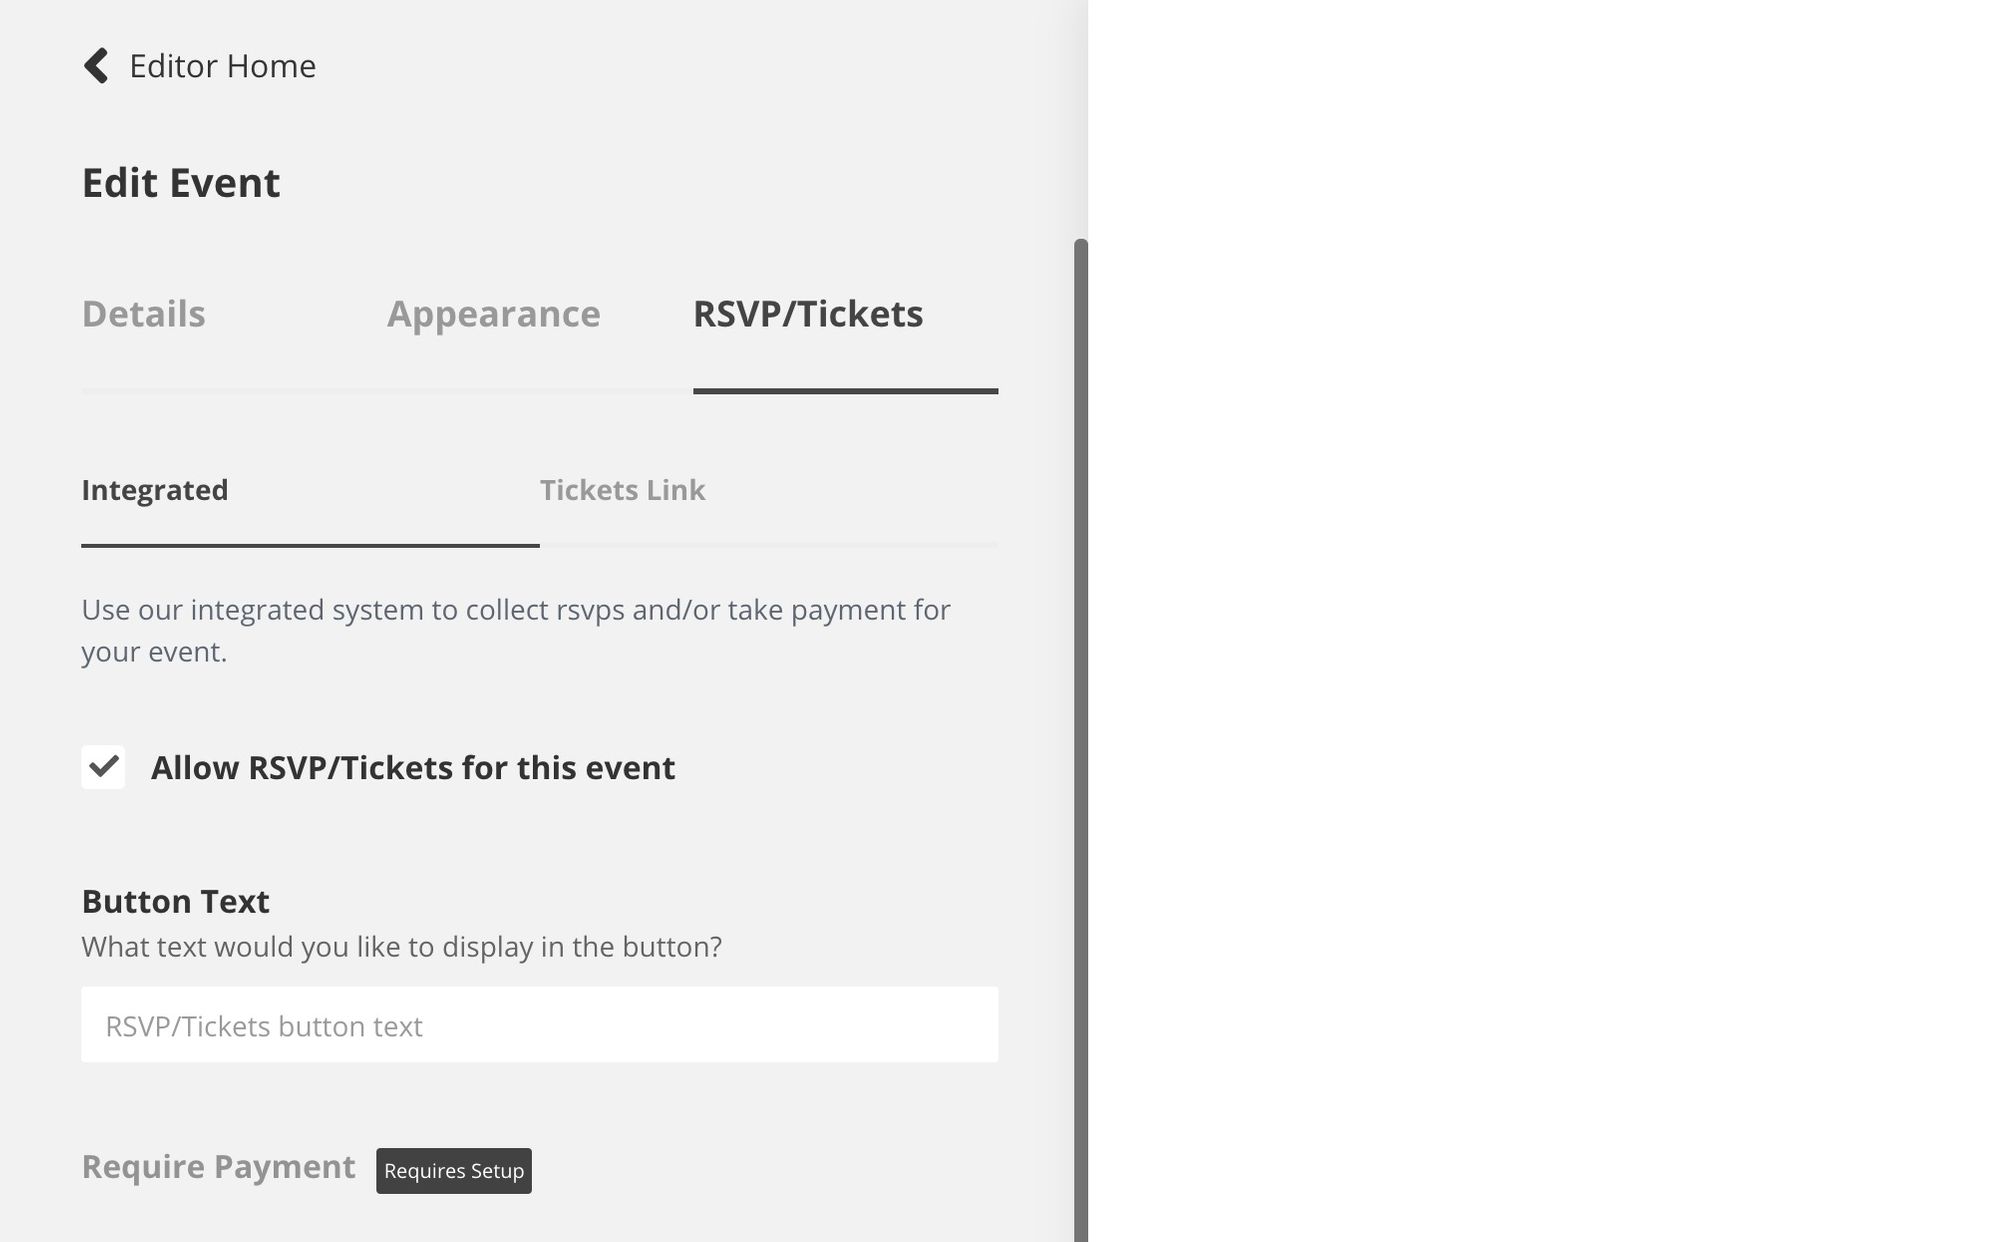
Event Calendar App uses your Stripe account to accept payment, if you haven't done already you will need to set this up. You can see in the above screenshot it says that Require Payment needs setup. Full instructions can be found here.
The great thing about using Event Calendar App to sell tickets on Webflow is that you get paid directly. There's no middleman and payments go straight to you.
Once you've set up Stripe you should be able to tick the Require Payment box.
Once you check that, you will see that by clicking the RSVP button on your widget (on the right) it will now open a payment checkout.
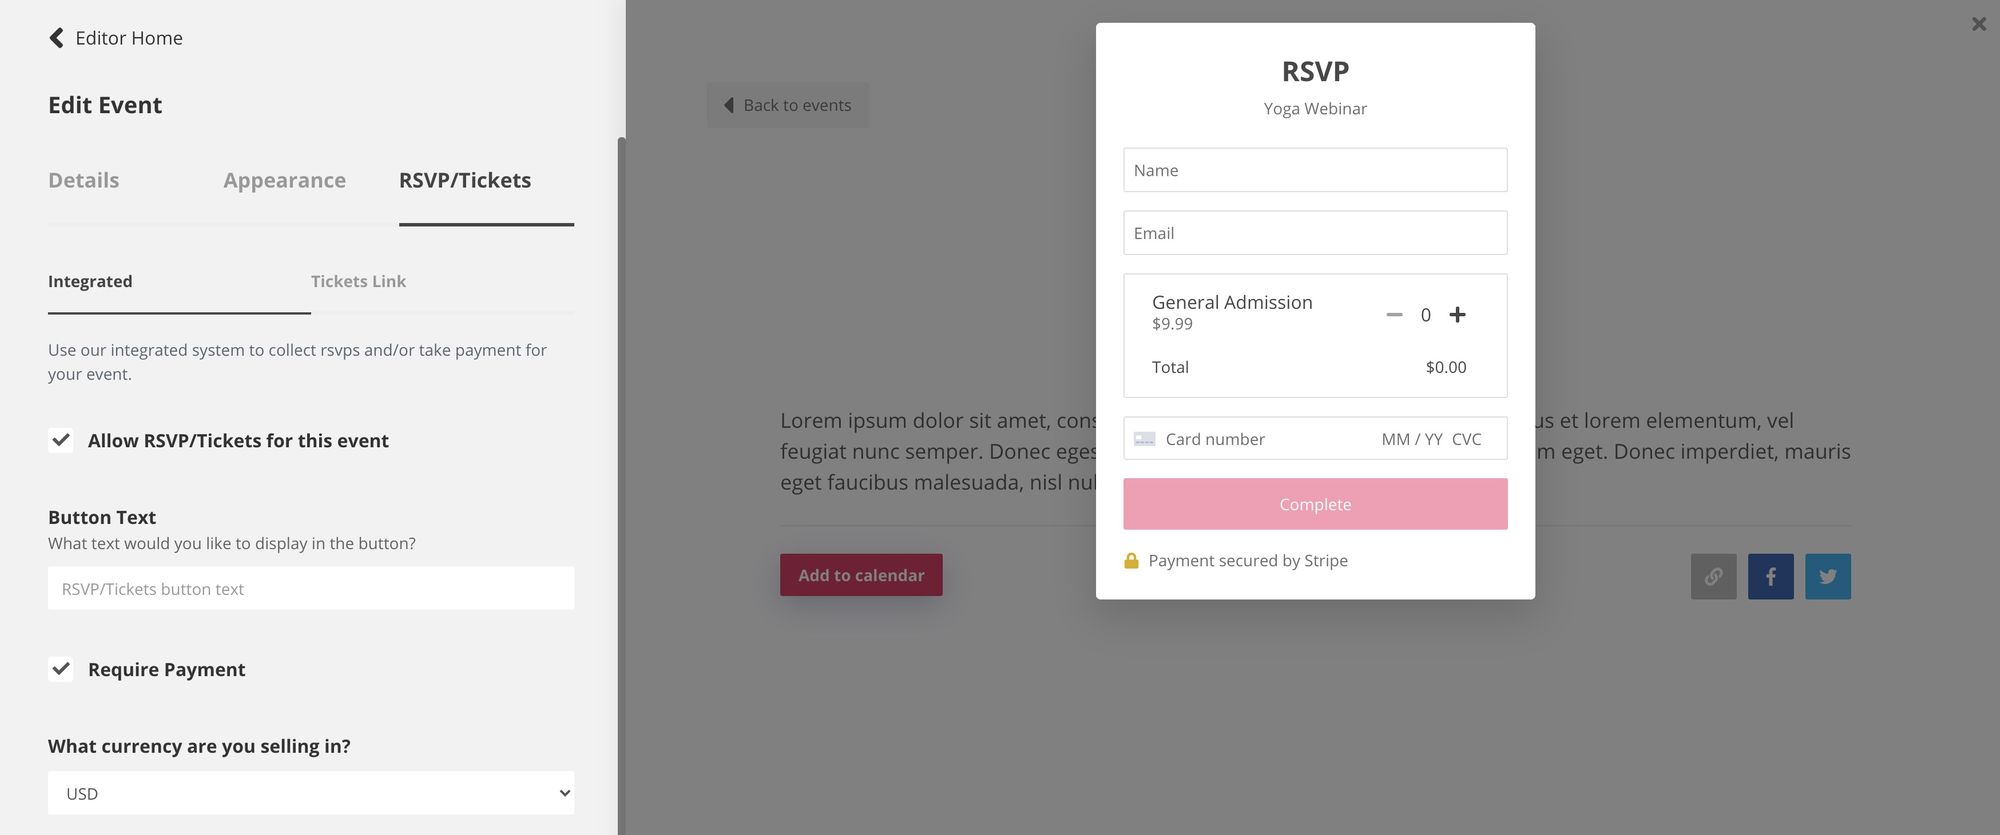
Remember that this is exactly as your customers will see things.
You can continue through the options on the left to configure everything about your ticket sales. Here are some things that are important to change:
Button Text - You probably want to change to something like "Purchase tickets" or "Buy now" or your preferred option.
RSVP Form Fields - You may wish to add more fields to the form. For example collect a phone number, address, dietary requirements, or anything else.
Ticket limit - A very useful option for limiting the number of tickets that can be sold.
Confirmation Email Message - This is extremely useful for online events. For example, if you were hosting a zoom webinar, you would want people to receive a secret link once they pay. This is where you would put that link.
Add the widget to your Webflow website.
This has been wrote about in more detail here but this is what you need to do.
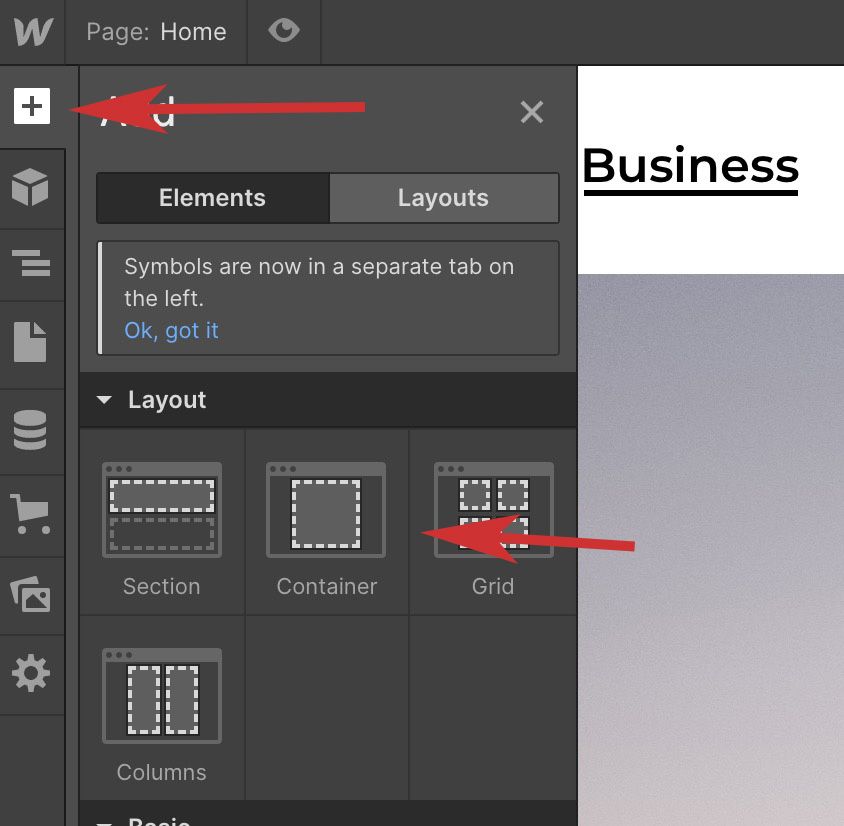
Head to the page on your Webflow site that you want to sell your tickets on. You then need to add the element that Event Calendar App will sit inside. I like to go for a 'container' element as this keeps the width of the widget to the same size as the website.
Once you have added your container element, click on it, and click add again, but this time choose the embed element.
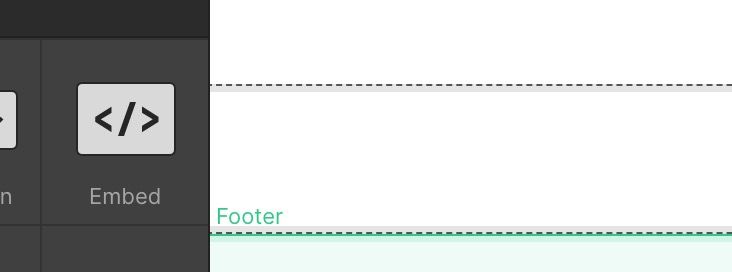
You now need to paste your embed code from Event Calendar App.
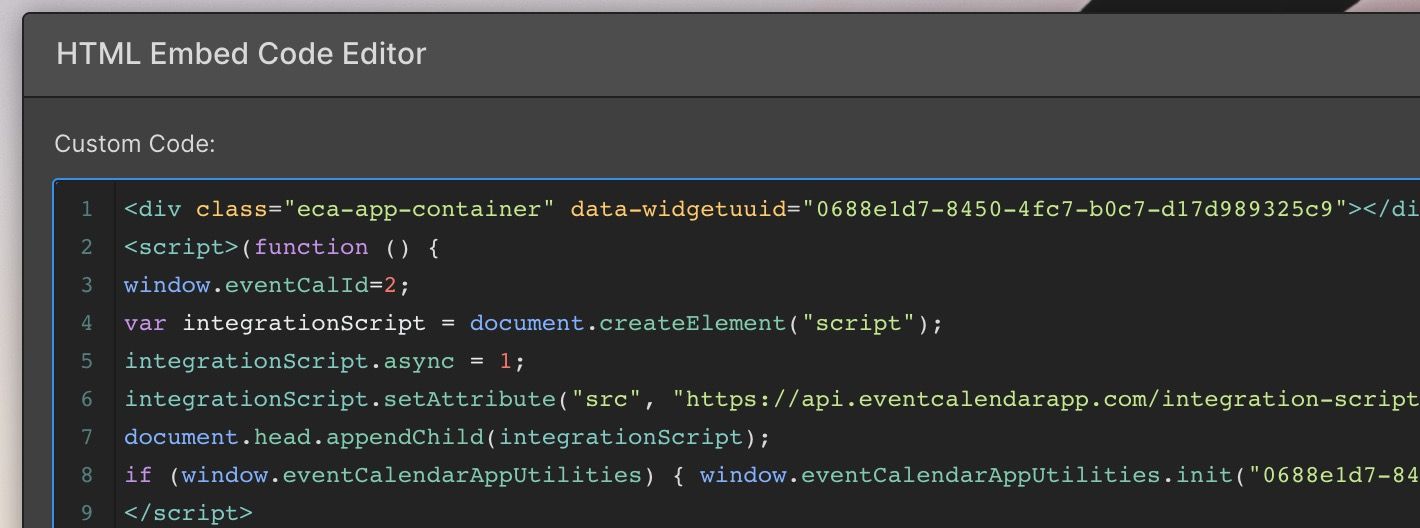
Once you click save and close you will see this:

This is fine. Webflow doesn't let you see external plugins while in edit mode, but when your site is live you'll be able to see the Event Calendar App widget absolutely fine.
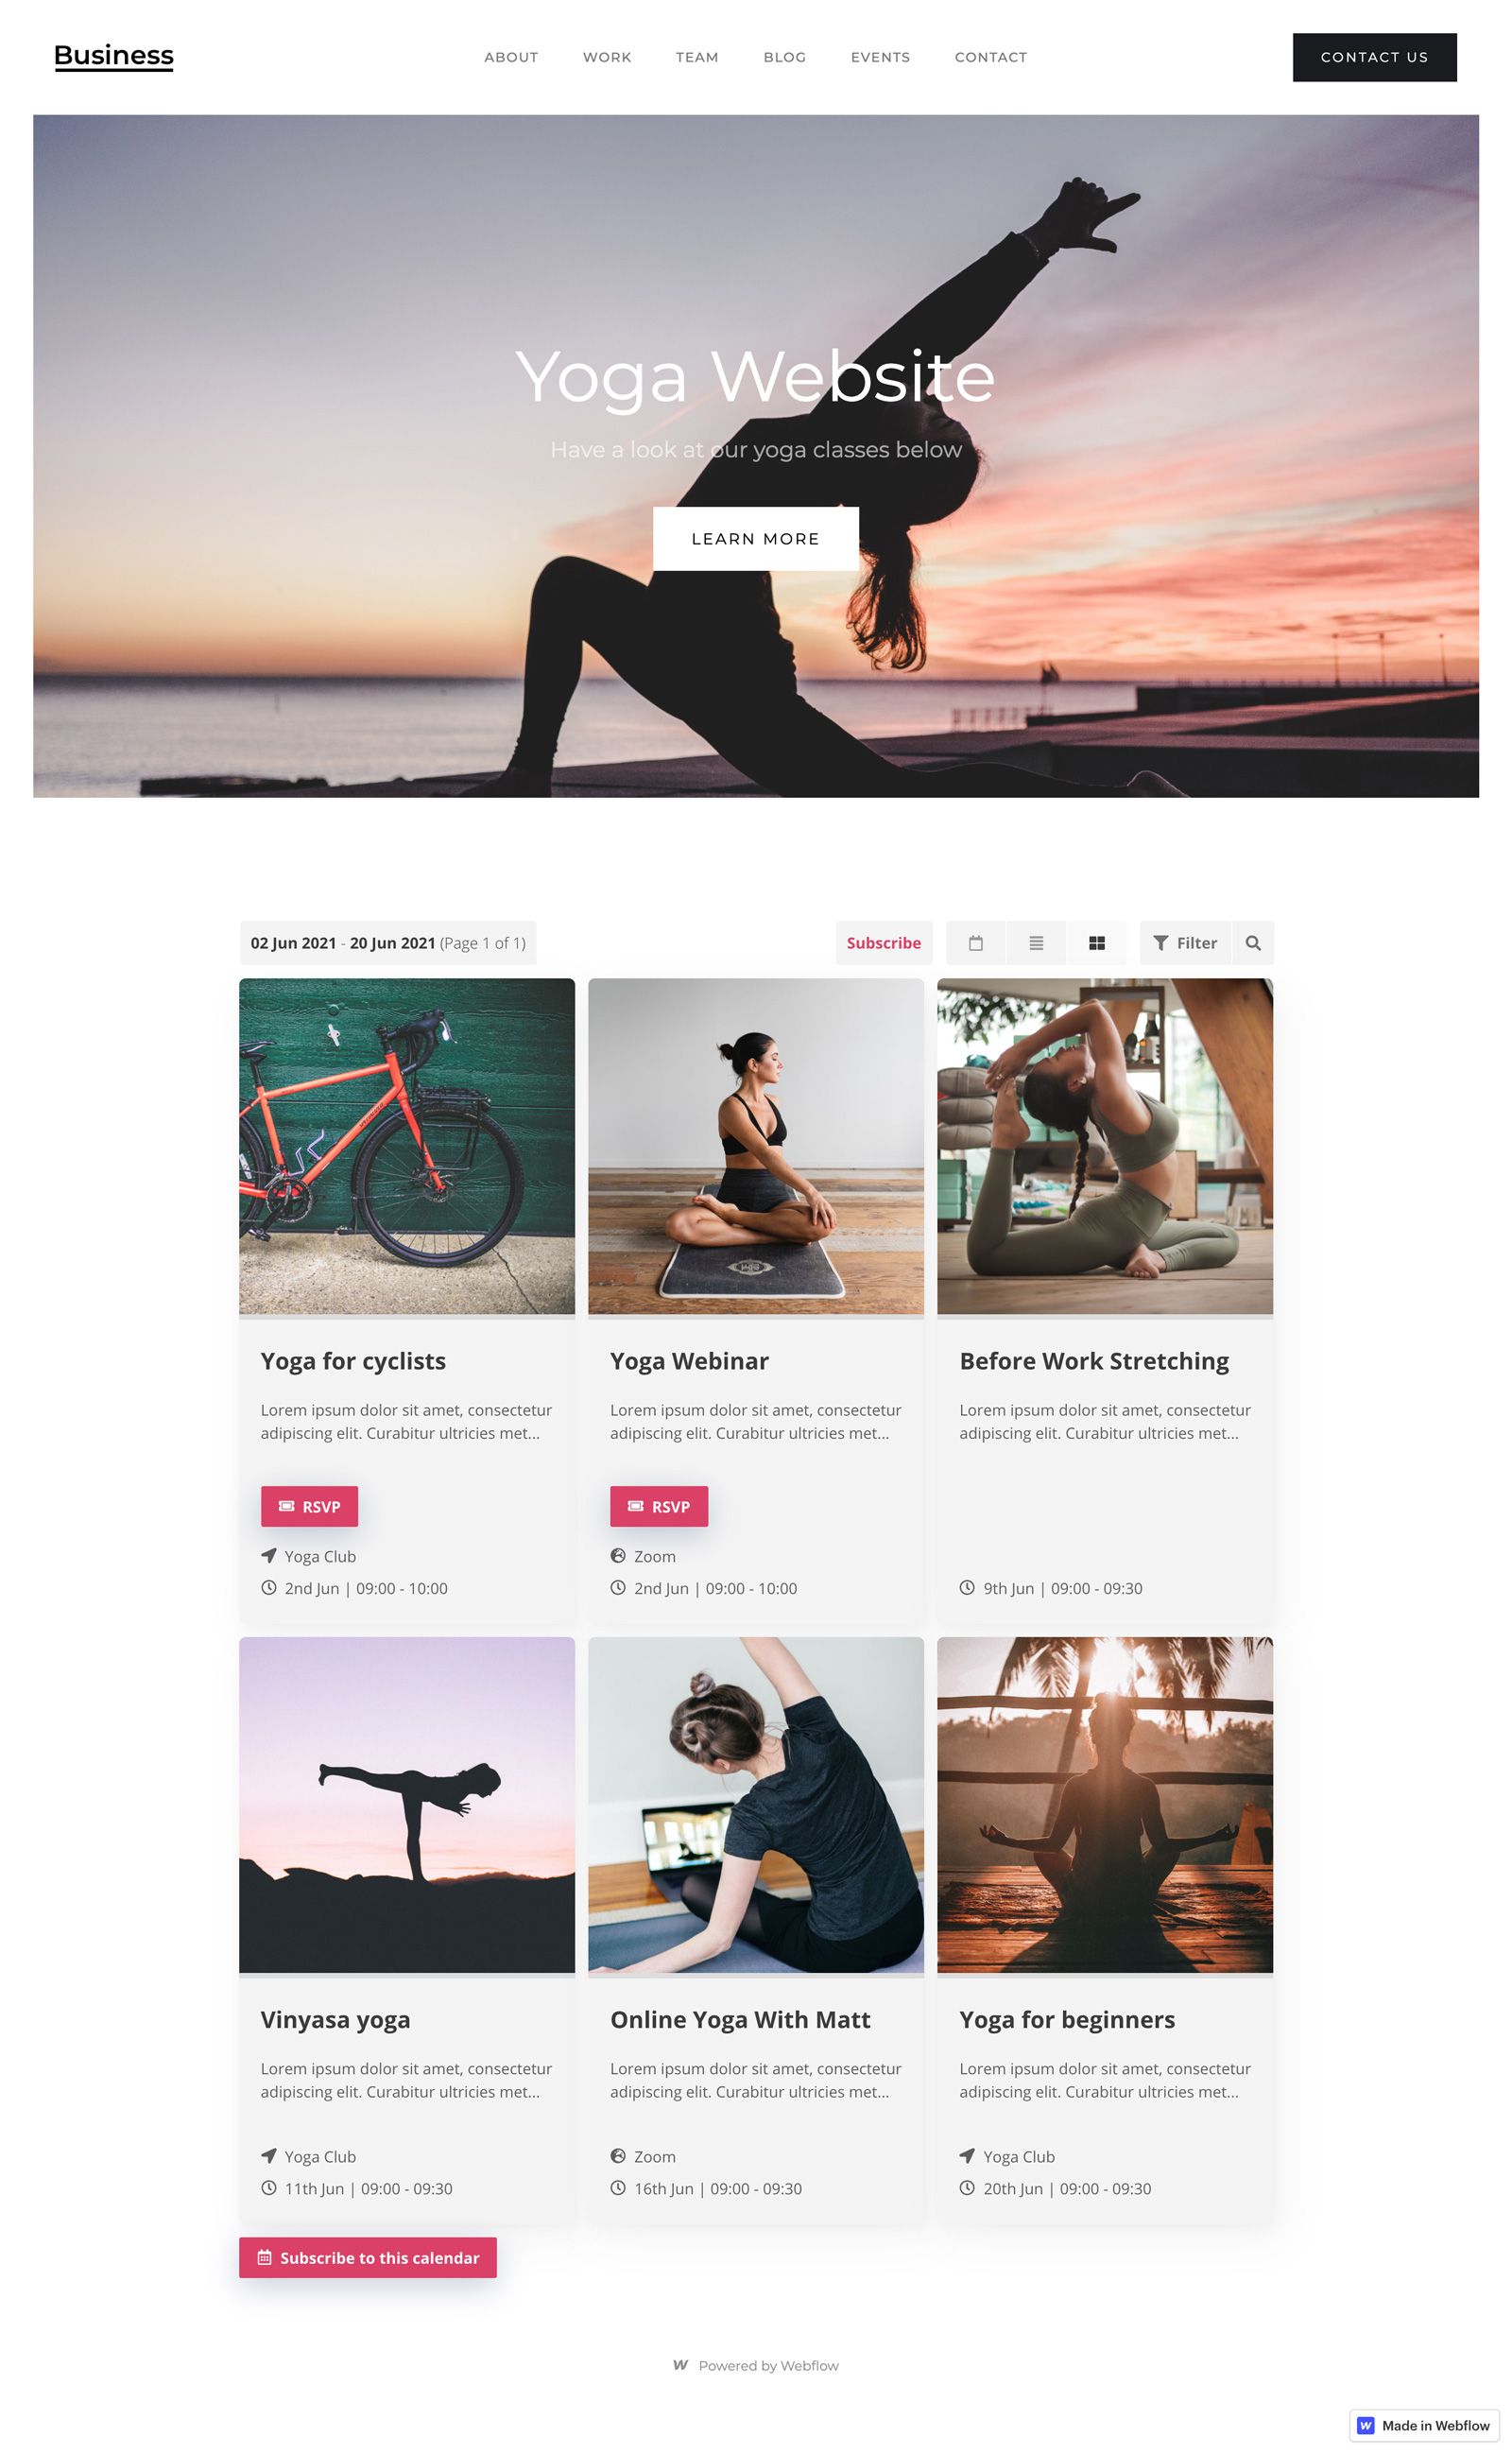
That's it! Hit publish in Webflow and checkout your live site. Your customer will now be able to browse and purchase tickets from your Webflow website:

Written by Alex Perry
Hey 👋, I’m Alex, founder of Event Calendar App. I’ve been helping event organisers for nearly 10 years with events, classes, courses and workshops. Here's what I've learnt that might help you too.
