How to collect RSVPs to your event on Webflow
Do you have a Webflow website and you're looking at hosting an event or events that you would like to collect RSVP's to?
Collecting RSVPs is a great way of finding out who is coming to your event. It also allows you to limit numbers. For example, let's say you were hosting a 'Morning Coffee' event at your workplace. You could say that to attend you need to complete the RSVP process, and you could limit the number of RSVP's to (let's say) 30. This is also ideal for Covid times where most in person events are limited in numbers.
Collecting RSVPs is also a great place of entry for customers into your marketing funnel. It's a great idea to ask people if they would like to accept marketing emails from you as this effectively becomes an email capture point.
We're biased of course, but a great tool to do the above is Event Calendar App. Event Calendar App can be used to easily add a widget to your Webflow website that displays your events and allows people to RSVP to them. Let's take a look at how this would work.
Create the widget
Create an account on Event Calendar App and add your events:
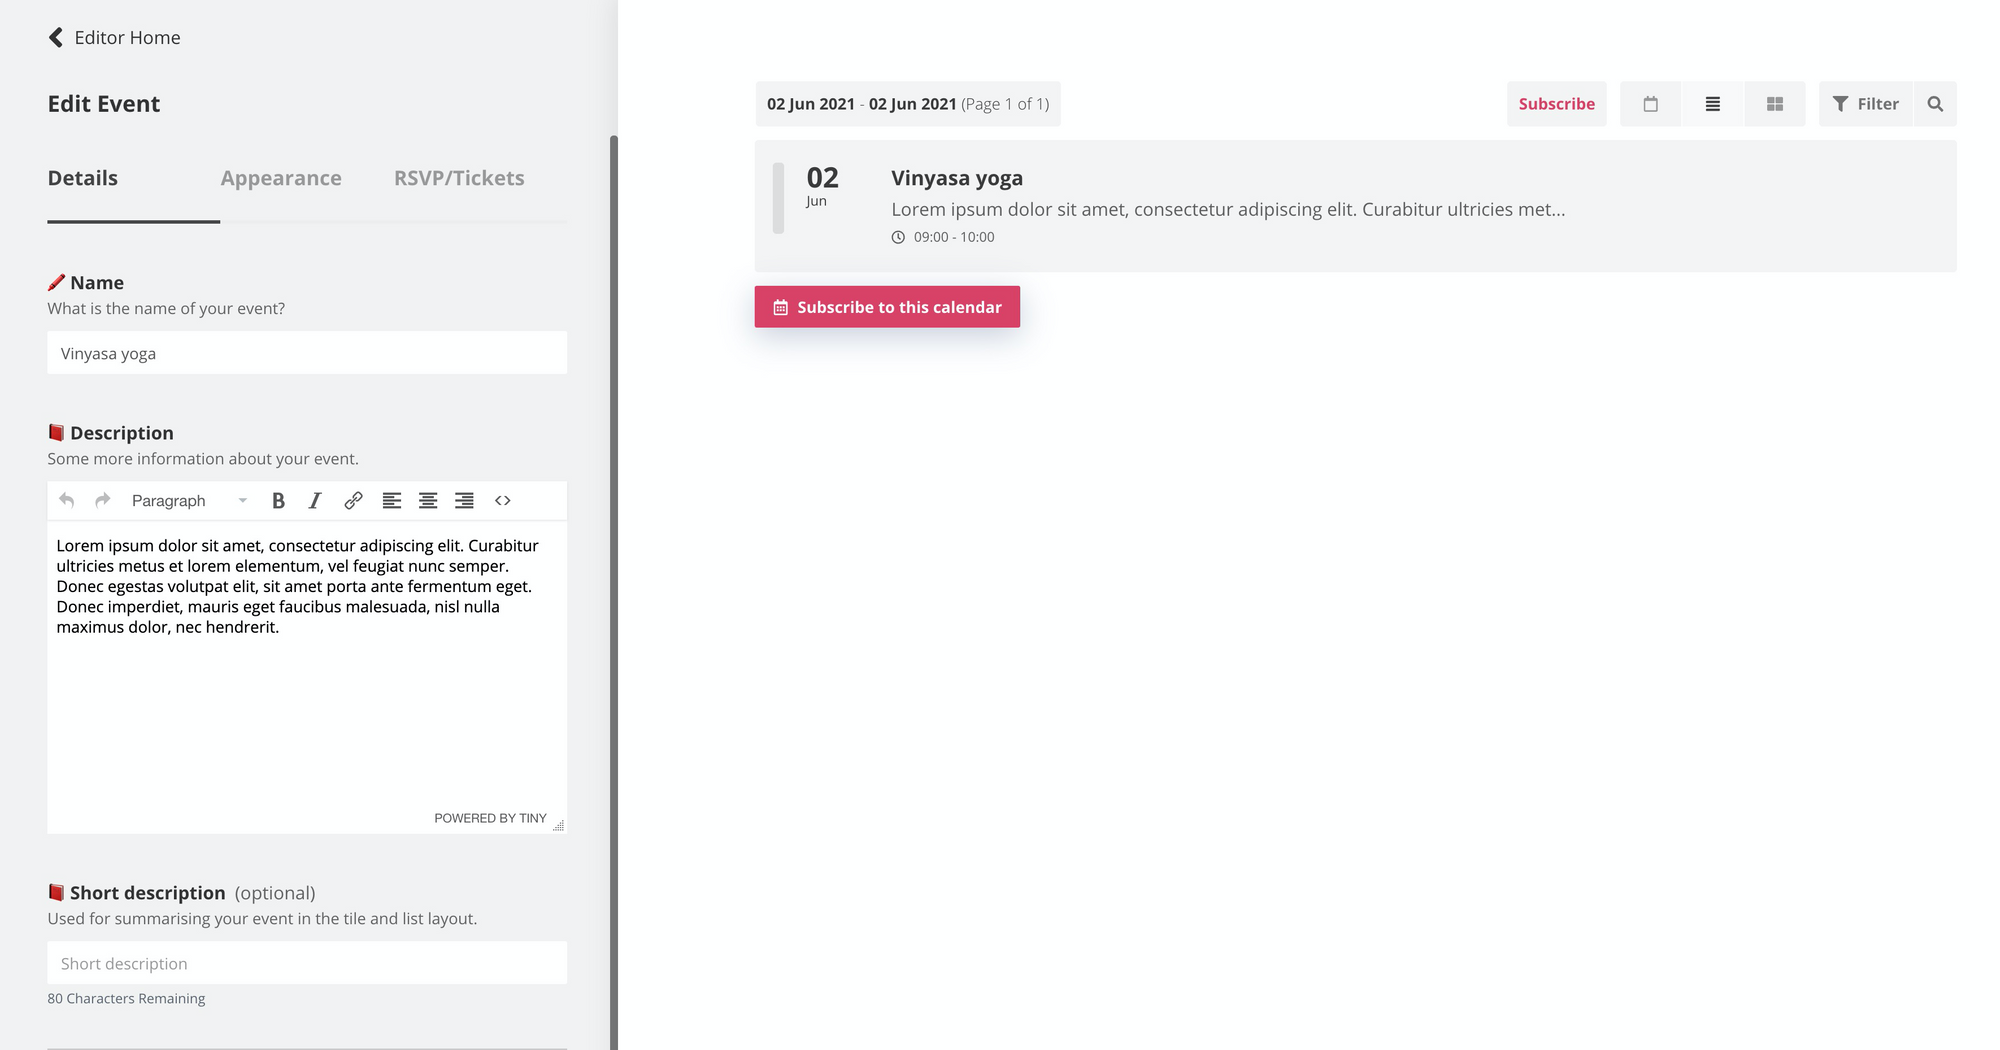
The right hand side shows you exactly how things will look on your Webflow website. And the left is used to modify and build.
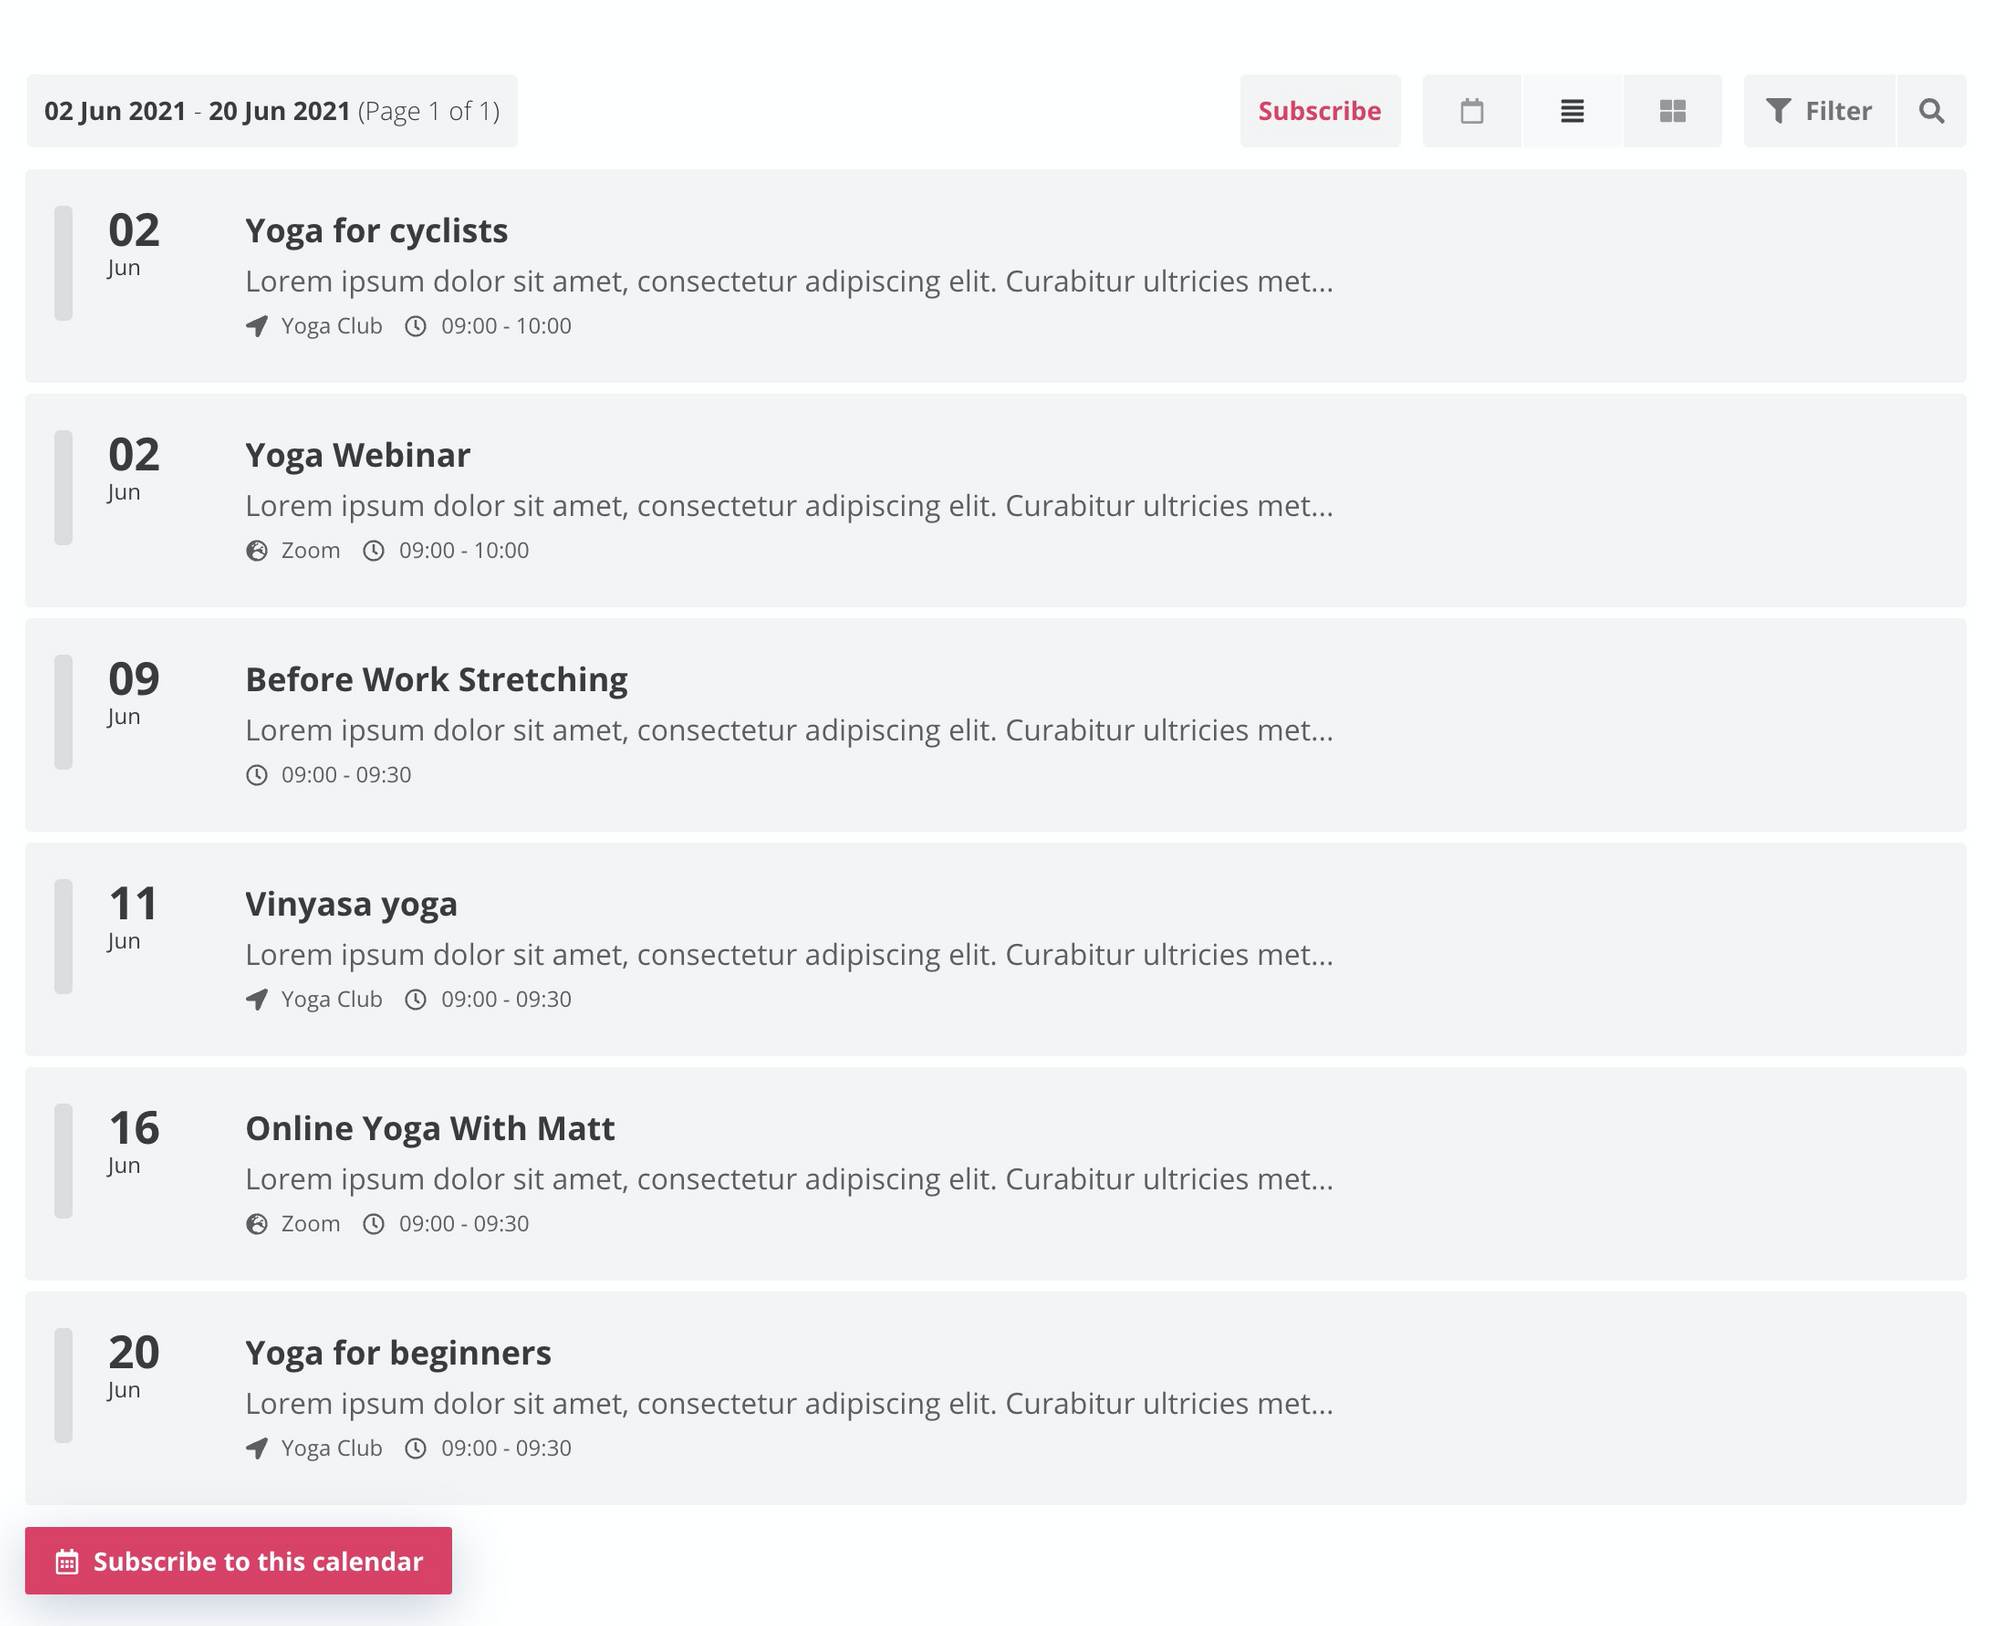
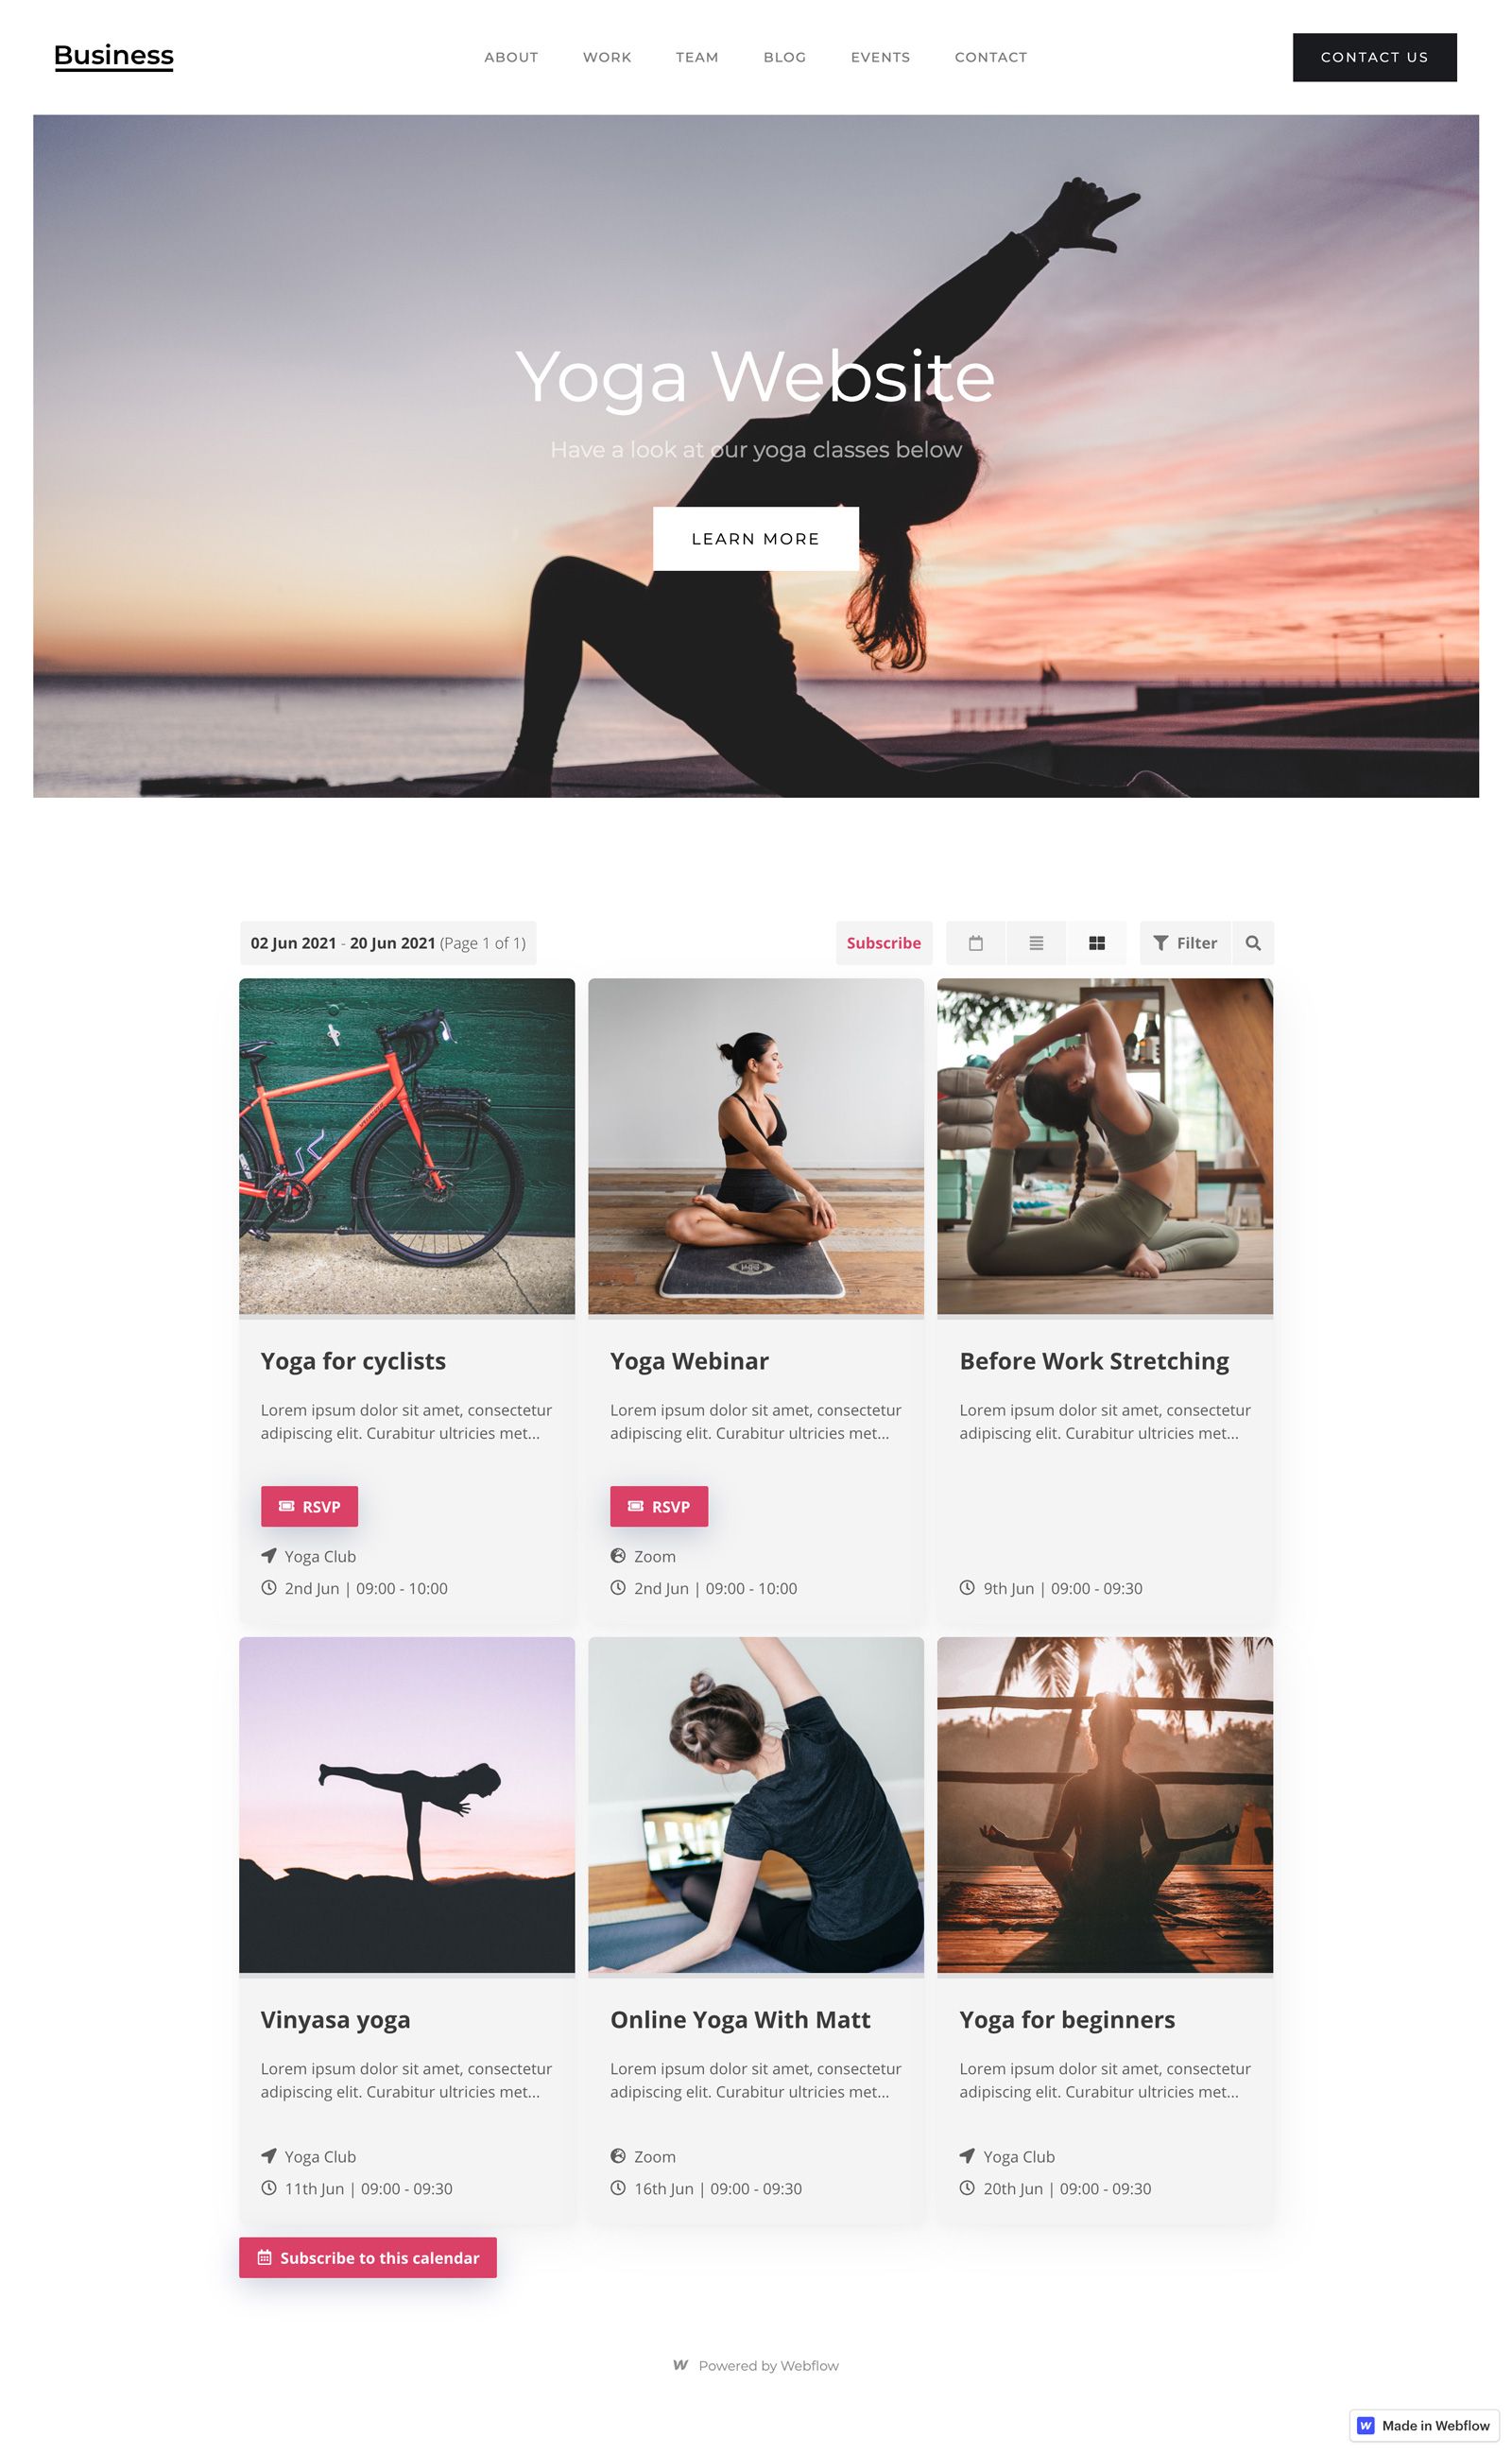
I'm going to demonstrate by adding some events for a pretend yoga studio. Keep going until you add all of your events:
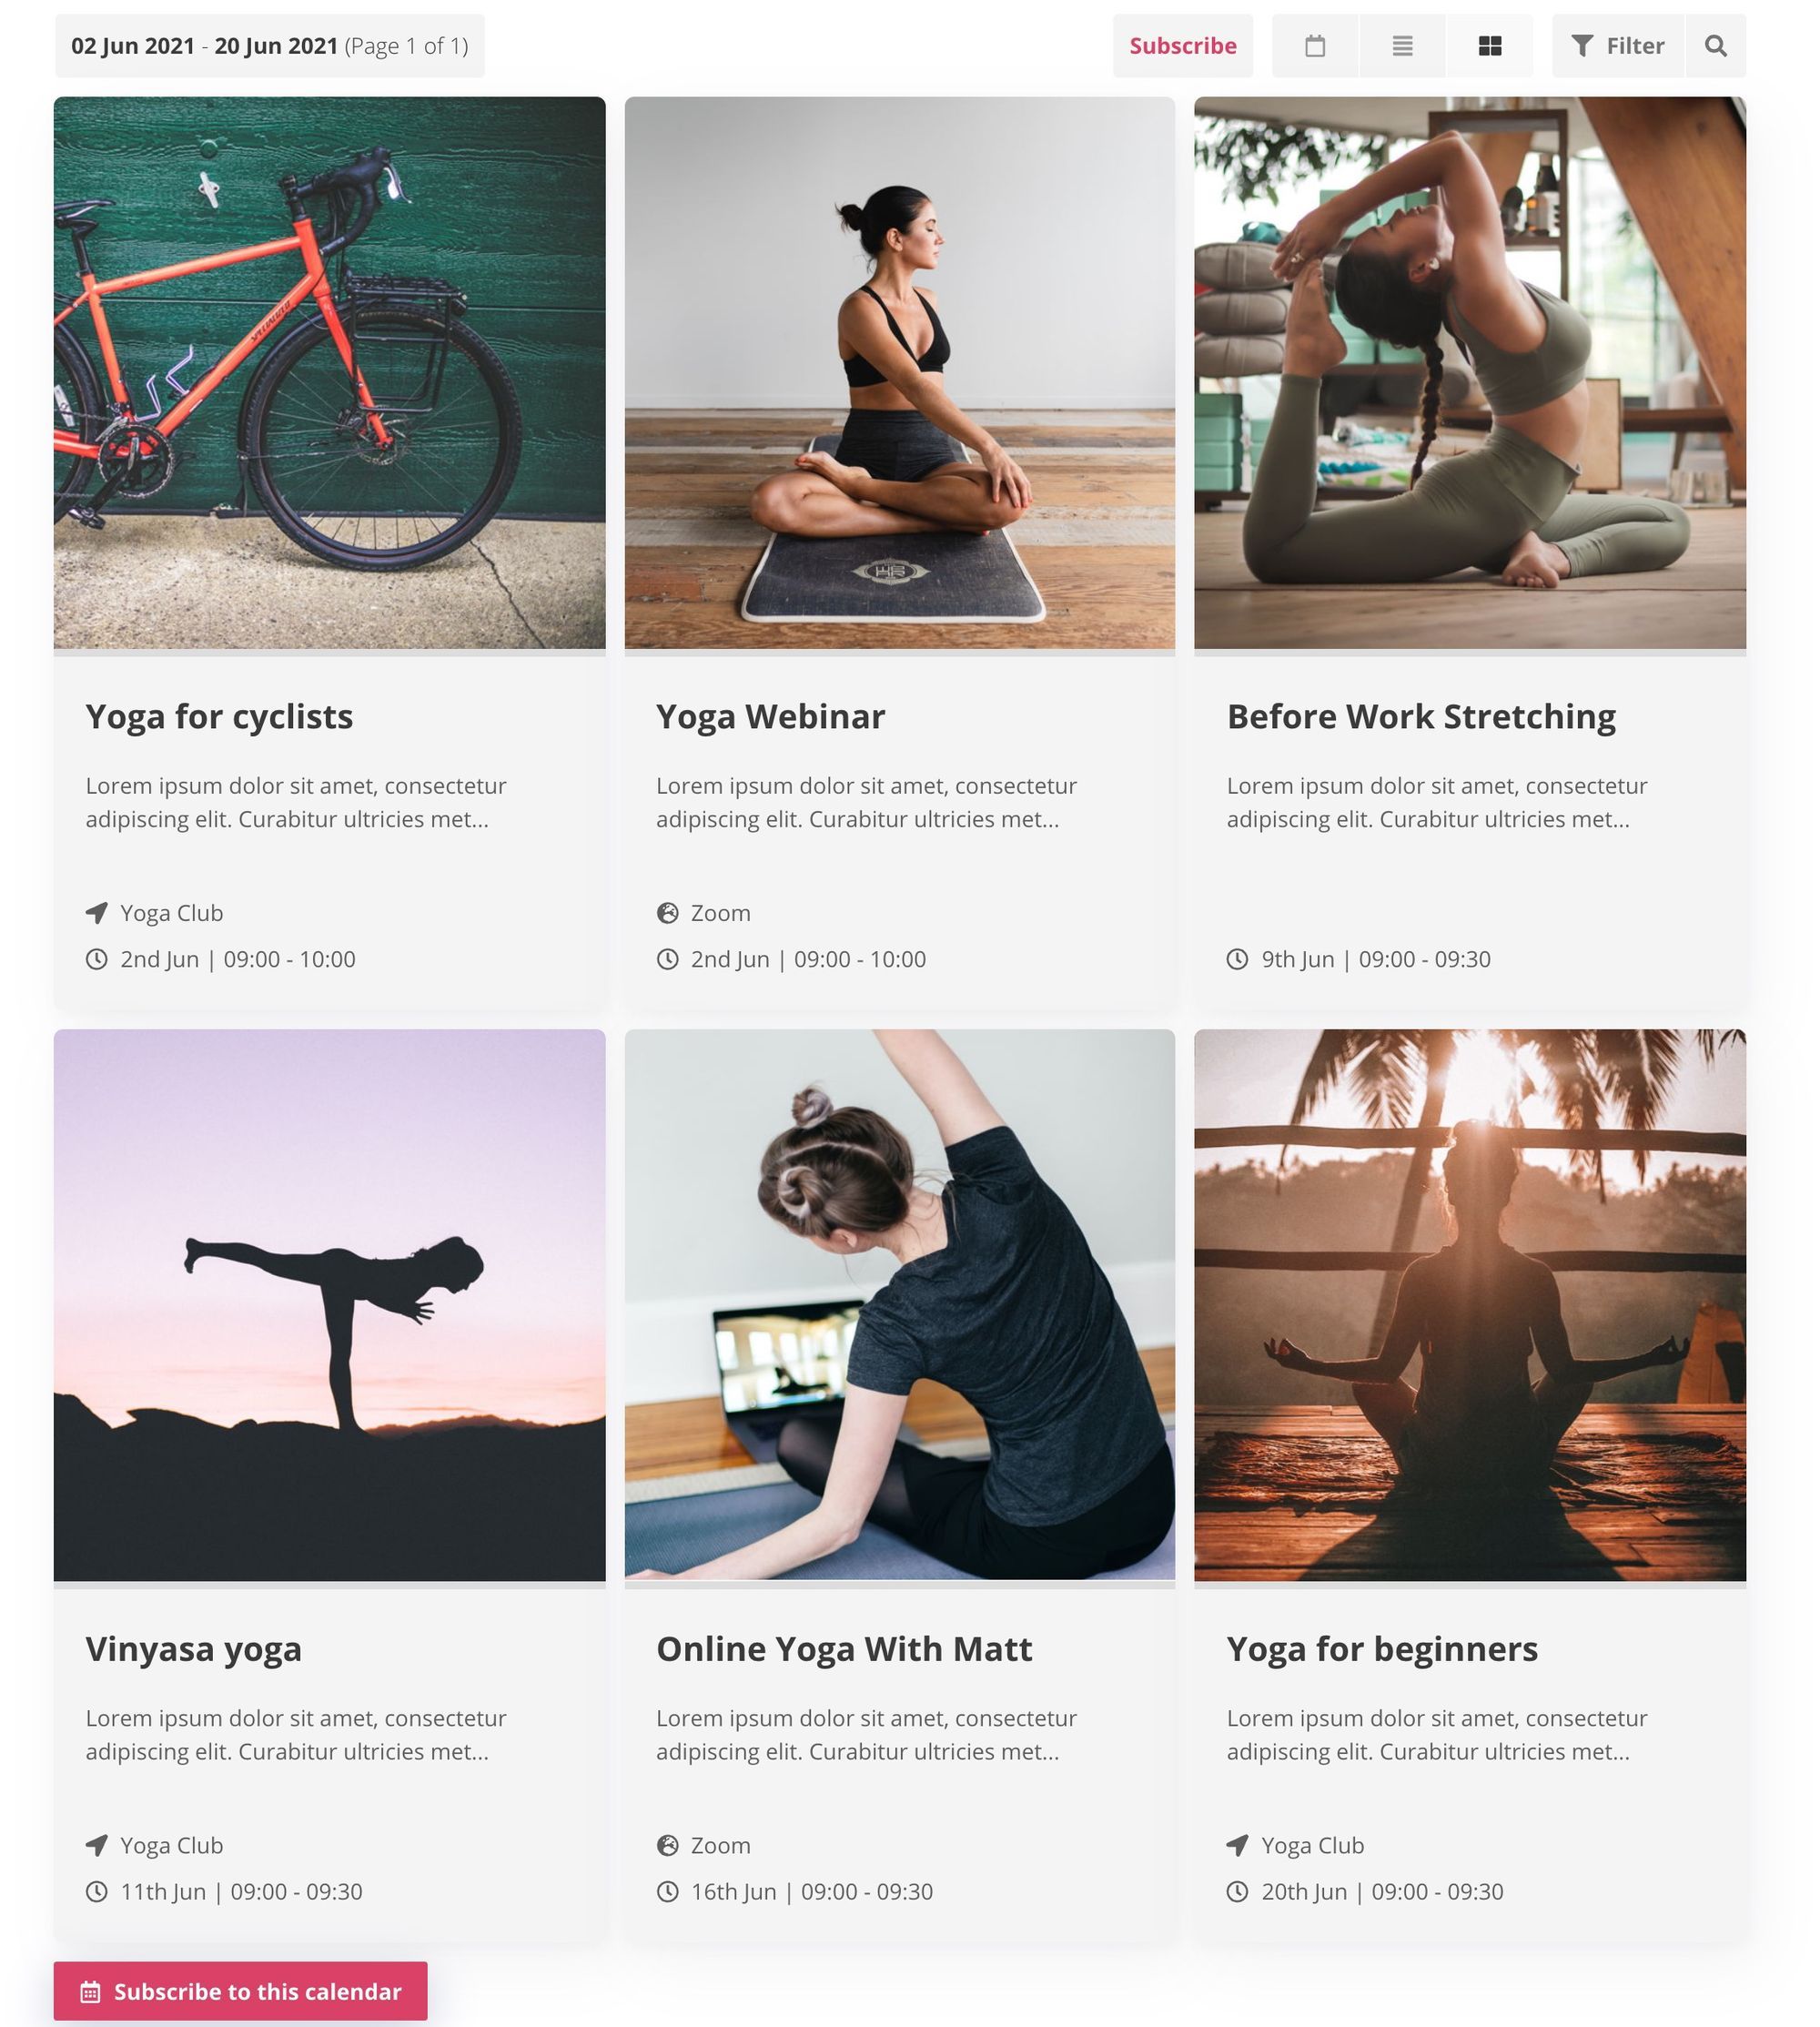
At this point you can also add images which really helps you make your events stand out:
Set up RSVP
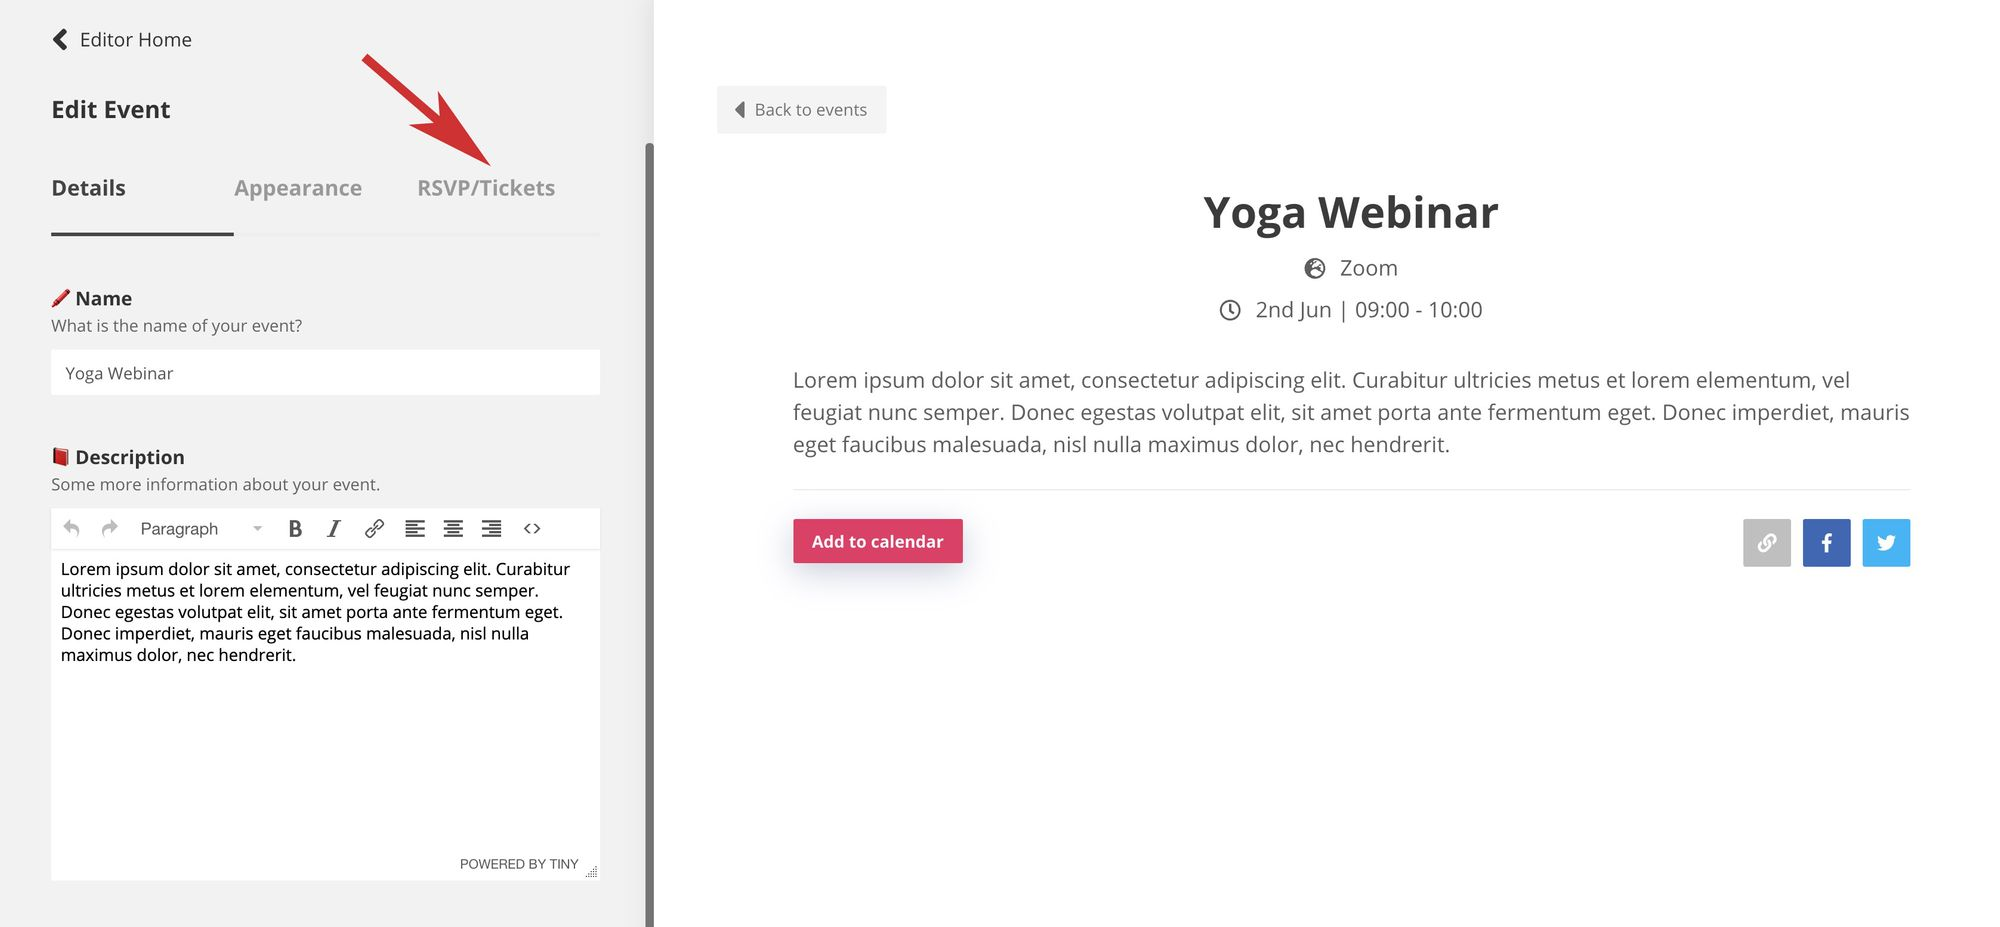
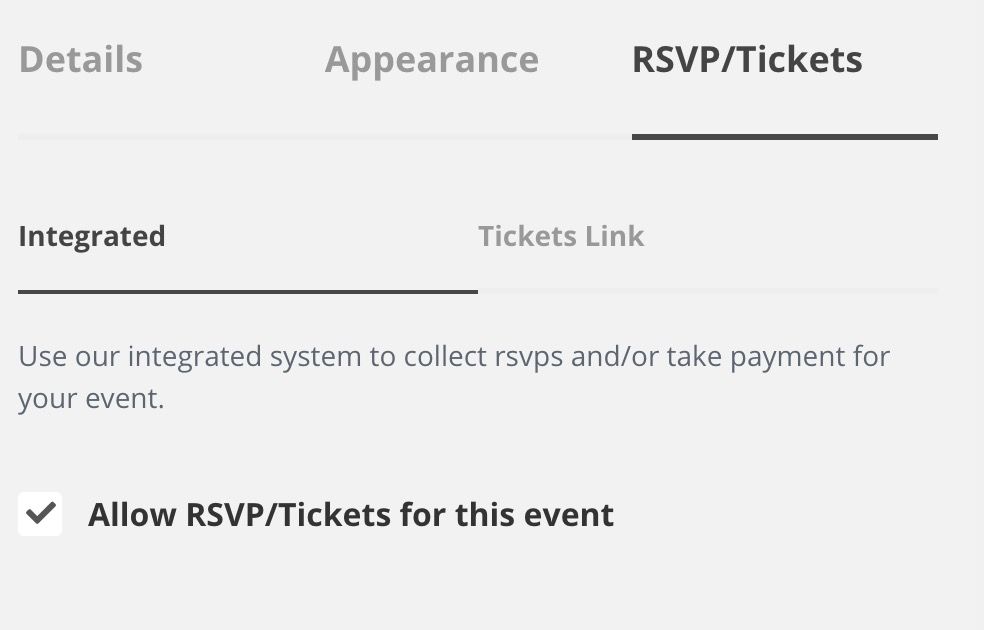
Ok great, now we're set up with our events, let's allow people to RSVP to them. To do this, click on the event and the panel on the left will show you all the options. Click the RSVP/Tickets tab:
Then click "Allow RSVPs for this event".
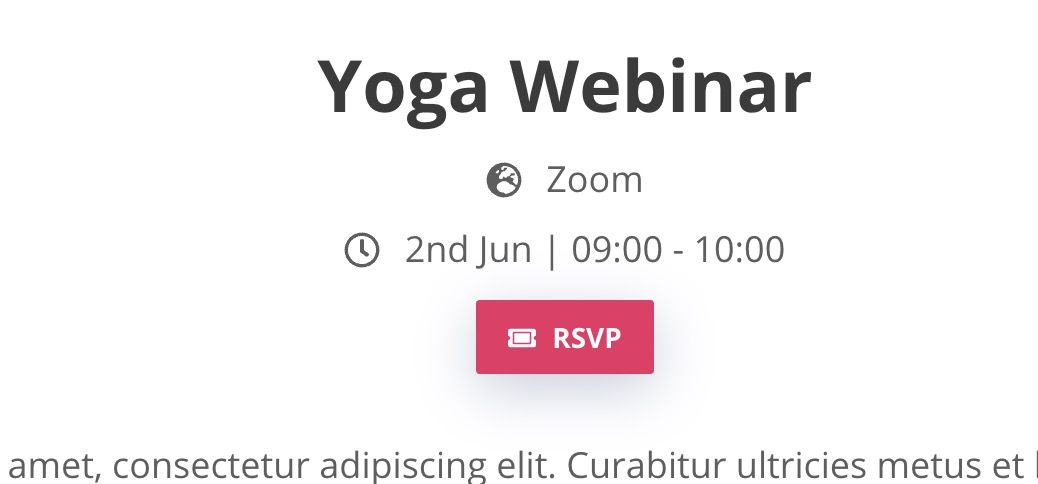
You'll see that a button now appears on the event!
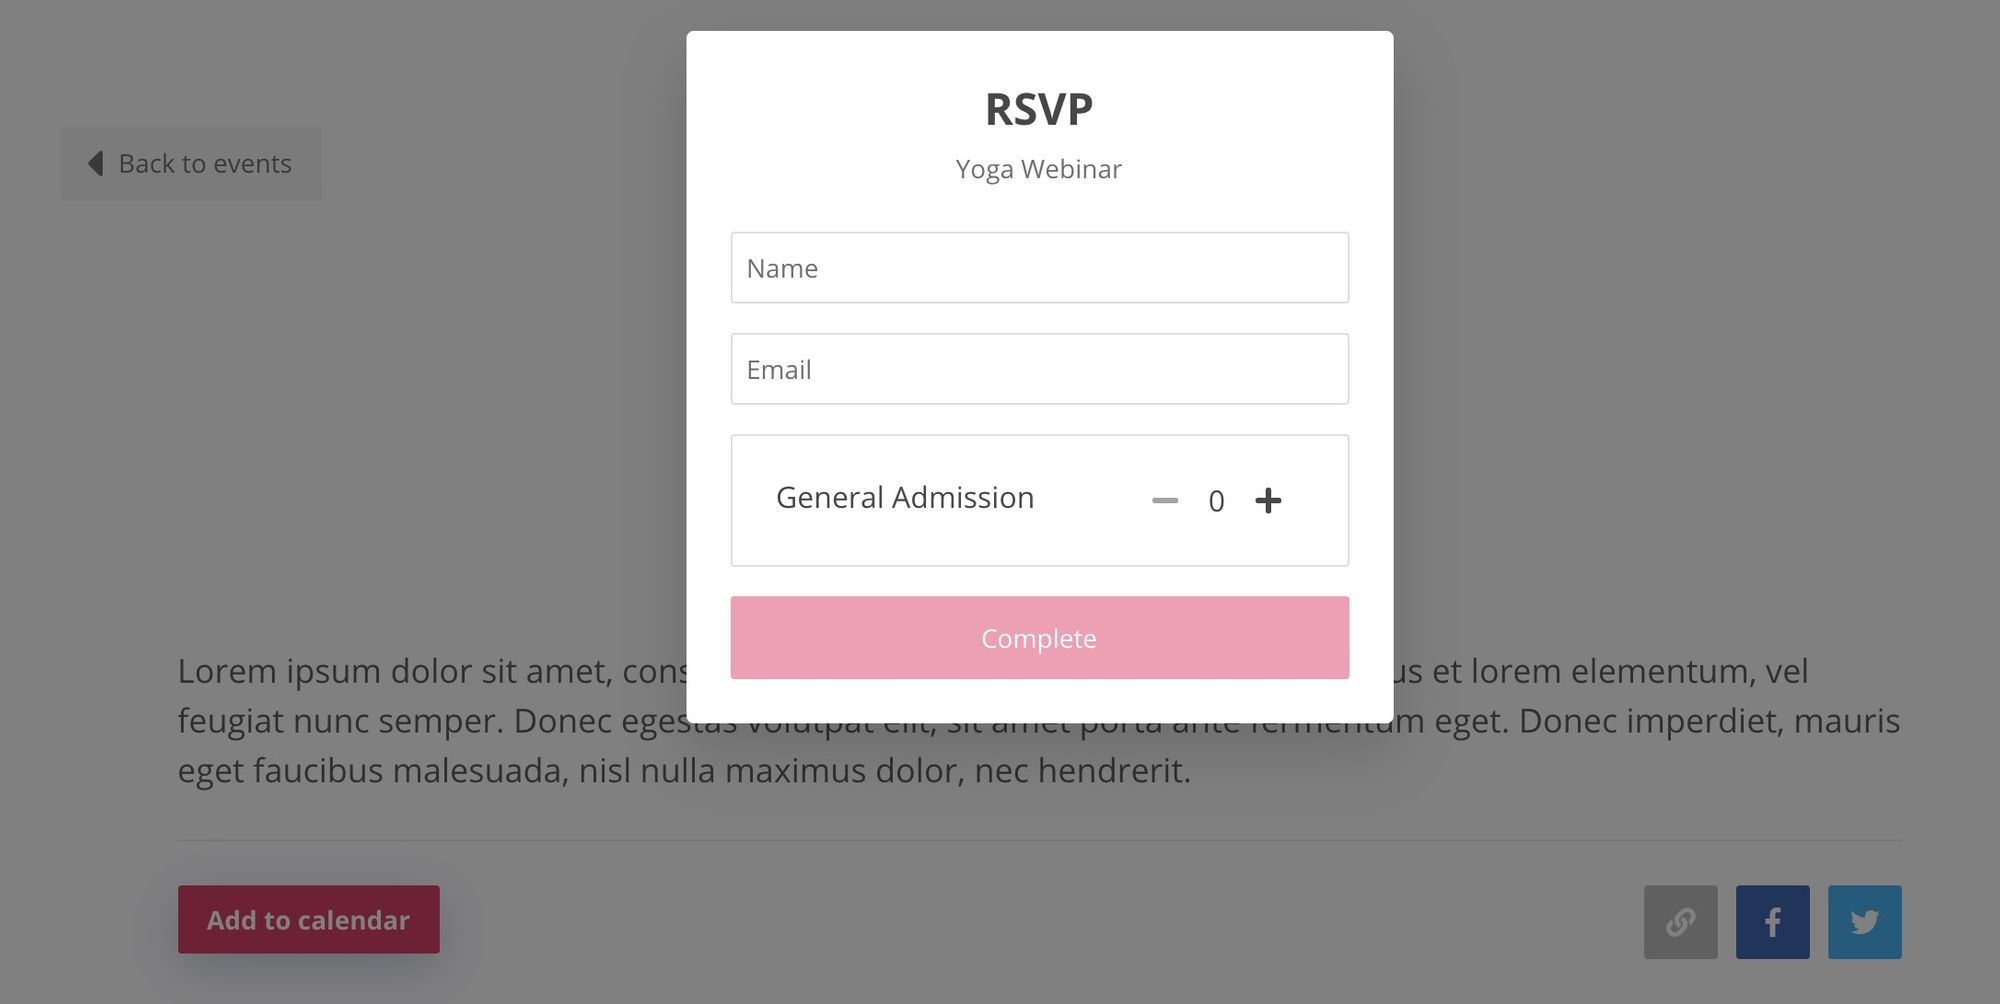
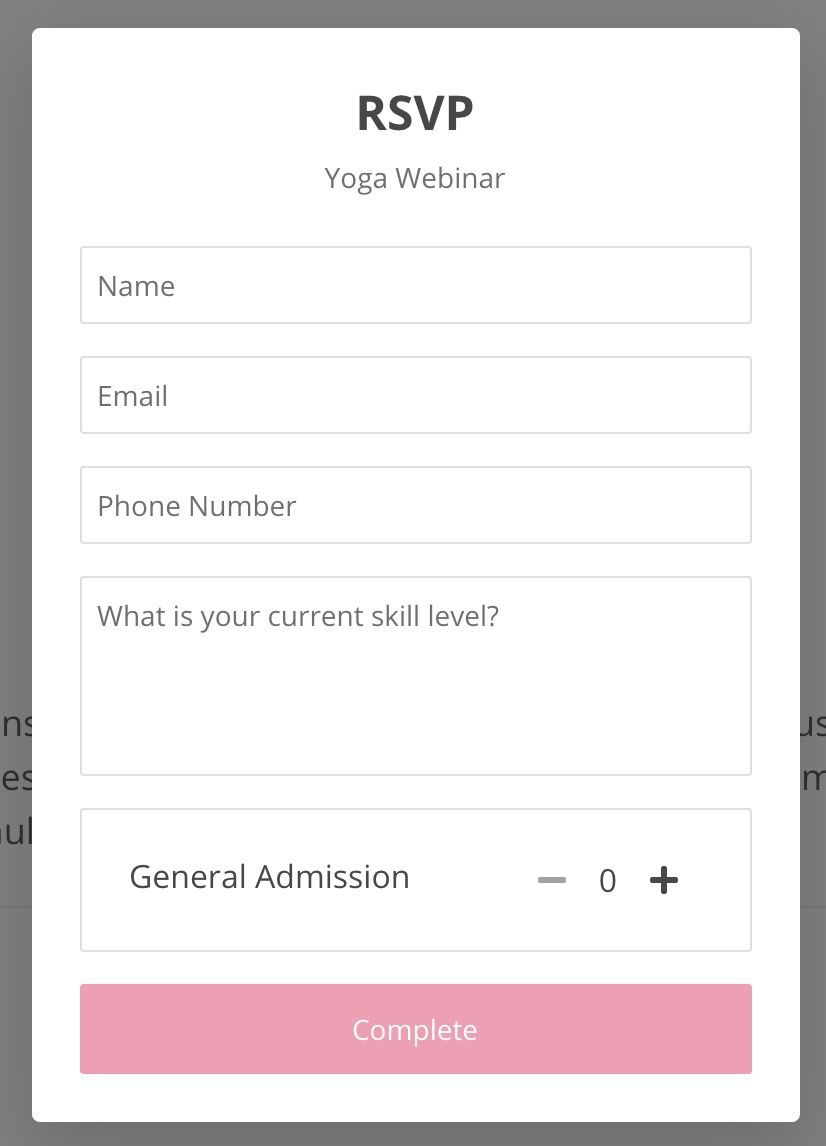
Clicking this opens a form that your customers will be able to fill out. Fancy!
There's a good chance that you will want to add additional fields to this form. For example you may want to collect phone numbers, an address, dietary requirements or anything else that applies to your event. You can do all this with the RSVP Form Fields option.
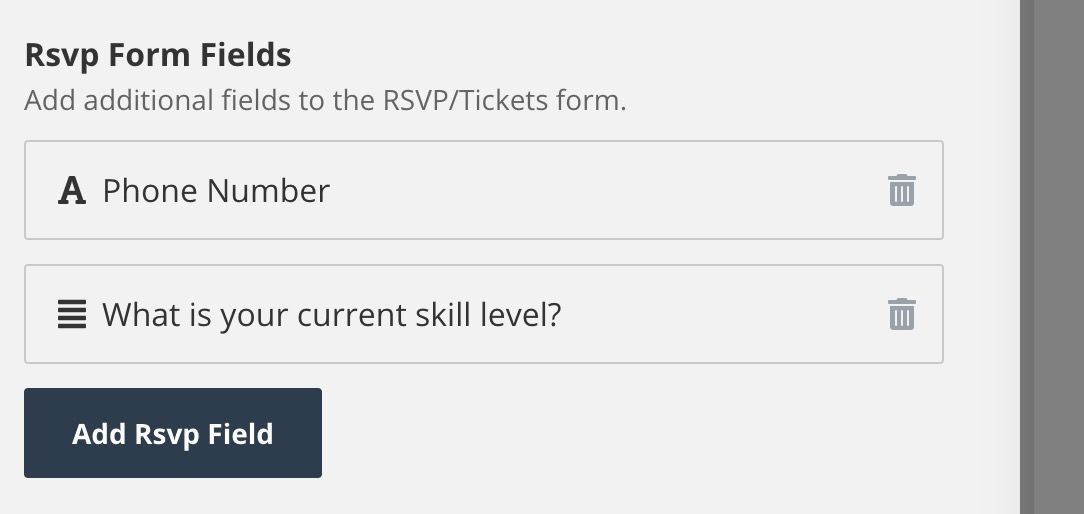
In this example I've added some extra fields that will now appear in the form.
Other important options are the limit and confirmation email message options.
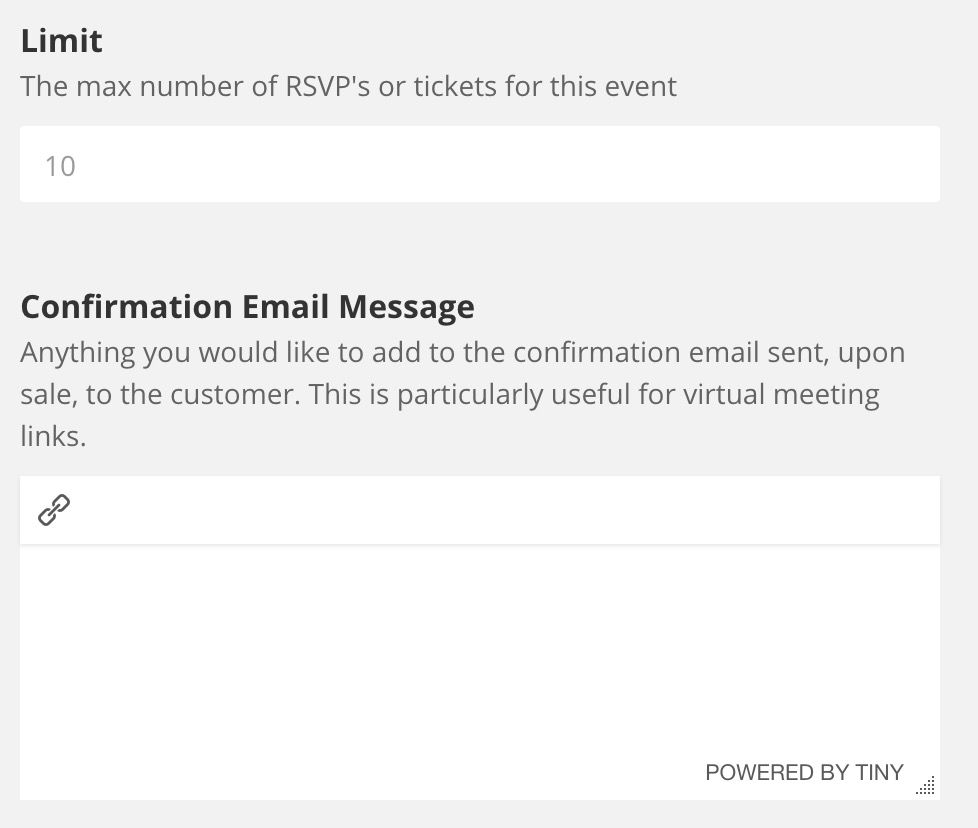
The limit option is great, for as we mentioned earlier, only allowing a certain number of people to RSVP to your event. After this number of RSVP's has been received, the button on the event will simply read 'sold out'.
The confirmation email message option is good particularly for virtual events. For example, lets say you were hosting a zoom webinar, you may want to only send the customer the link after they have RSVP'd, rather than making it public. You can also add any additional information about the event here.
Adding the widget to Webflow
We've wrote about this in detail here, however, here is a quick summary.
- Browse to the Webflow page you want to add the widget to. In my case I want to add it to the home page.
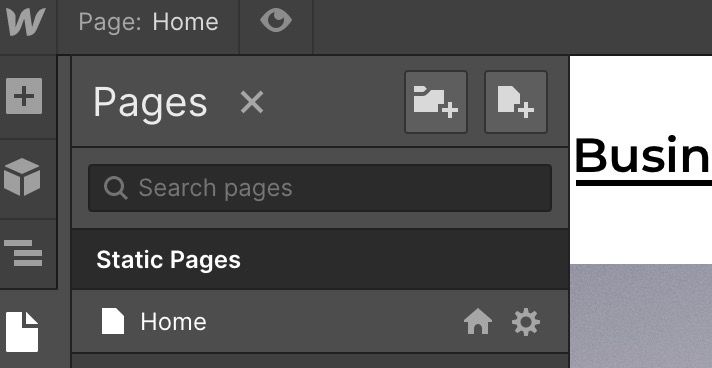
2. Add a element to your page that Event Calendar App will be added into. I find the container element works well because it sticks to the same width as the rest of the content on your page.

3. Inside of that container you then need to add a embed element.
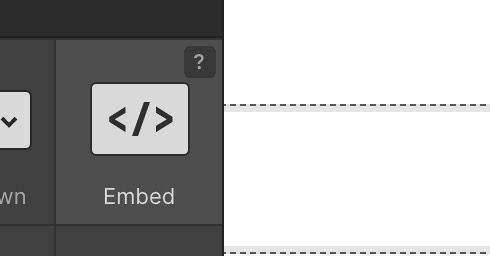
This will let you paste the embed code from Event Calendar App. Unfortunately Webflow doesn't show the widget while you're in edit mode and it will look like this:

However, not to worry, as soon as you publish your site, and view it as a customer would it will look much more like this:
Please get in touch if you have any questions at all. We are here to help!

Written by Alex Perry
Hey 👋, I’m Alex, founder of Event Calendar App. I’ve been helping event organisers for nearly 10 years with events, classes, courses and workshops. Here's what I've learnt that might help you too.
