How to charge for zoom meetings on your website
Would you like to sell tickets to events, classes, courses or webinars that you'll be hosting on zoom? And would you like to do all this from your own website?
Let's make it happen.
In this scenario, we're setting up online events for fictional bike shop 'Pezza's Pedals'. Everyone used to call me Pezza in school - cool bike store name right? No? Just me, anyway...
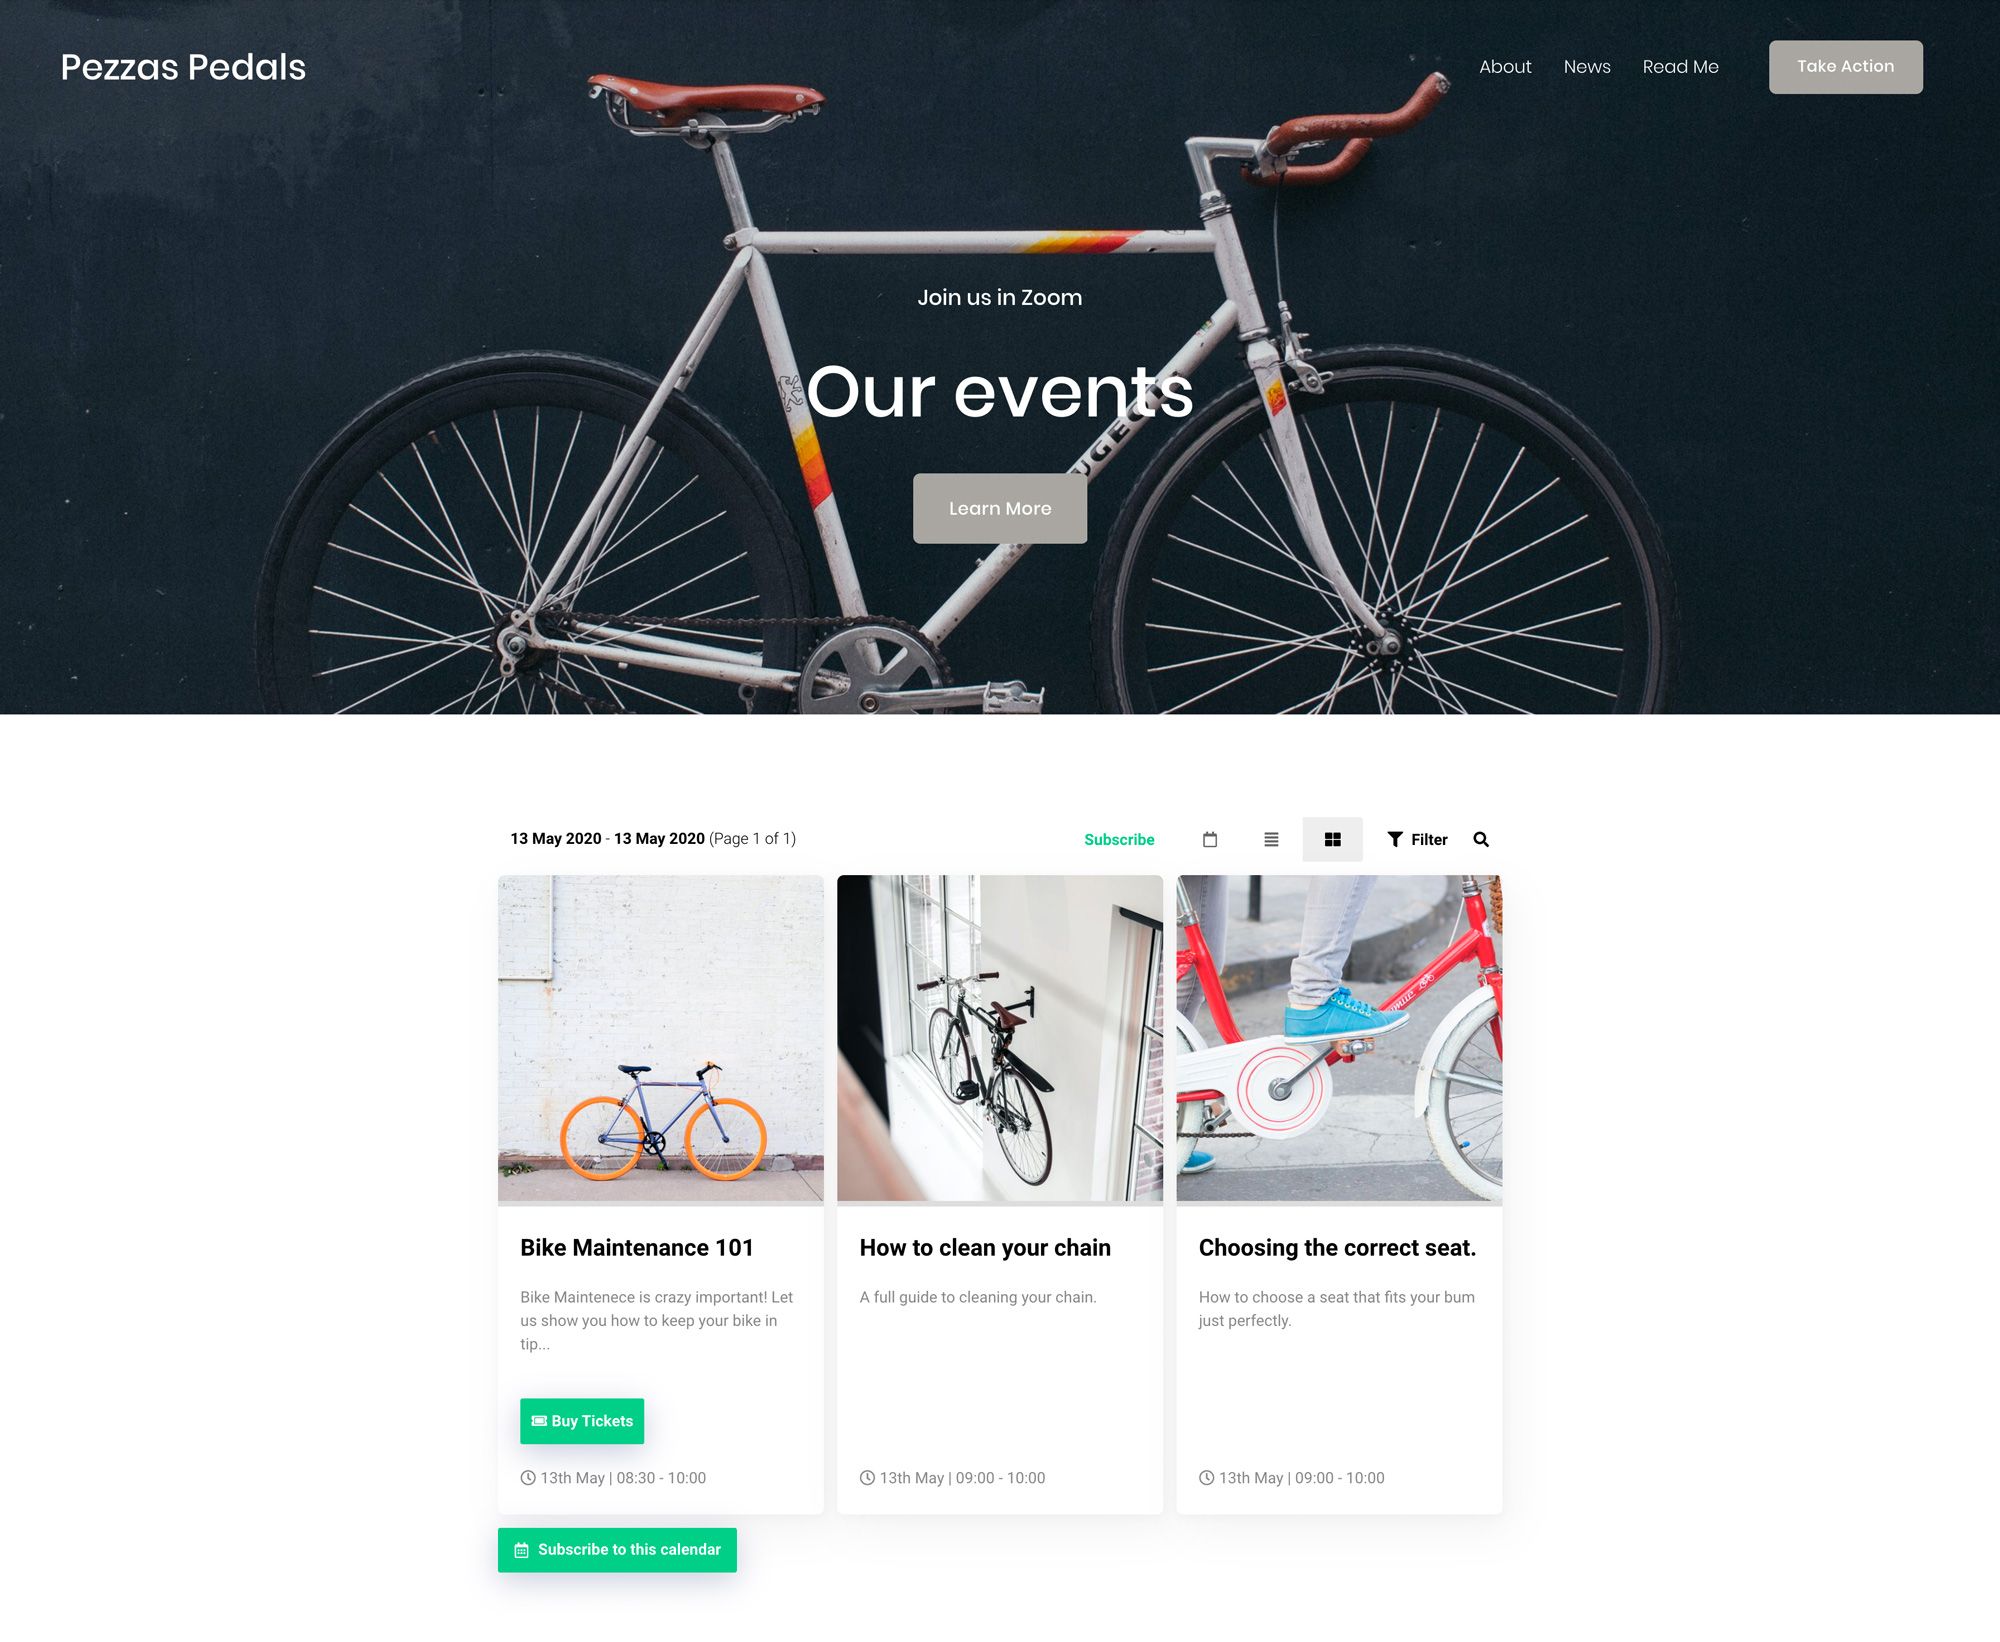
This is our final result:

Step 1 - Get Started
Sign up to Event Calendar App. Event Calendar App lets you create a powerful widget that you can add to your website, which your customers will use to pay for your Zoom meeting.
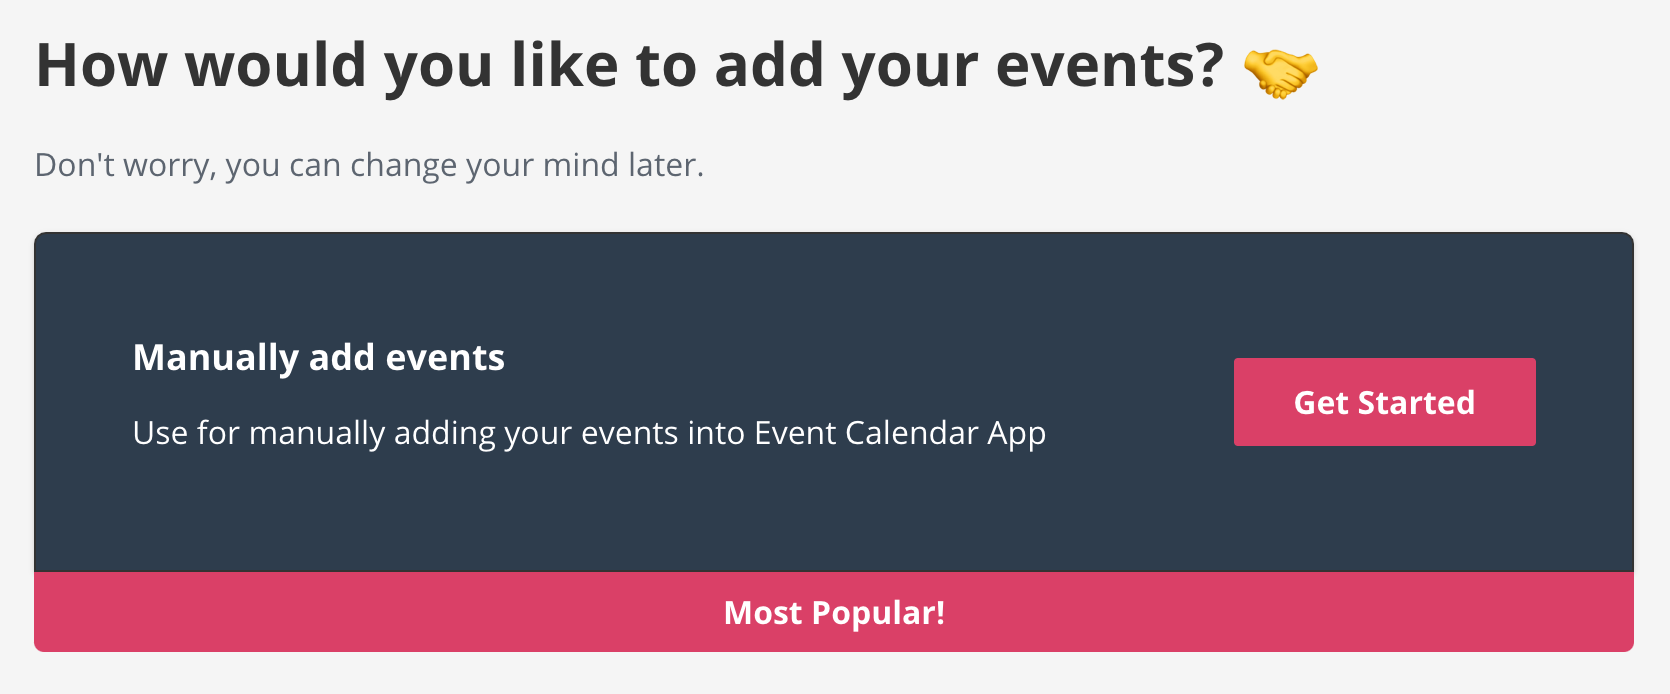
Choose how you'd like to add your events, manually is the most popular option.
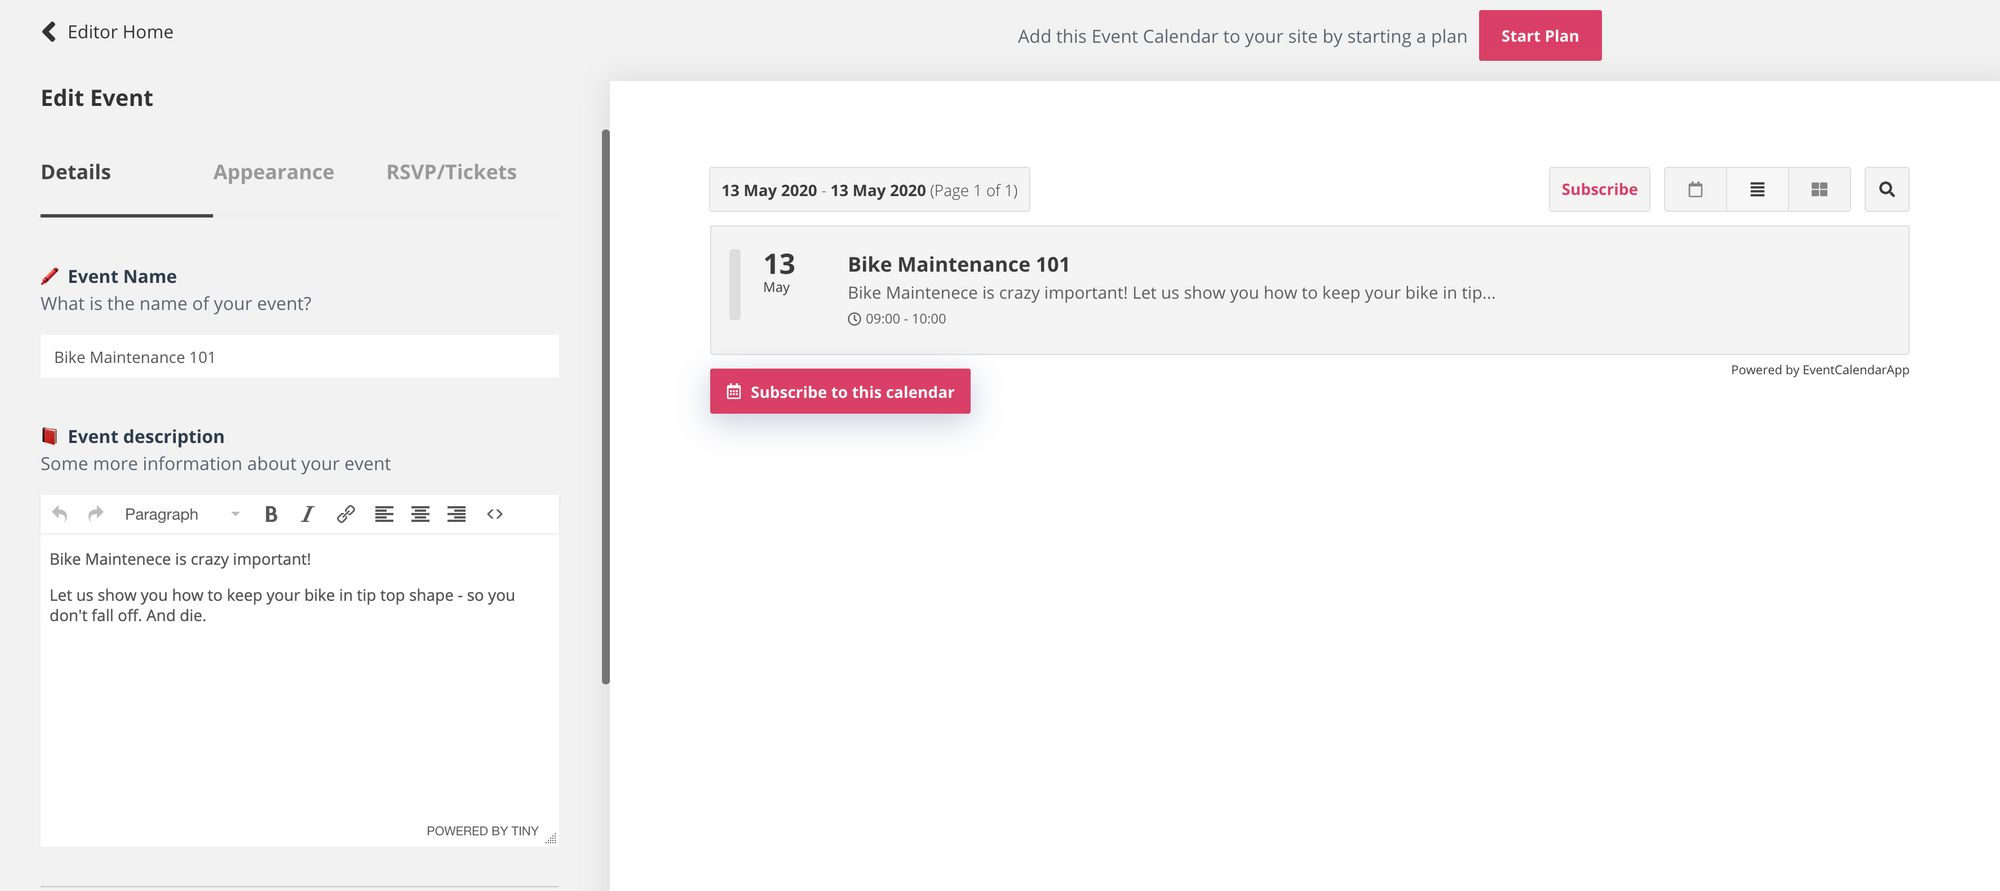
Give your Event Calendar a name and add your first event.
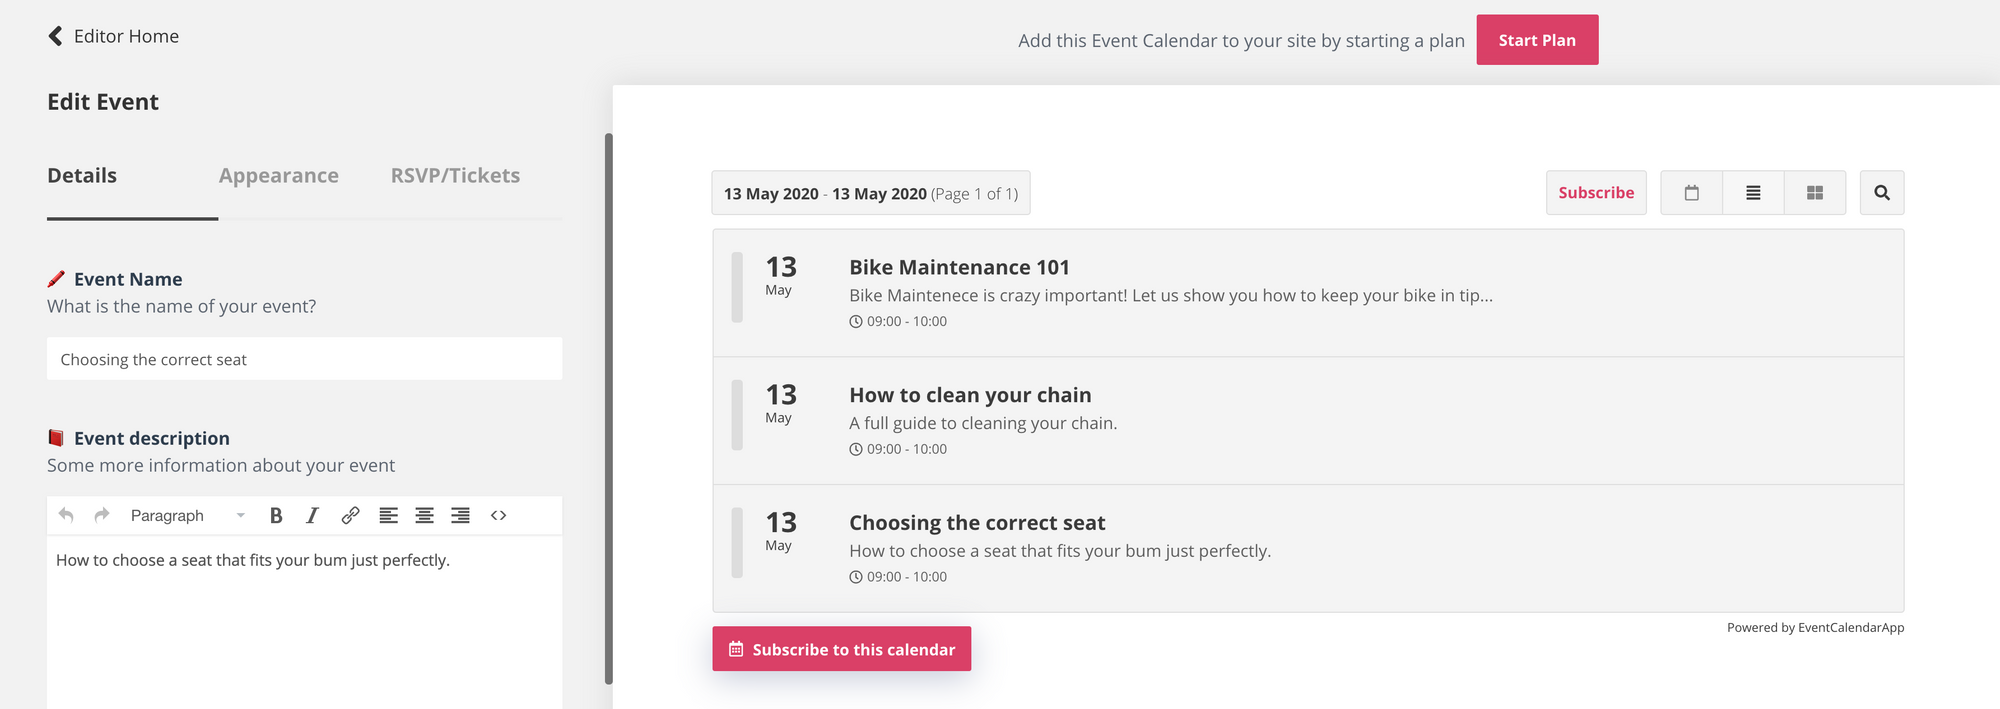
Feel free to go ahead and add any more events that you might be running.
Step 2 - Make it look excellent
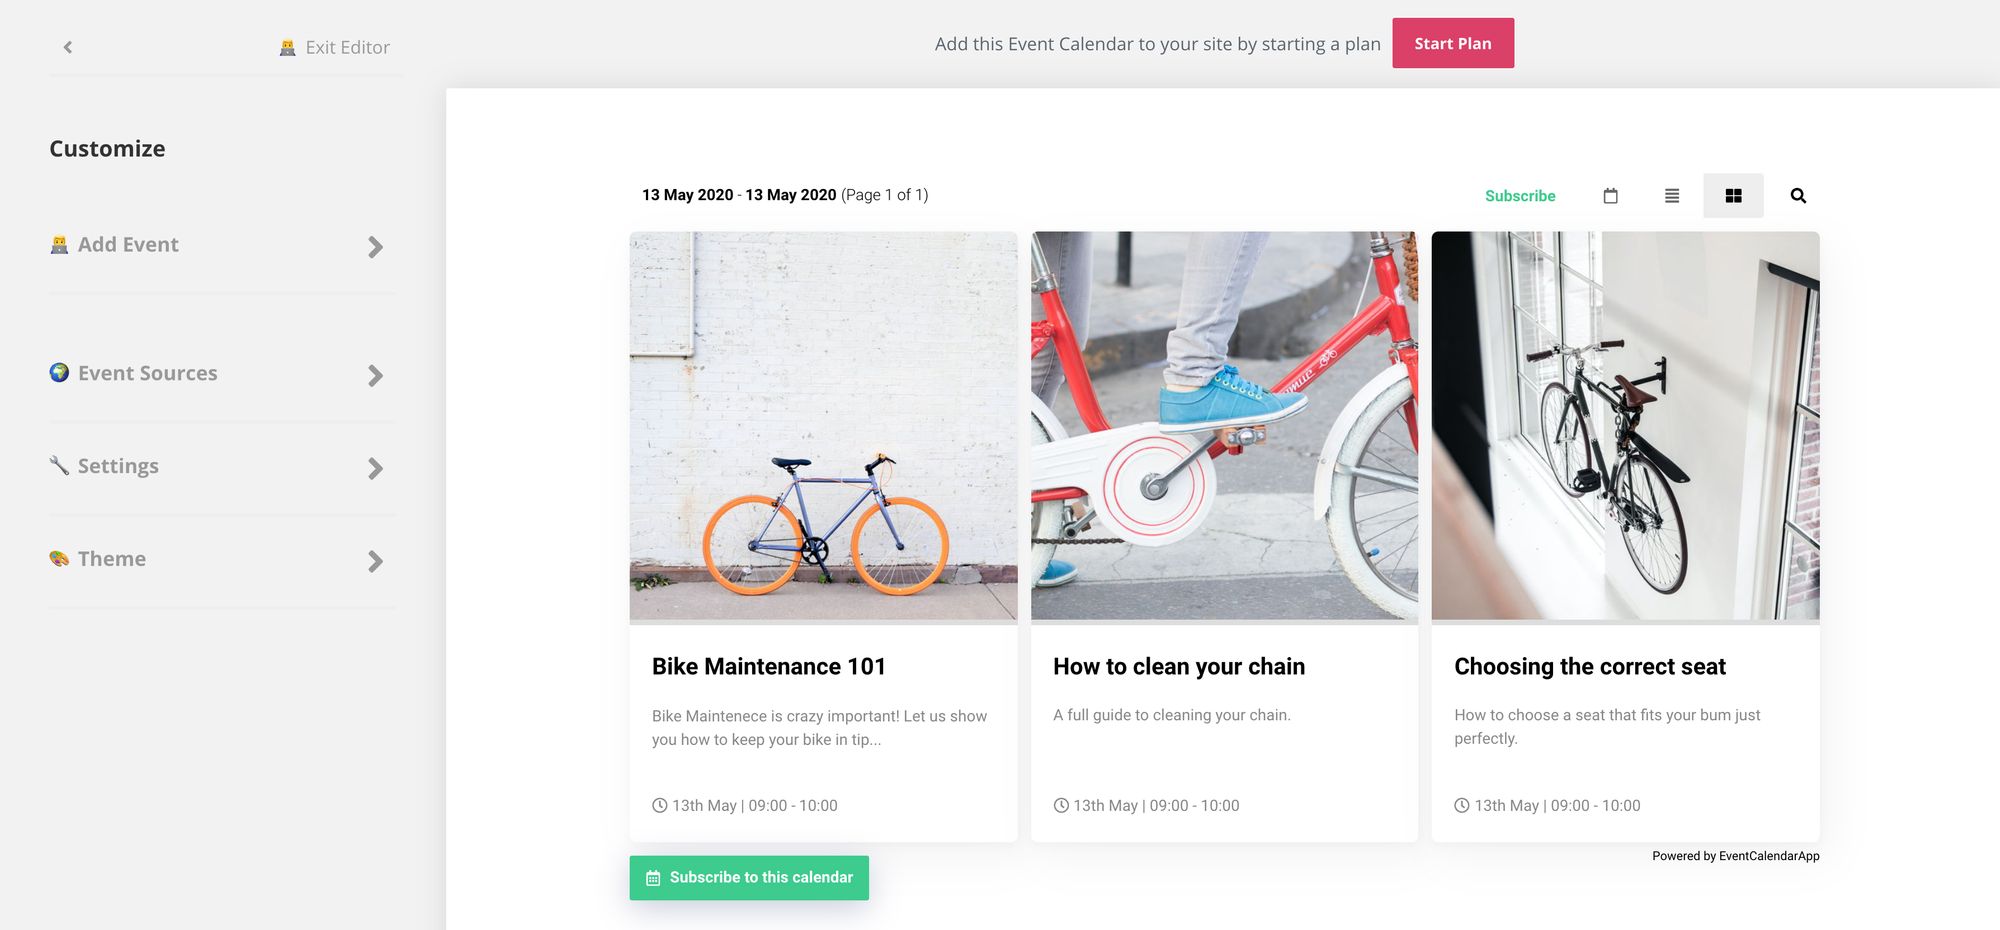
The default Event Calendar App theme is nice, but you can customise it to look exceptional.
In my case, I used the editor to change the theme to match the site I'm building for. I also head over to my favourite image site Unsplash and get some nice looking images of bikes.
Things now look 'sweeet' 👌. Customers are going to love this.
Step 3 - Set up Stripe
You now need to set up Stripe. Stripe is the payment processor we use to take payment. This just means that Stripe will act in the background, processing the payments and keeping payment records. We certainly don't want to be keeping these ourselves.
Follow the guide here and add Stripe keys to your account.
Step 4 - Add tickets to the event
Back in the editor, click on the event and head to the RSVP/Tickets tab.
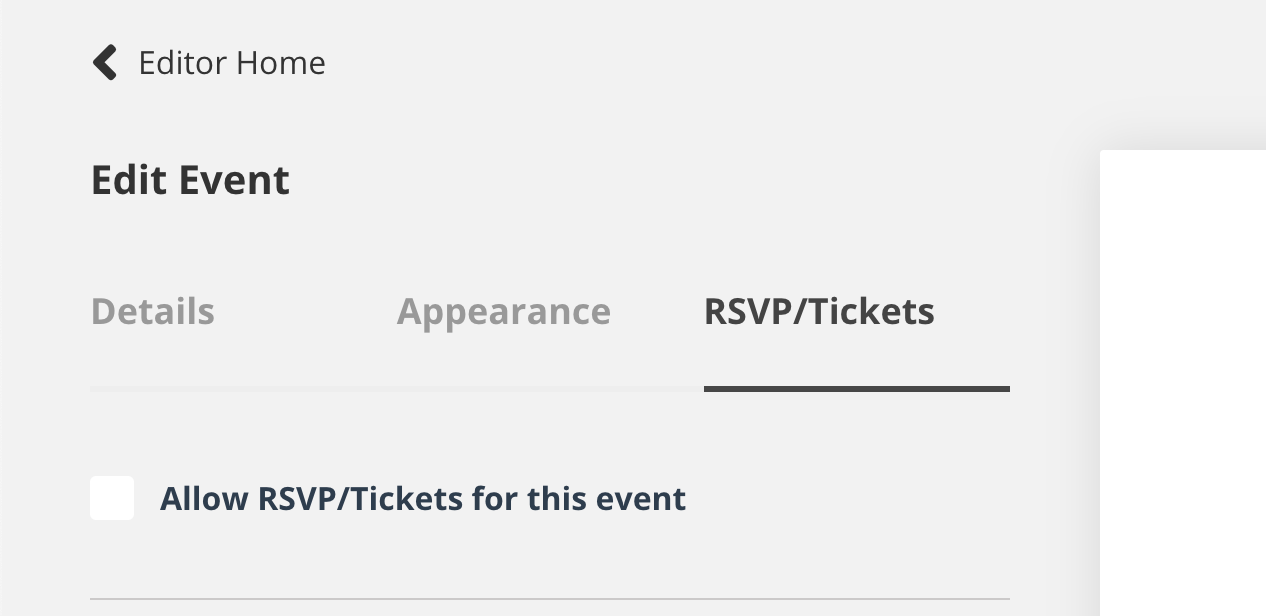
Check the checkbox to allow RSVP/Tickets. Options from here are self explanatory. Here's the options that I chose:
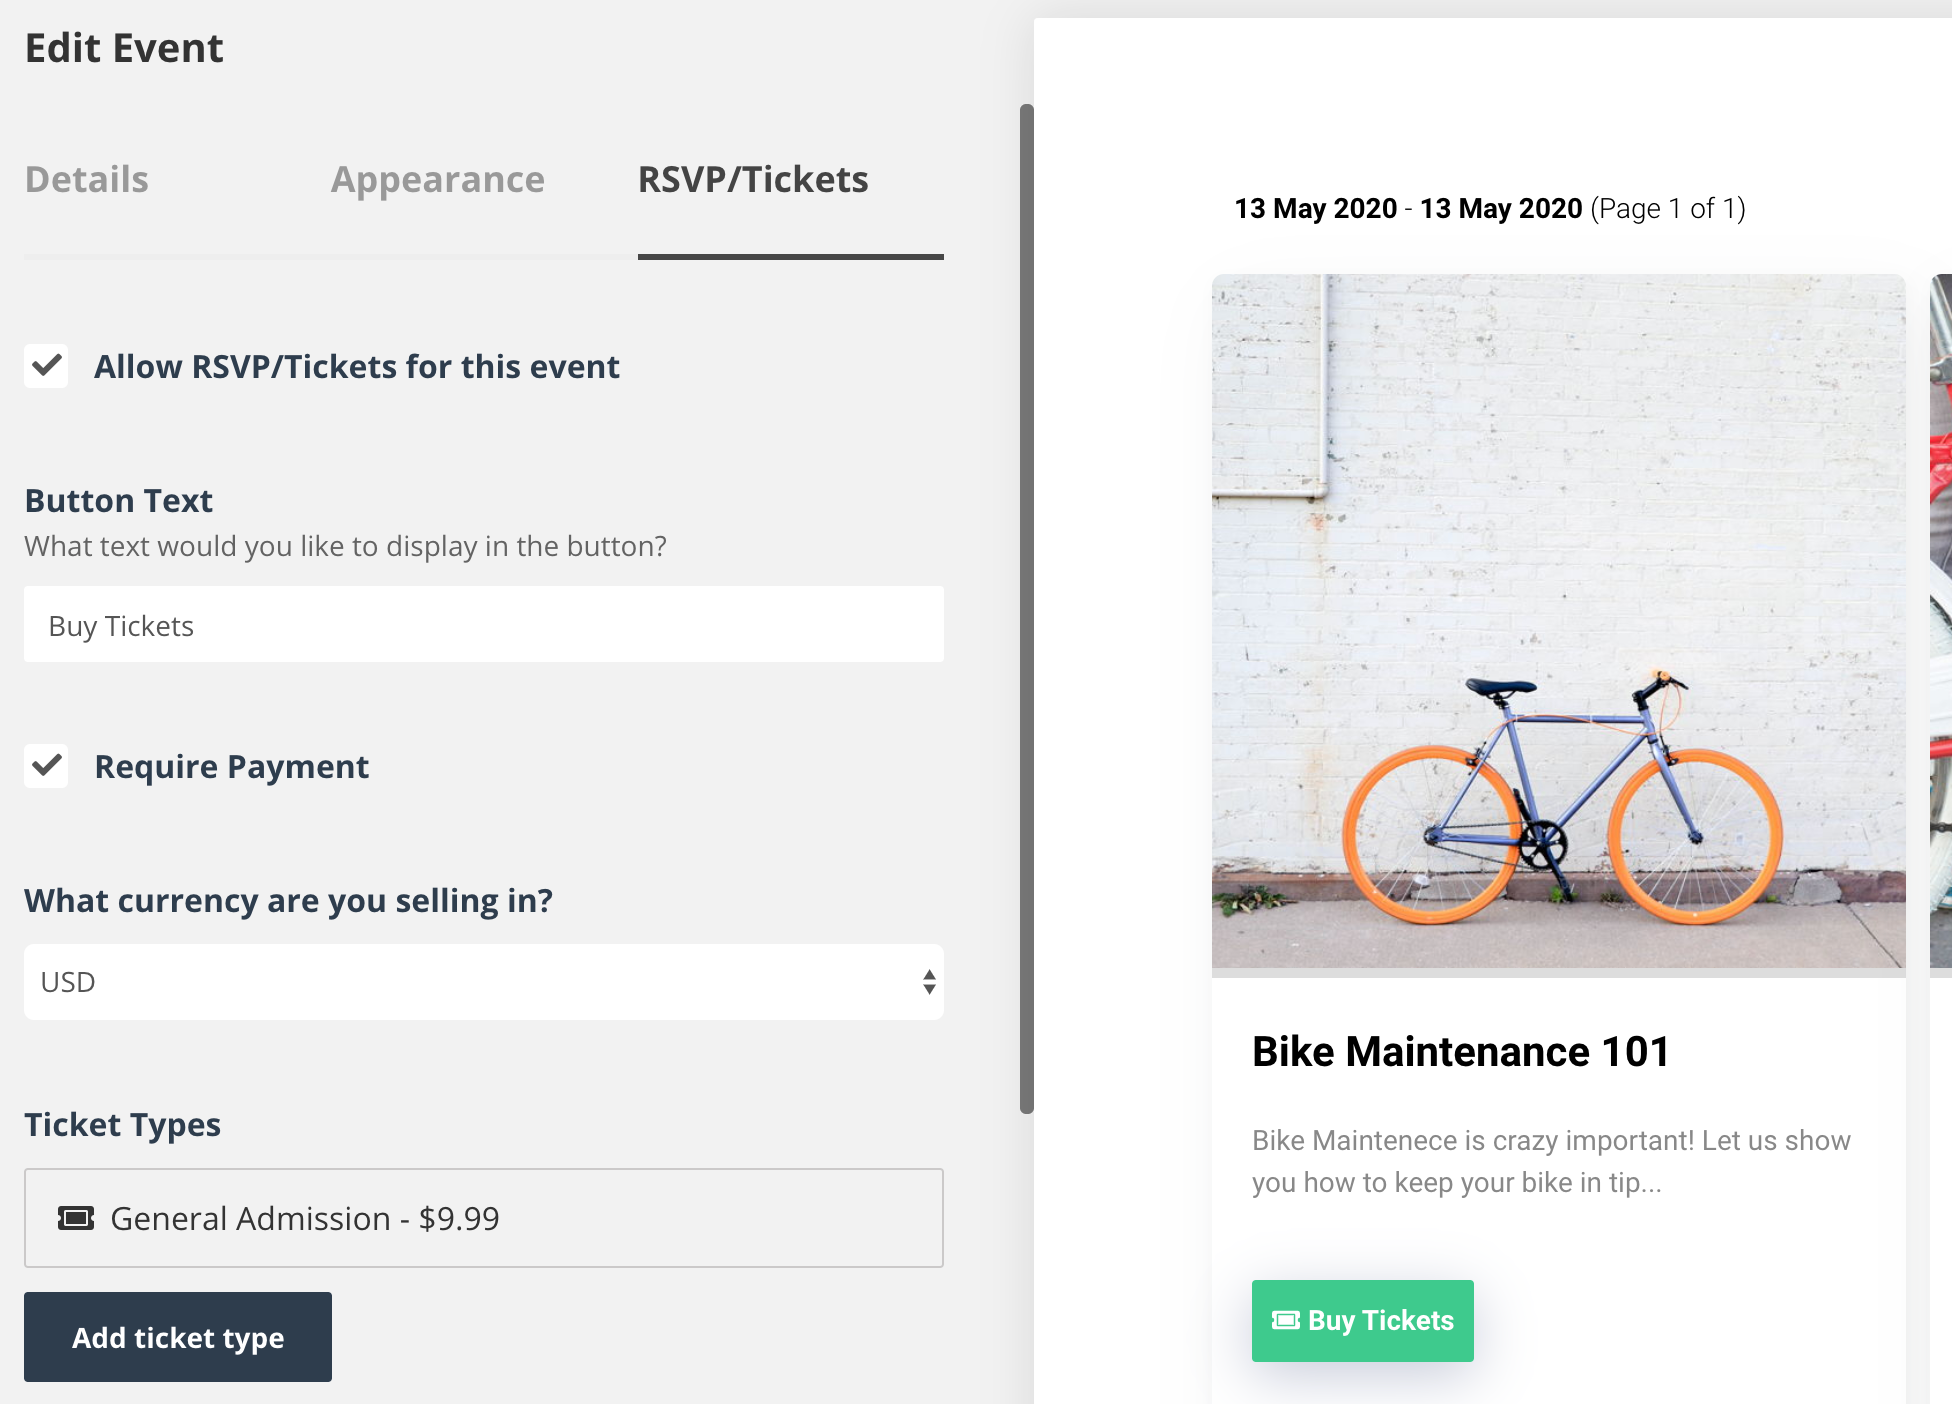
This will create the Buy Tickets button on your event. Fancy!
Leave the Confirmation Email Message option blank. We'll need this later!
Step 5 - Set up the meetings in zoom
It's now time to set up the meetings in zoom.
I will demonstrate how to do this using Zoom's website. But you can also use their various apps to do the same thing.
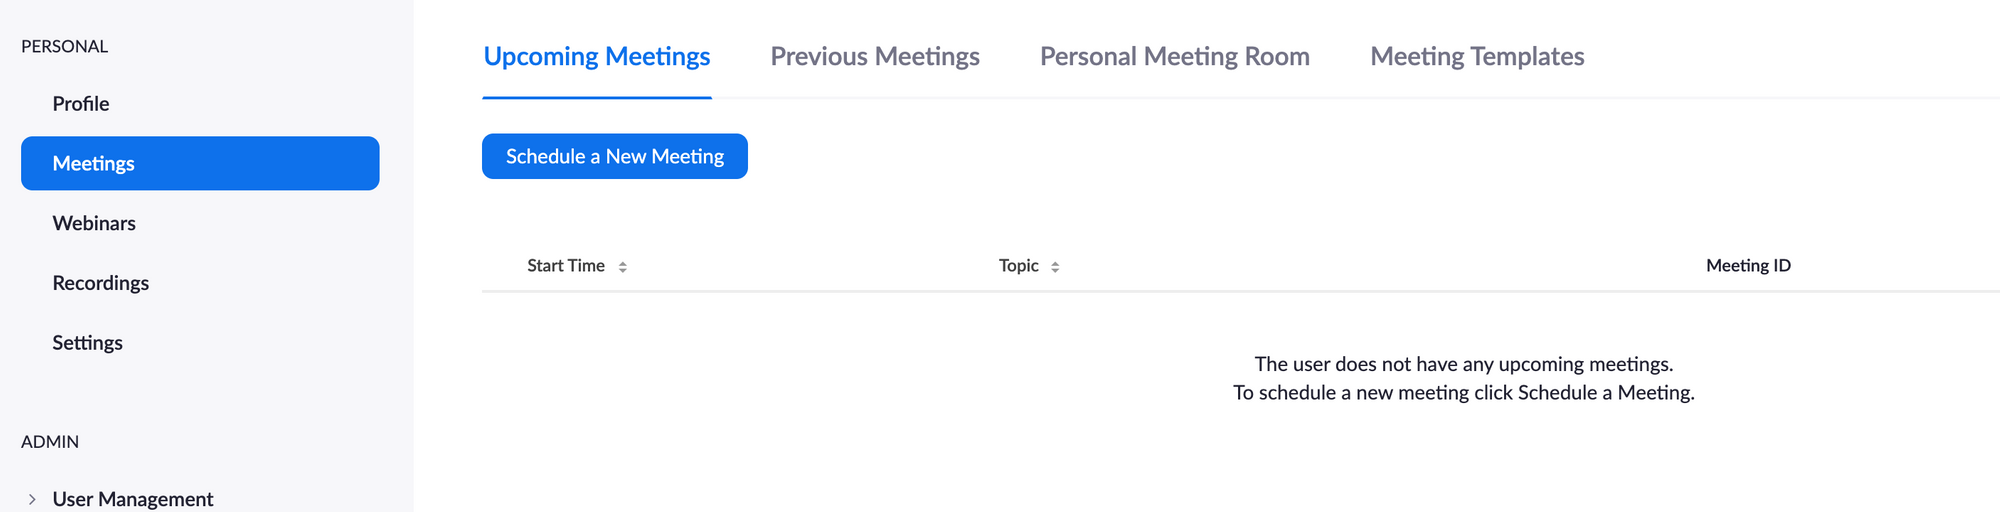
Head to Zoom.com (in a new tab) and login. Head to your account page and click on meetings on the left.
You now need to schedule the Zoom meetings. Zoom meetings are the scheduled times when your online event will run inside of the Zoom software. It's highly likely these will be the same times you entered into Event Calendar App.
In my case, I scheduled the Bike Maintenance 101 meeting.
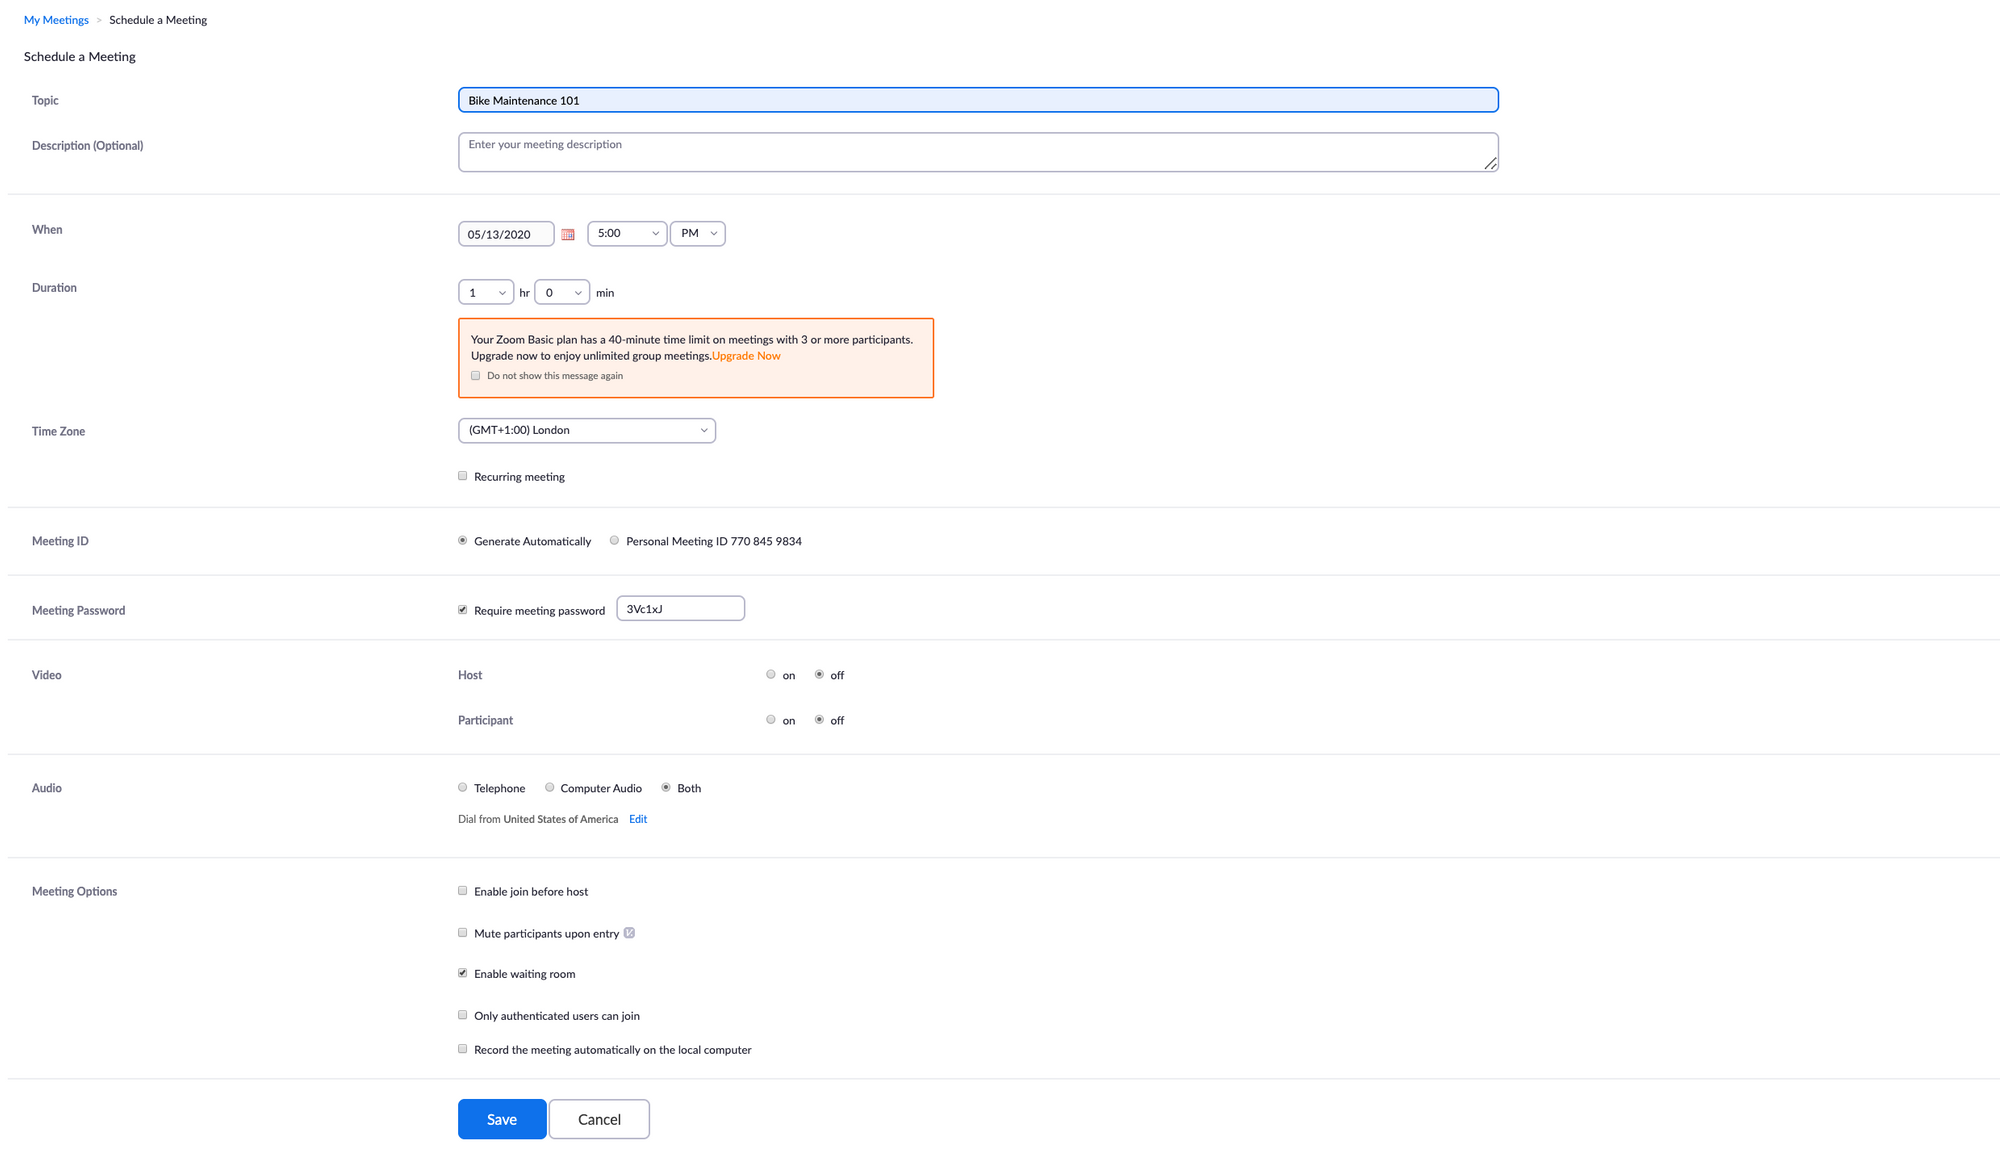
Click Save and you will now be given a range of details relating to the event. What is important here is the invite link and password. These are the essential details that your customers will need to join the zoom meeting. Copy these for future reference.
Step 6 - Add the invite link and password to your Event Calendar App event.
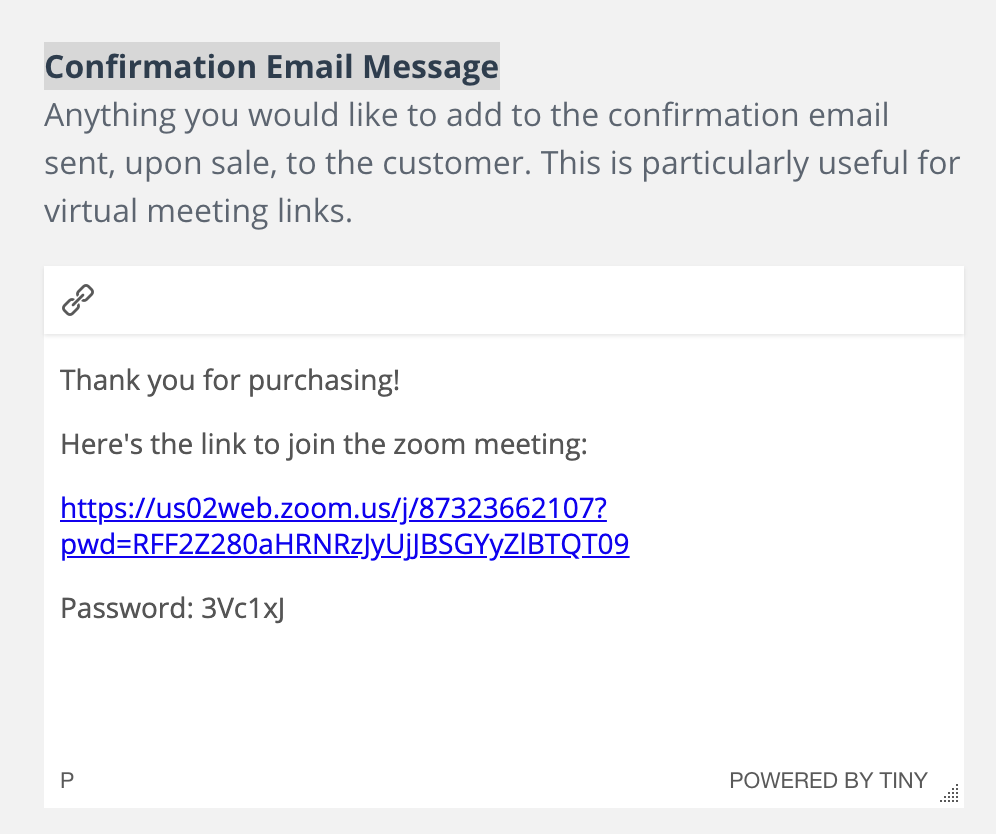
Head back to your editor in Event Calendar App. Click on the event, click on the RSVP/Tickets tab and scroll down to the option that says Confirmation Email Message.
The Confirmation Email Message option lets you add details that will only be sent to the customer after they pay.
Copy in the Zoom meeting details.
Step 7 - Add Event Calendar App to your website
We've got a range of guides on how to add Event Calendar App to your specific platform. In my case, I used Squarespace. Here's my new events page on my website:
That's it. You're set up and ready to go!
How it works now for you and your customer
Your customer heads to your website and checks out your events. They're super interested in { your event name } and decide to pay for a ticket. They click the 'Buy Tickets' button that you set up and enter their card details:
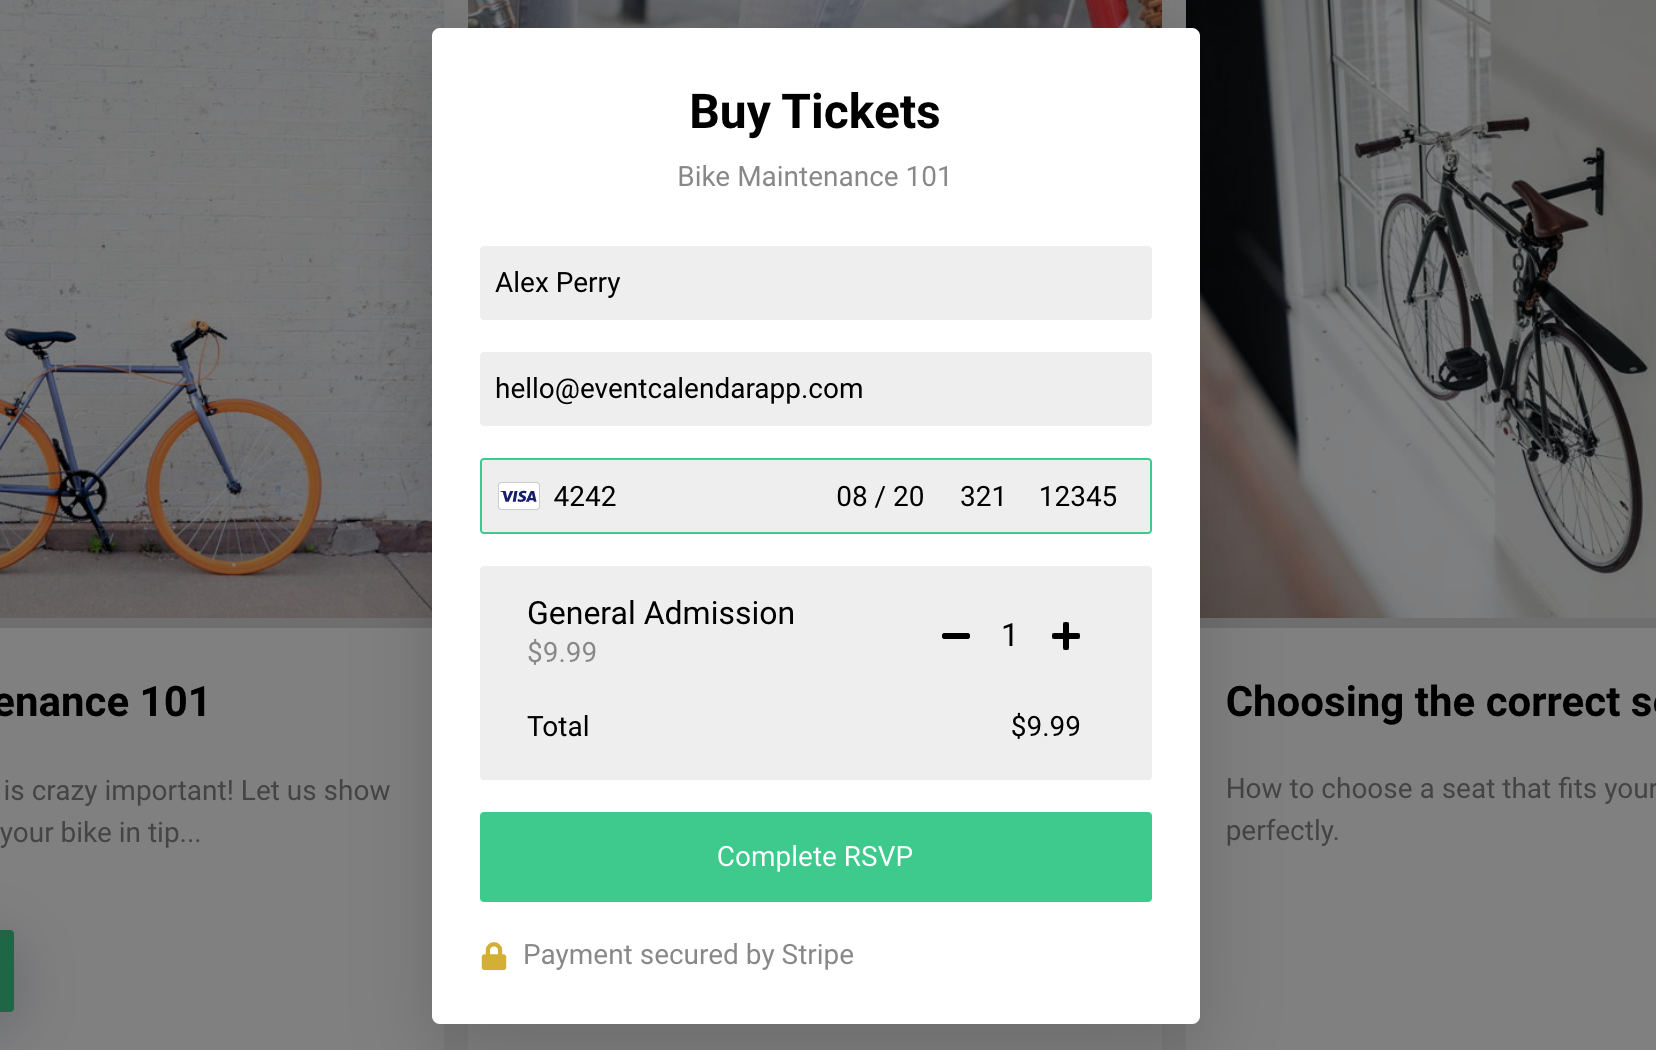
Once they click the big green button their card is charged and the order is complete.
Two things now happen:
- The customer receives an order confirmation. It confirms there purchase and provides details about the event.
- You receive a notification that someone has made a purchase. The purchase will also show up in your dashboard.
When the time arrives for the Zoom event, it's best you get there early and start the event. No one can join until you start the meeting. After that, it's fun and games!

Written by Alex Perry
Hey 👋, I’m Alex, founder of Event Calendar App. I’ve been helping event organisers for nearly 10 years with events, classes, courses and workshops. Here's what I've learnt that might help you too.
